Well, this will be a slightly longer post as I didn’t post anything last week and I’m catching up. I know! The internet almost imploded because of this, but rest assured, I am dedicated to keeping the world updated with our progress. I’ll write about the weeks of January 8th and January 15th. Details might be a little sketchy from the previous week, so I hope everyone can forgive me.
The week of January 8 started off with no electricity at the house, which caused most of everyone else’s work to be put on hold. The REMC and Johnson County were finished with their inspections and it was up to our electrician to continue on with the work. They did start their work back on… either Monday or Tuesday, I can’t remember now. But since all (or most) of the electrical wire was installed, all that had to be done was install the outlets, switches, and light fixtures that could be installed at this point. In order for that to happen, our guys would have to install drywall patches over all of the holes they needed to do the rewire. Our guy Will started in on this task by himself, waiting for Alex Sr. and Alex Jr. to get back from their holiday break. One step at a time at this point.
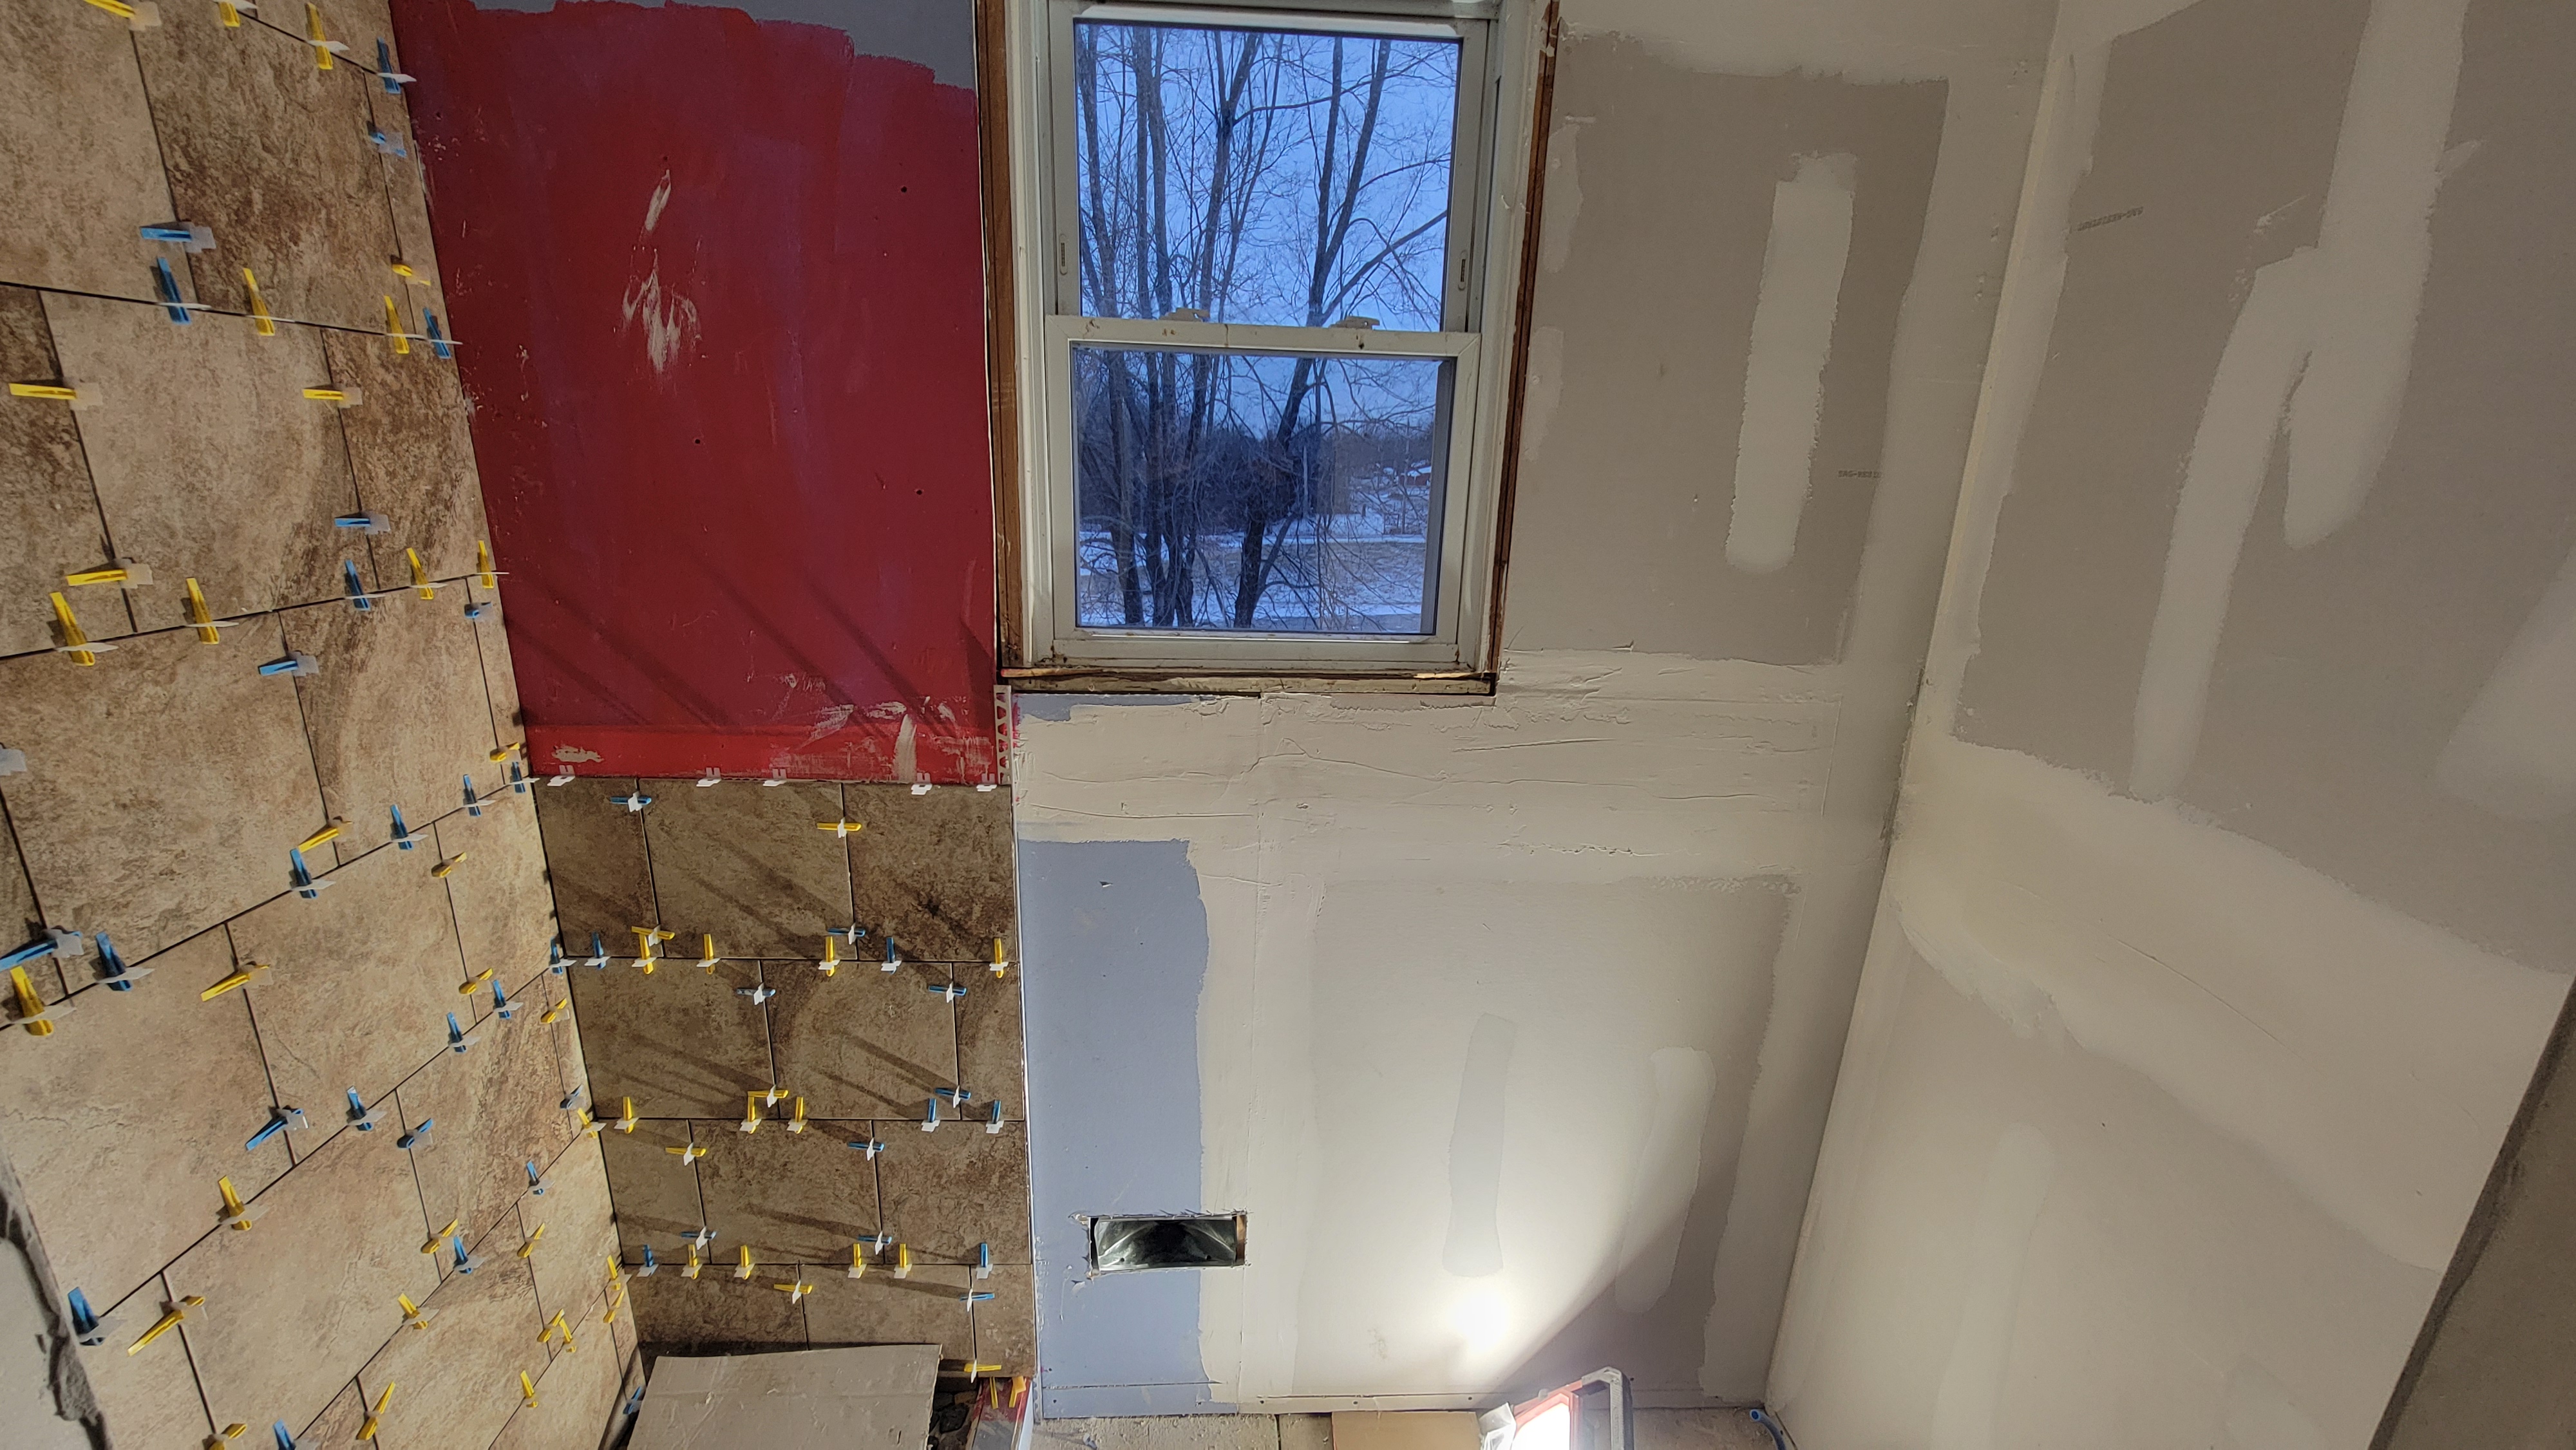
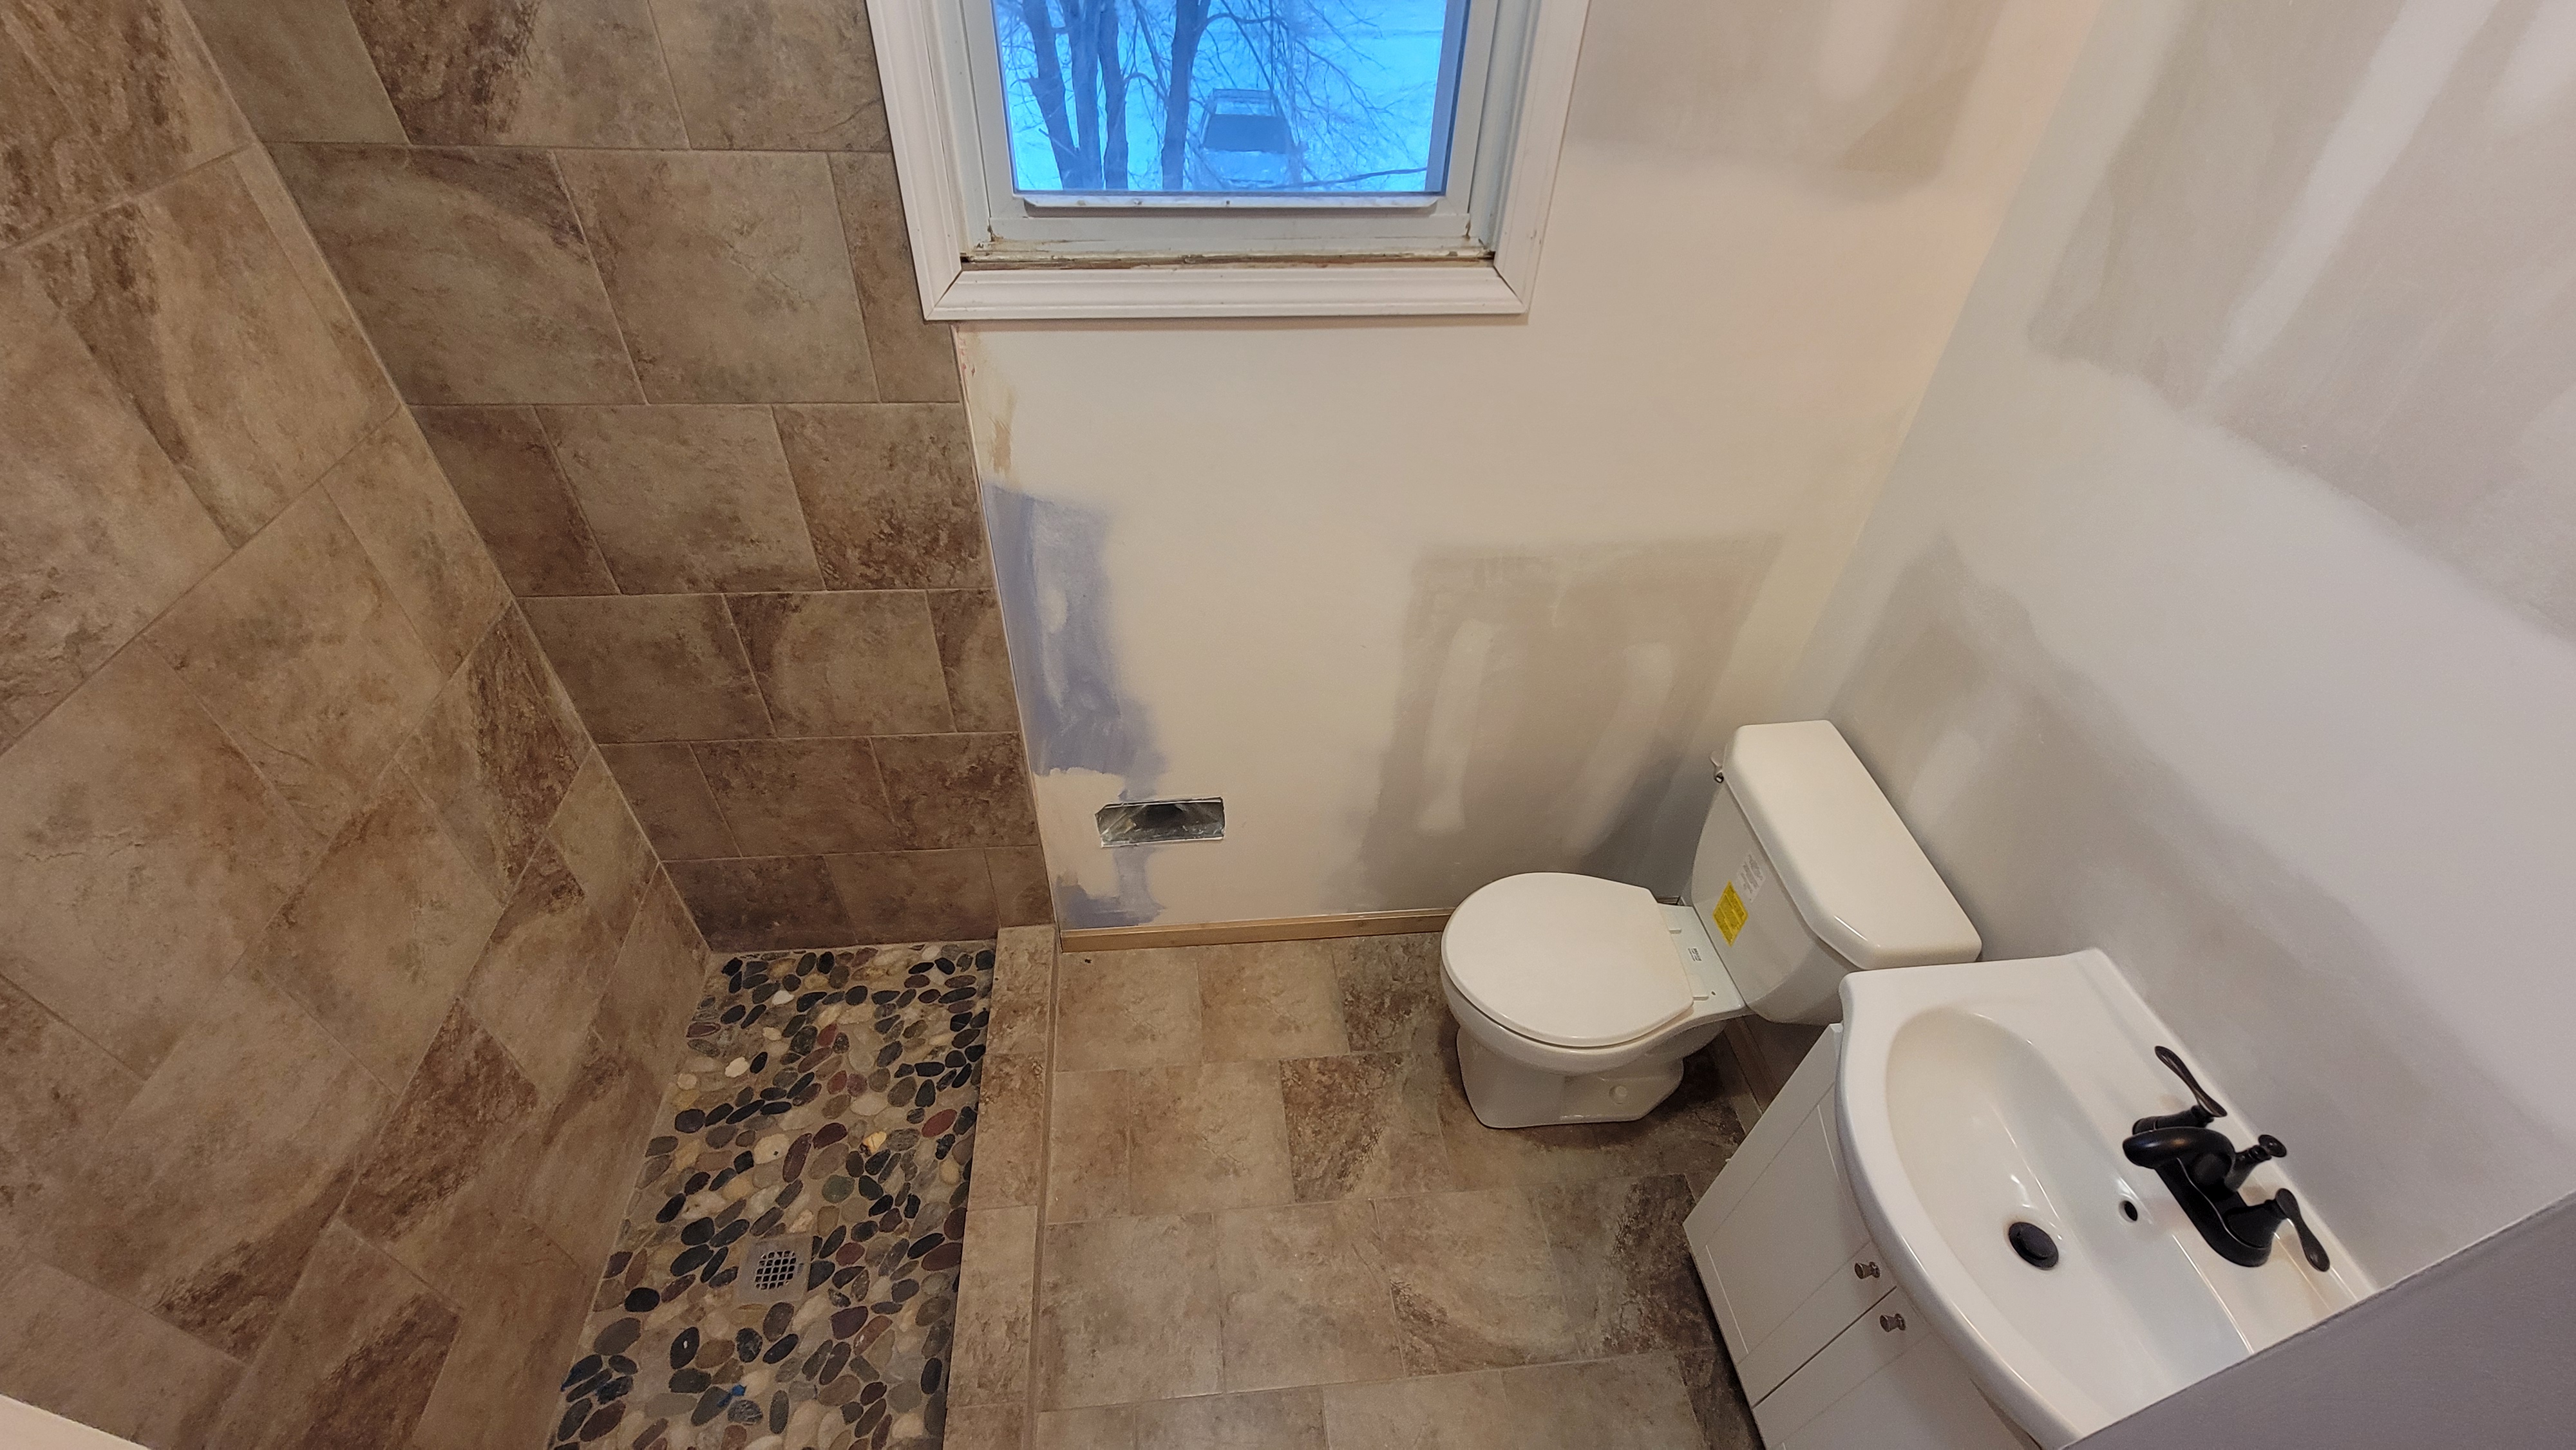
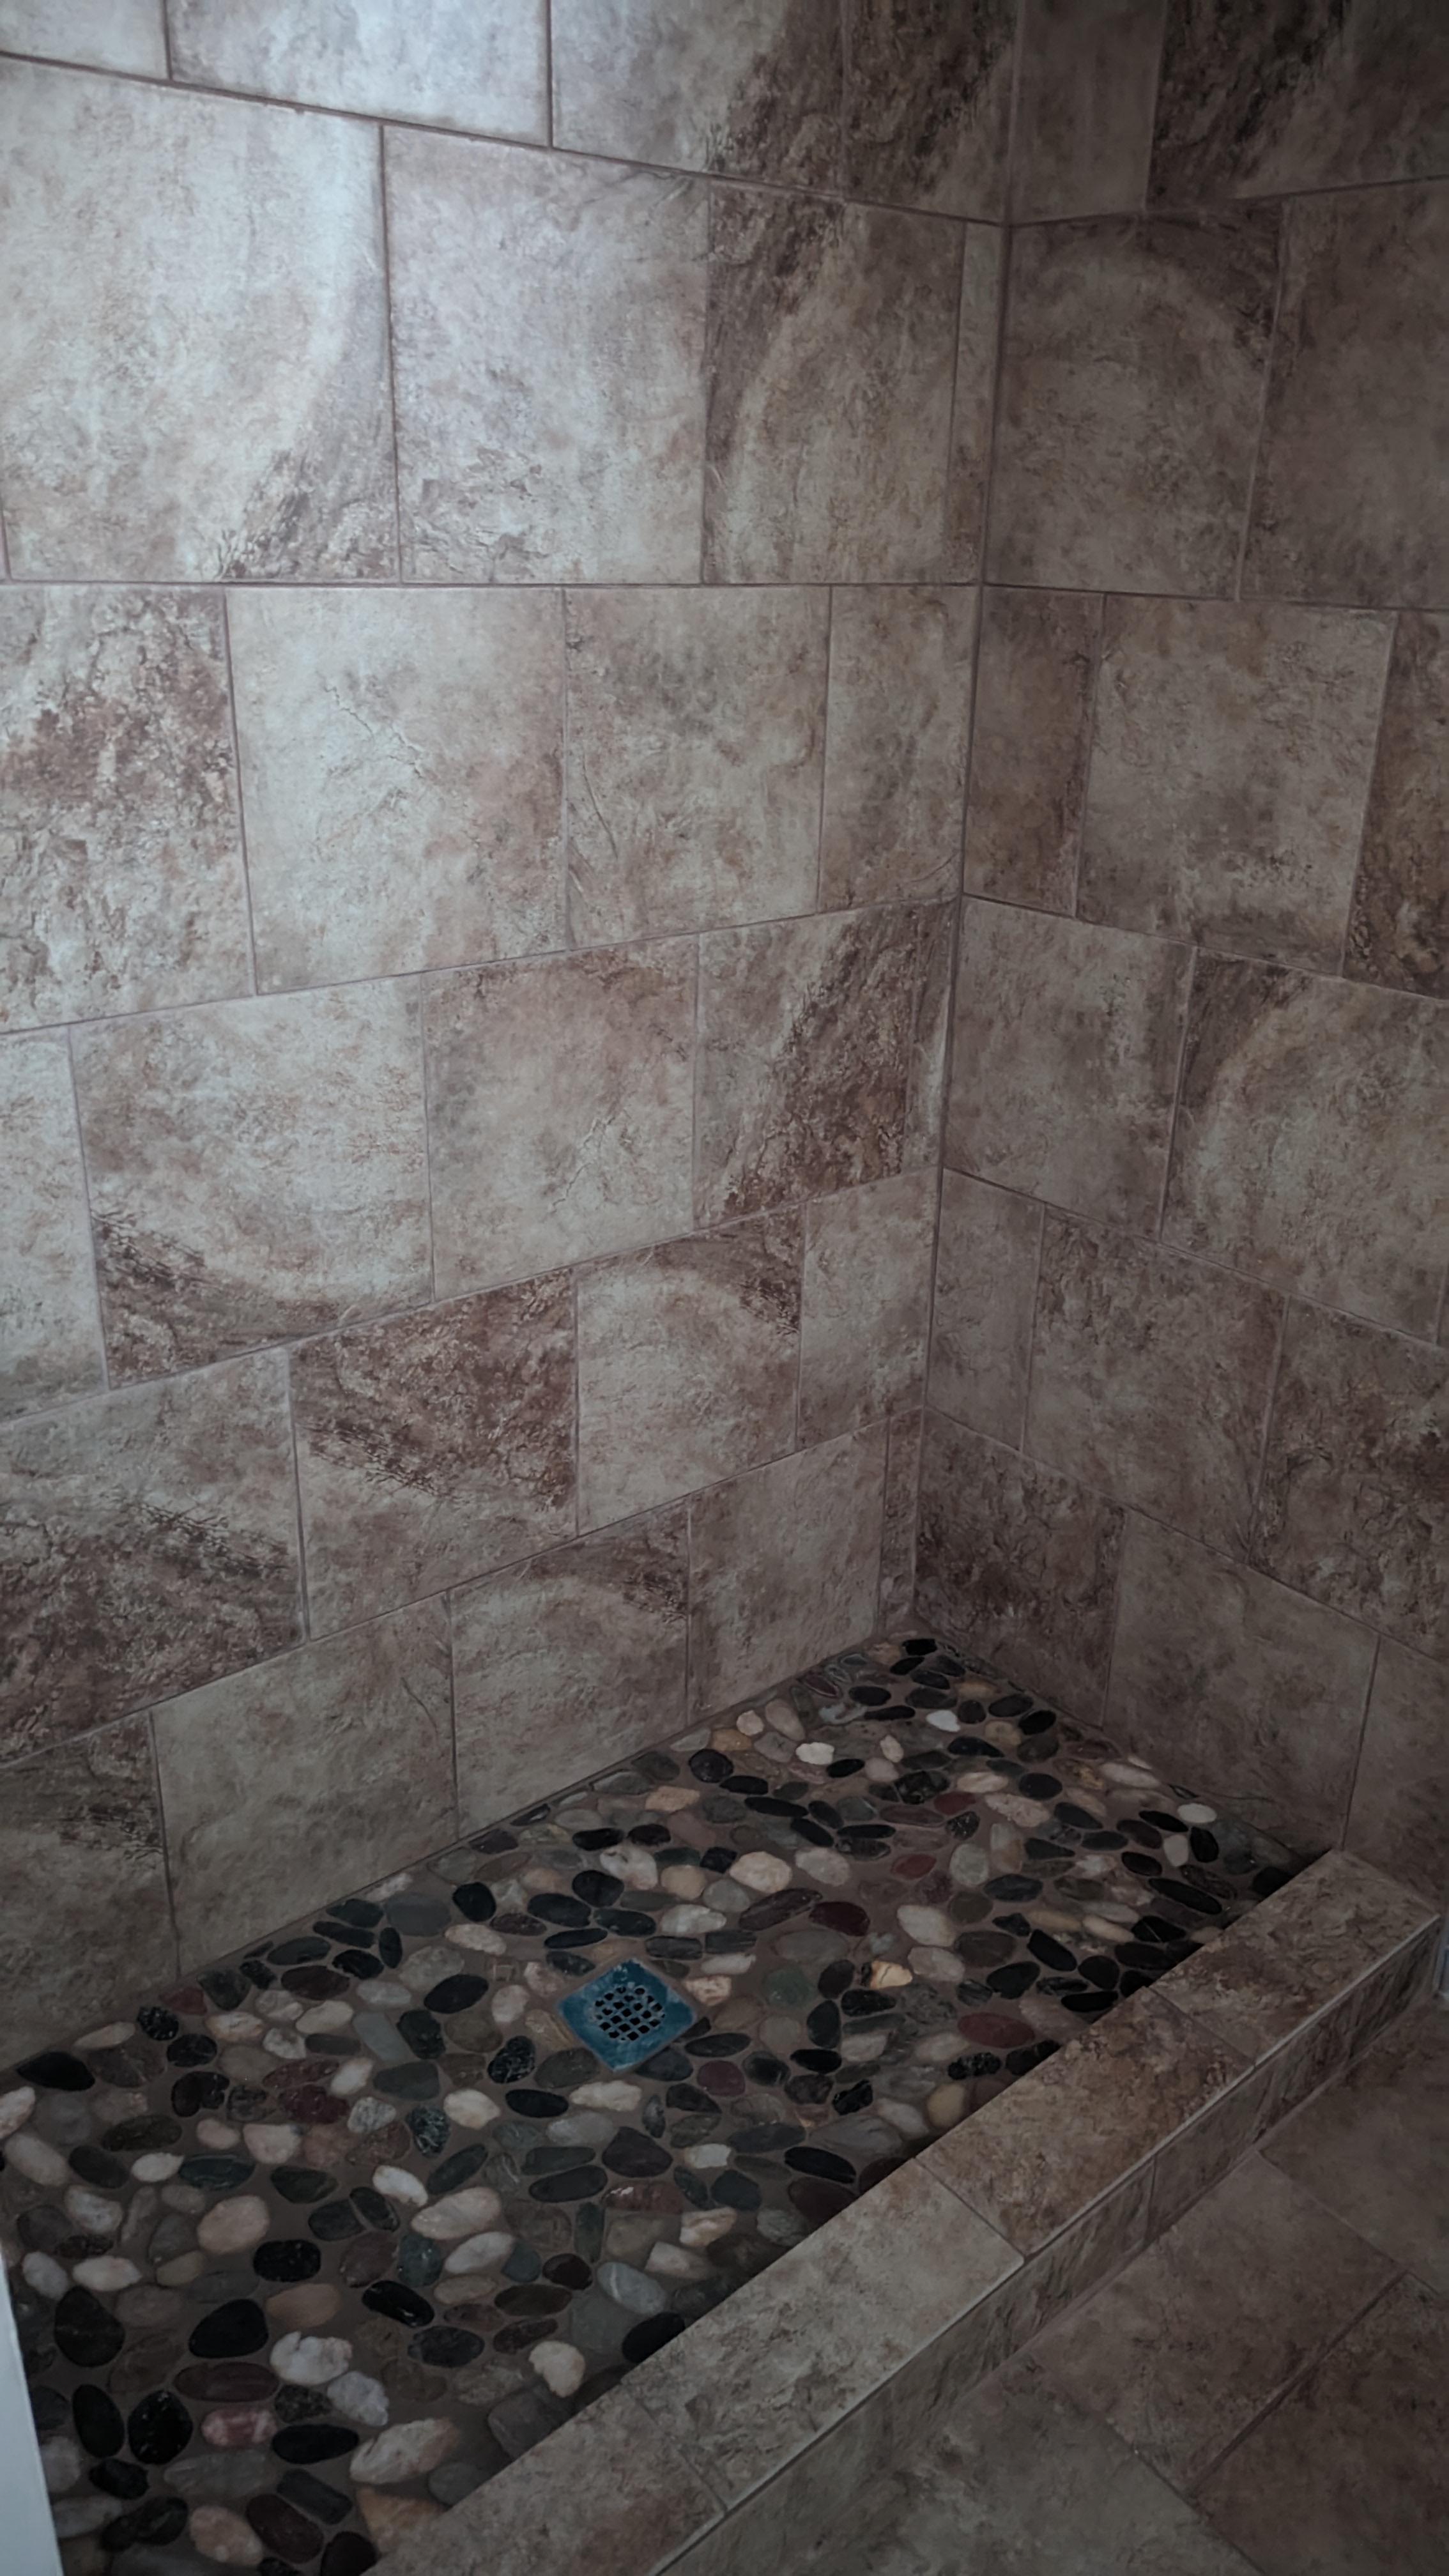
The Alex’s did get back this week. We’d originally been told that they were getting back the week of the 15th, but they came back a little early from a trip to Arizona where they have family. Their priority was getting the bathrooms finished soon and starting to button the house back up.
I’d mentioned in a previous post about the roof being left… a little less than satisfactory. At sometime, I believe over the past weekend, someone came in and fixed the work that had been done by the previous crew. That work honestly looked like it had been done by either a 3rd grader or me. It was pretty bad. However, in their defense, that neglected roof started off in bad shape. We just thought that, at the rate we were paying, it should have been done right. Our GC agreed with us and ordered it be reworked and told us that this particular crew probably wouldn’t be working with them again. At any rate, the part of the roof over the attached garage in question was reworked. It looks a lot better, but not really that wonderful. I think I can live with it, but it’s still a sore spot. We’re trying not to be too critical.
We had an epiphany a few weeks ago which I wrote about to move our refrigerator from where we’d originally planned to put it and purpose that corner of the kitchen toward a small workstation of sorts. The other secondary purpose of this wall would be to hide the drains coming down from the 2nd floor bathroom. Alex Jr. got started on that. The next week, we asked for a couple of modifications on that wall that just made sense to us. First, we took down the small cabinet where the refrigerator is going to go, and asked it to be built into that wall. Second, we asked for a small cubby to be built into the left side of that wall for a place to put our trash can. It’ll be really nice to have that spot there.
You may also notice in the second picture below that Eli and I put in the headers over the entries from the kitchen into the dining room and family room. I just haven’t gotten any really good pictures of those headers.


When the Alex’s got back from their break, they went to the house to do a walk through and get ready for their work getting back. When they were planning for the windows and French doors to be installed in the family room, they made a discovery that none of us were expecting. The back wall in that room is made of cinder block! (At least part of it is, we’re not sure yet.) This changes things a bit. It is going to make their job of installing these windows and doors much more difficult. We’re not exactly sure what their plan is at this point, but we’re suspecting that they’ll want to start this work when it gets a little warmer, or at least on a week where we have unseasonably warm weather since the wall will be wide open during that work.
The bathrooms are coming along very nicely! You can tell that these guys have done a lot of bathrooms. Seeing this part of the transformation is making us very excited to move in!

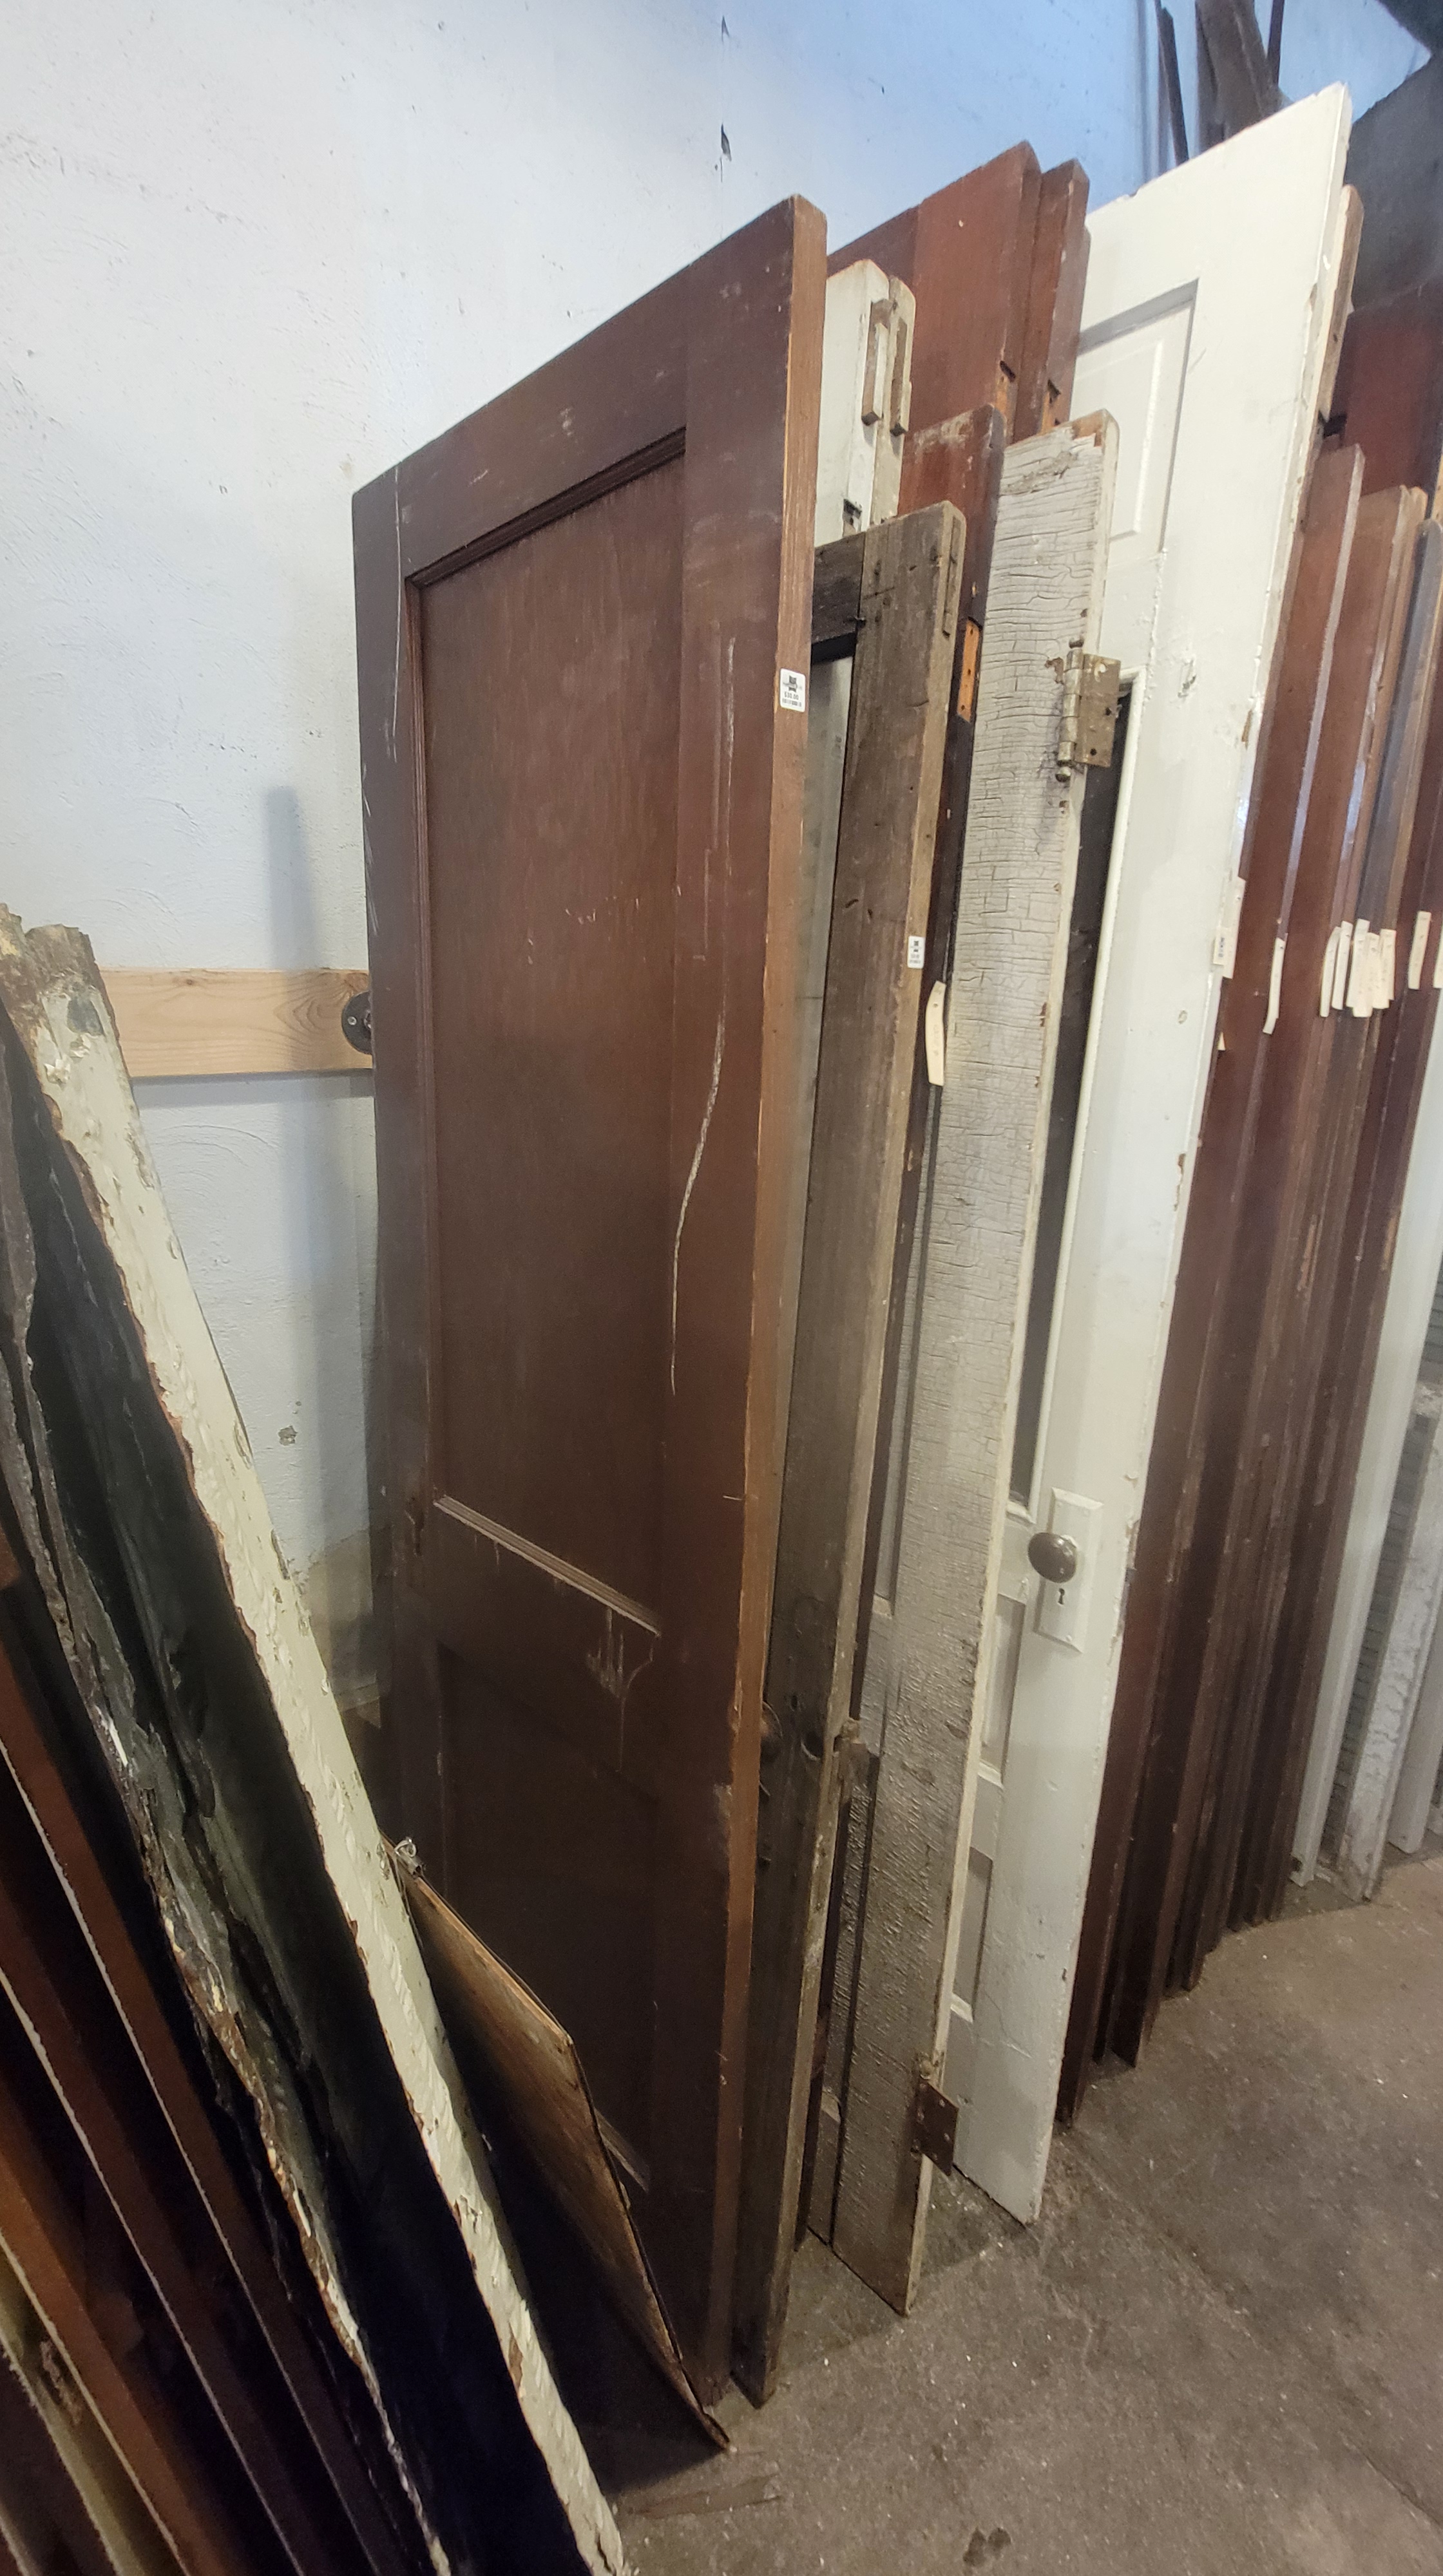
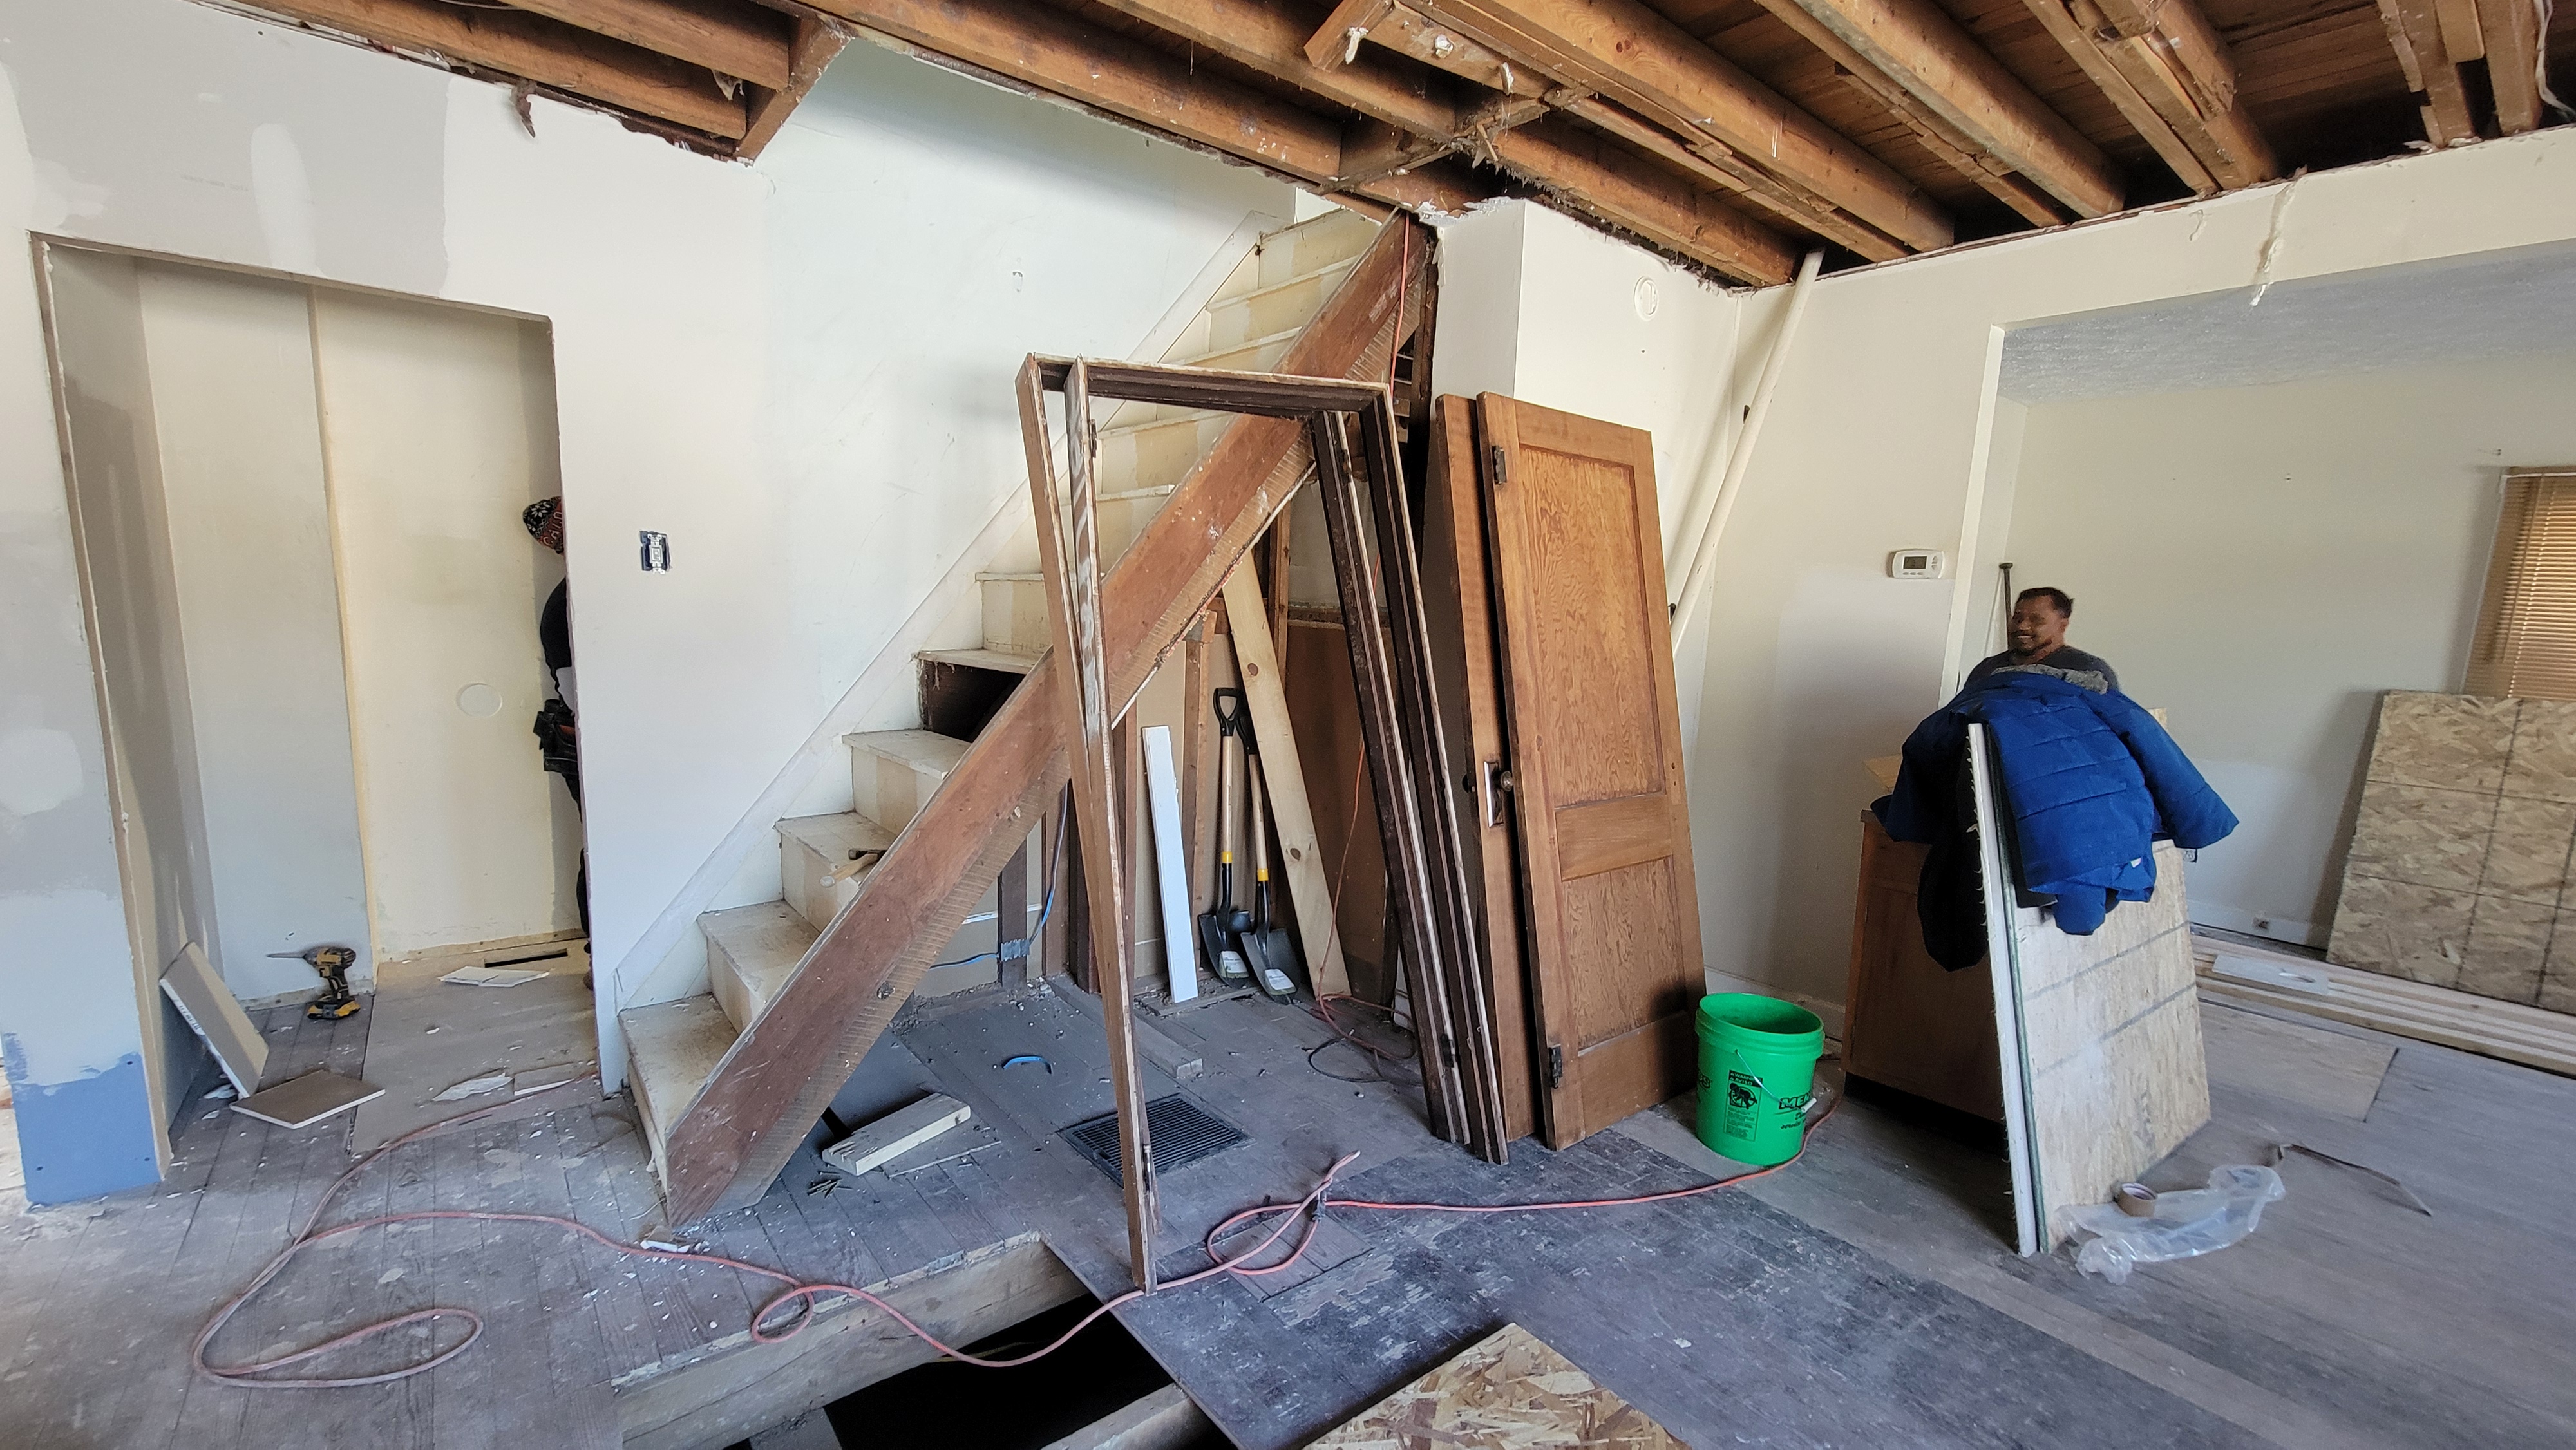
Part of buttoning up the house involves installing those cool old doors that Sonya purchased right at the beginning of the project. This past week, the guys were ready to install them on the master bedroom, the other 1st floor bedroom, and the 1st floor bathroom. We quickly found out that this was going to be more challenging than we’d thought. First, a couple of the doors that we got were in pretty bad shape. One was painted over with pretty thick paint, which can be remedied in time, and one was warped and beat up pretty bad, so we don’t think that this one will be usable. Second, it looked like the door jambs had not really be stored very well and had warped because of that. We didn’t really realize that until they’d been installed. Third, we purchased the doors because they were cool, not necessarily because we planned on which doors would go where. So where some of the doors are left-hand and some are right-hand, we’re not sure that we would be able to use all of them. Fourth, we had a challenge with the 2nd floor bathroom door – the door opening is 24″ W and 80″ H. What to do here? The Alex’s were suggesting a folding door. It’s too late for a pocket door, which would have been nice. We still wanted a swing door. So, Sonya and I went to a cool little salvage place in Franklin, Madison Street Salvage, to pick up doors for Seth’s room and the 2nd floor bathroom (hopefully!). We found a door that “may” work for the 2nd floor bathroom, which is 24″ W and we’re going to try to trim down (it was only $23, so no big deal if it doesn’t work). So this part of the reno is still kinda up in the air at this point. We’ll get there. Just a little challenging for us.
The crew continues to be so great to work with. All hard-working and patient with us and our inexperience. They started work on the stairway banister and had some great ideas for what to do with the space and making it work. Sonya had grabbed some pictures of what she had in mind and showed them to the Alex’s and they’re going to make it happen.


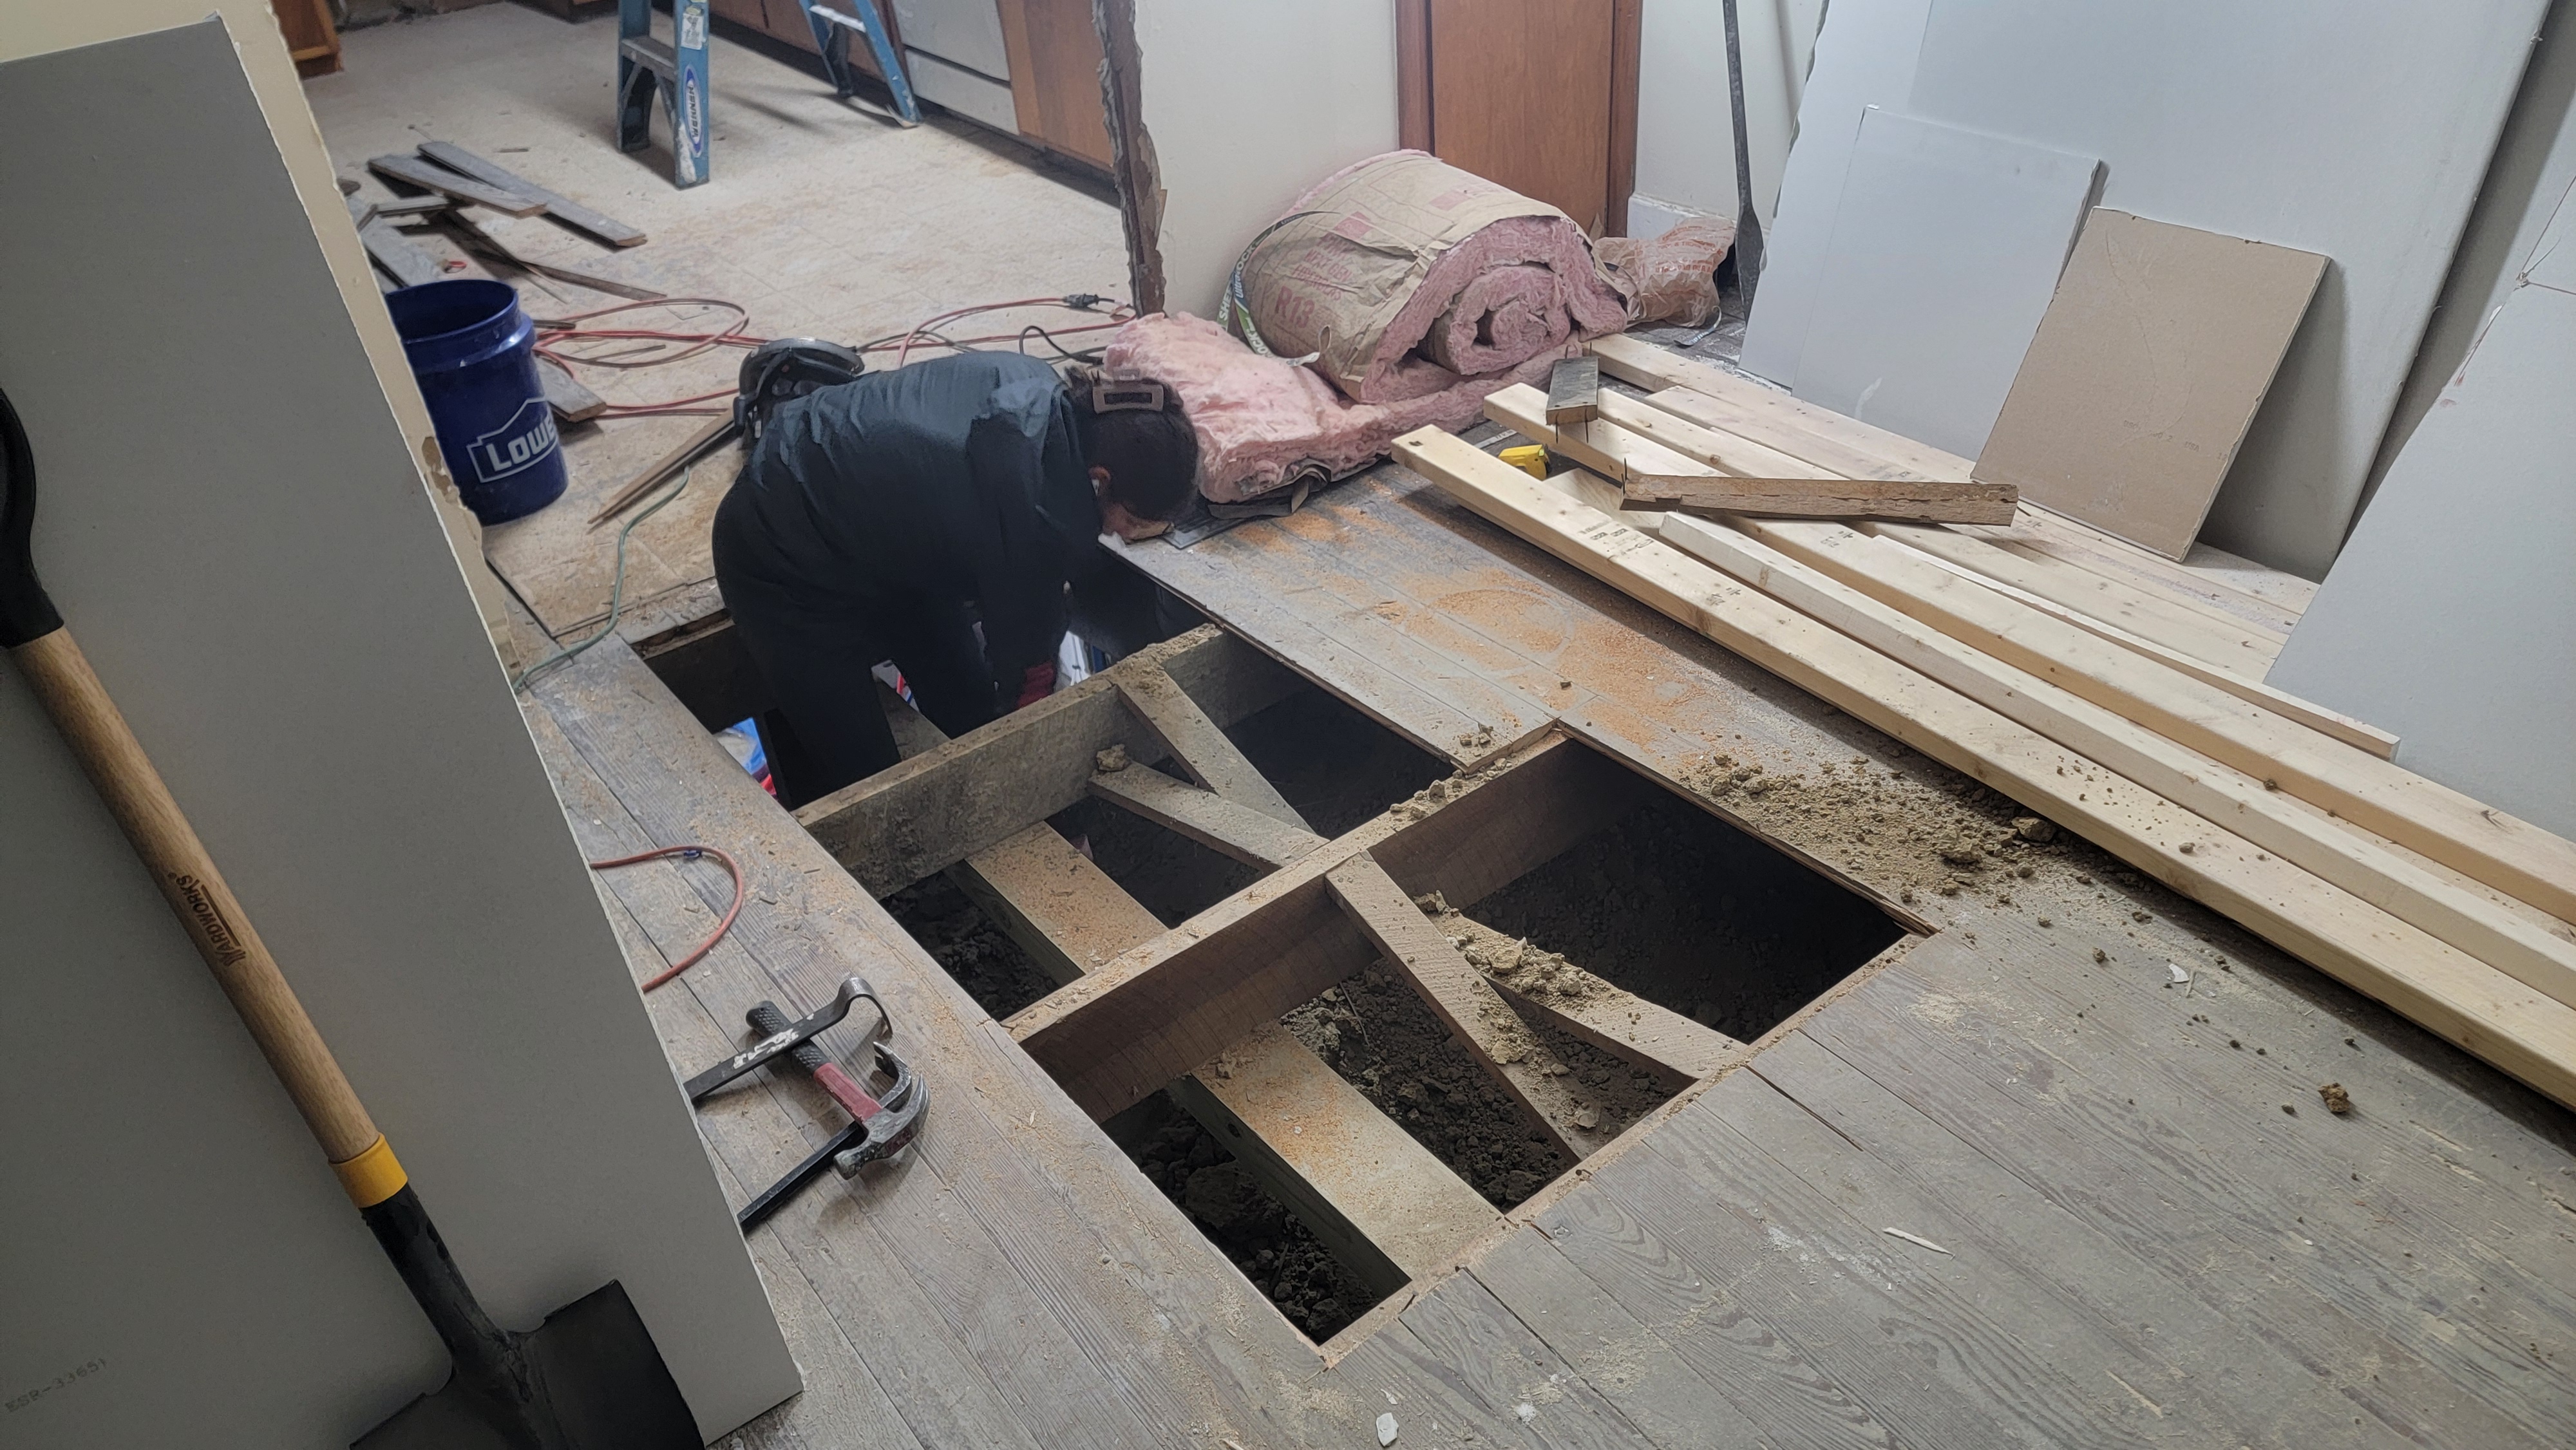
Another thing that we had to revisit this past week was the floor in the entry from the dining room to the kitchen. If you remember, we’d jacked up the floors, installed a header in the crawlspace to lift the floor to make it “more flat”. Well, I was thinking at the time that only installed two posts would be enough since it wasn’t a very long header. I was wrong. It stayed flat for a few days and then started to sag again. So, Meagan and I cut up more of the flooring, dug a hole at about the halfway point of the header, and installed a third post. MUCH better. It’s not perfect. I can either still feel where it’s sloping or it’s my imagination, one of the two. But it’s much better than it was. It’ll be fine. Everything’s fine. Just fine.

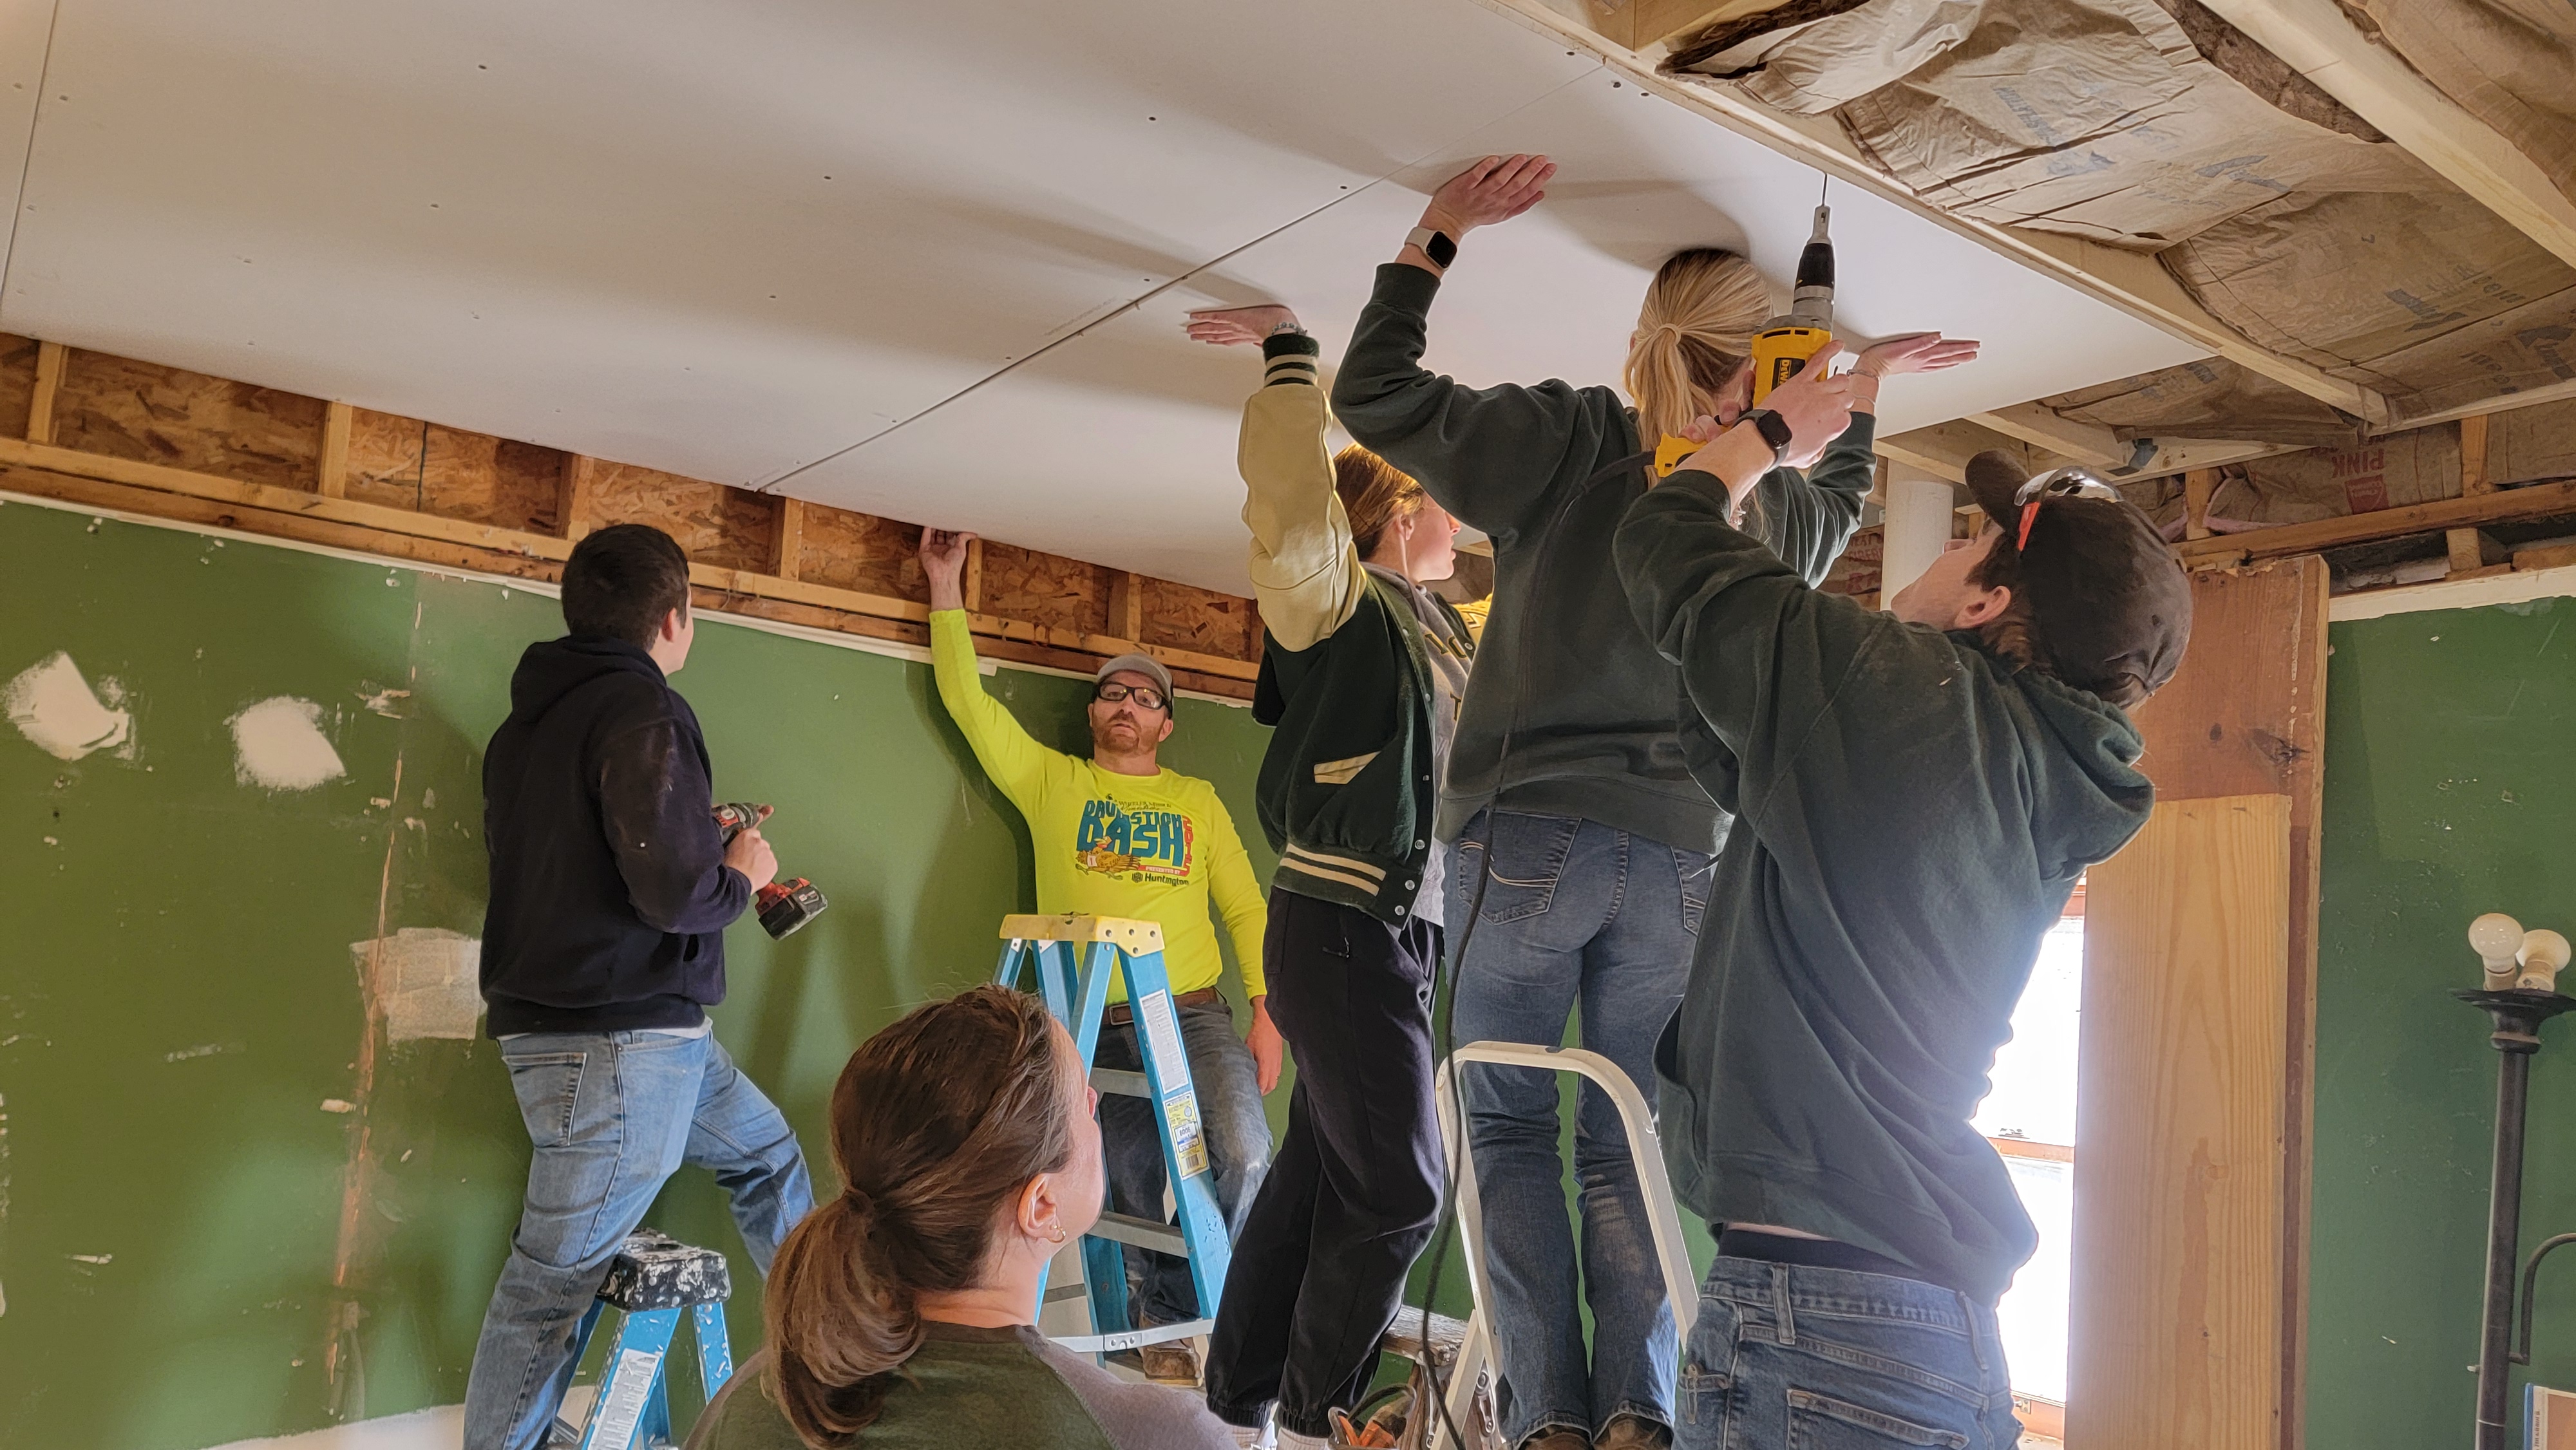
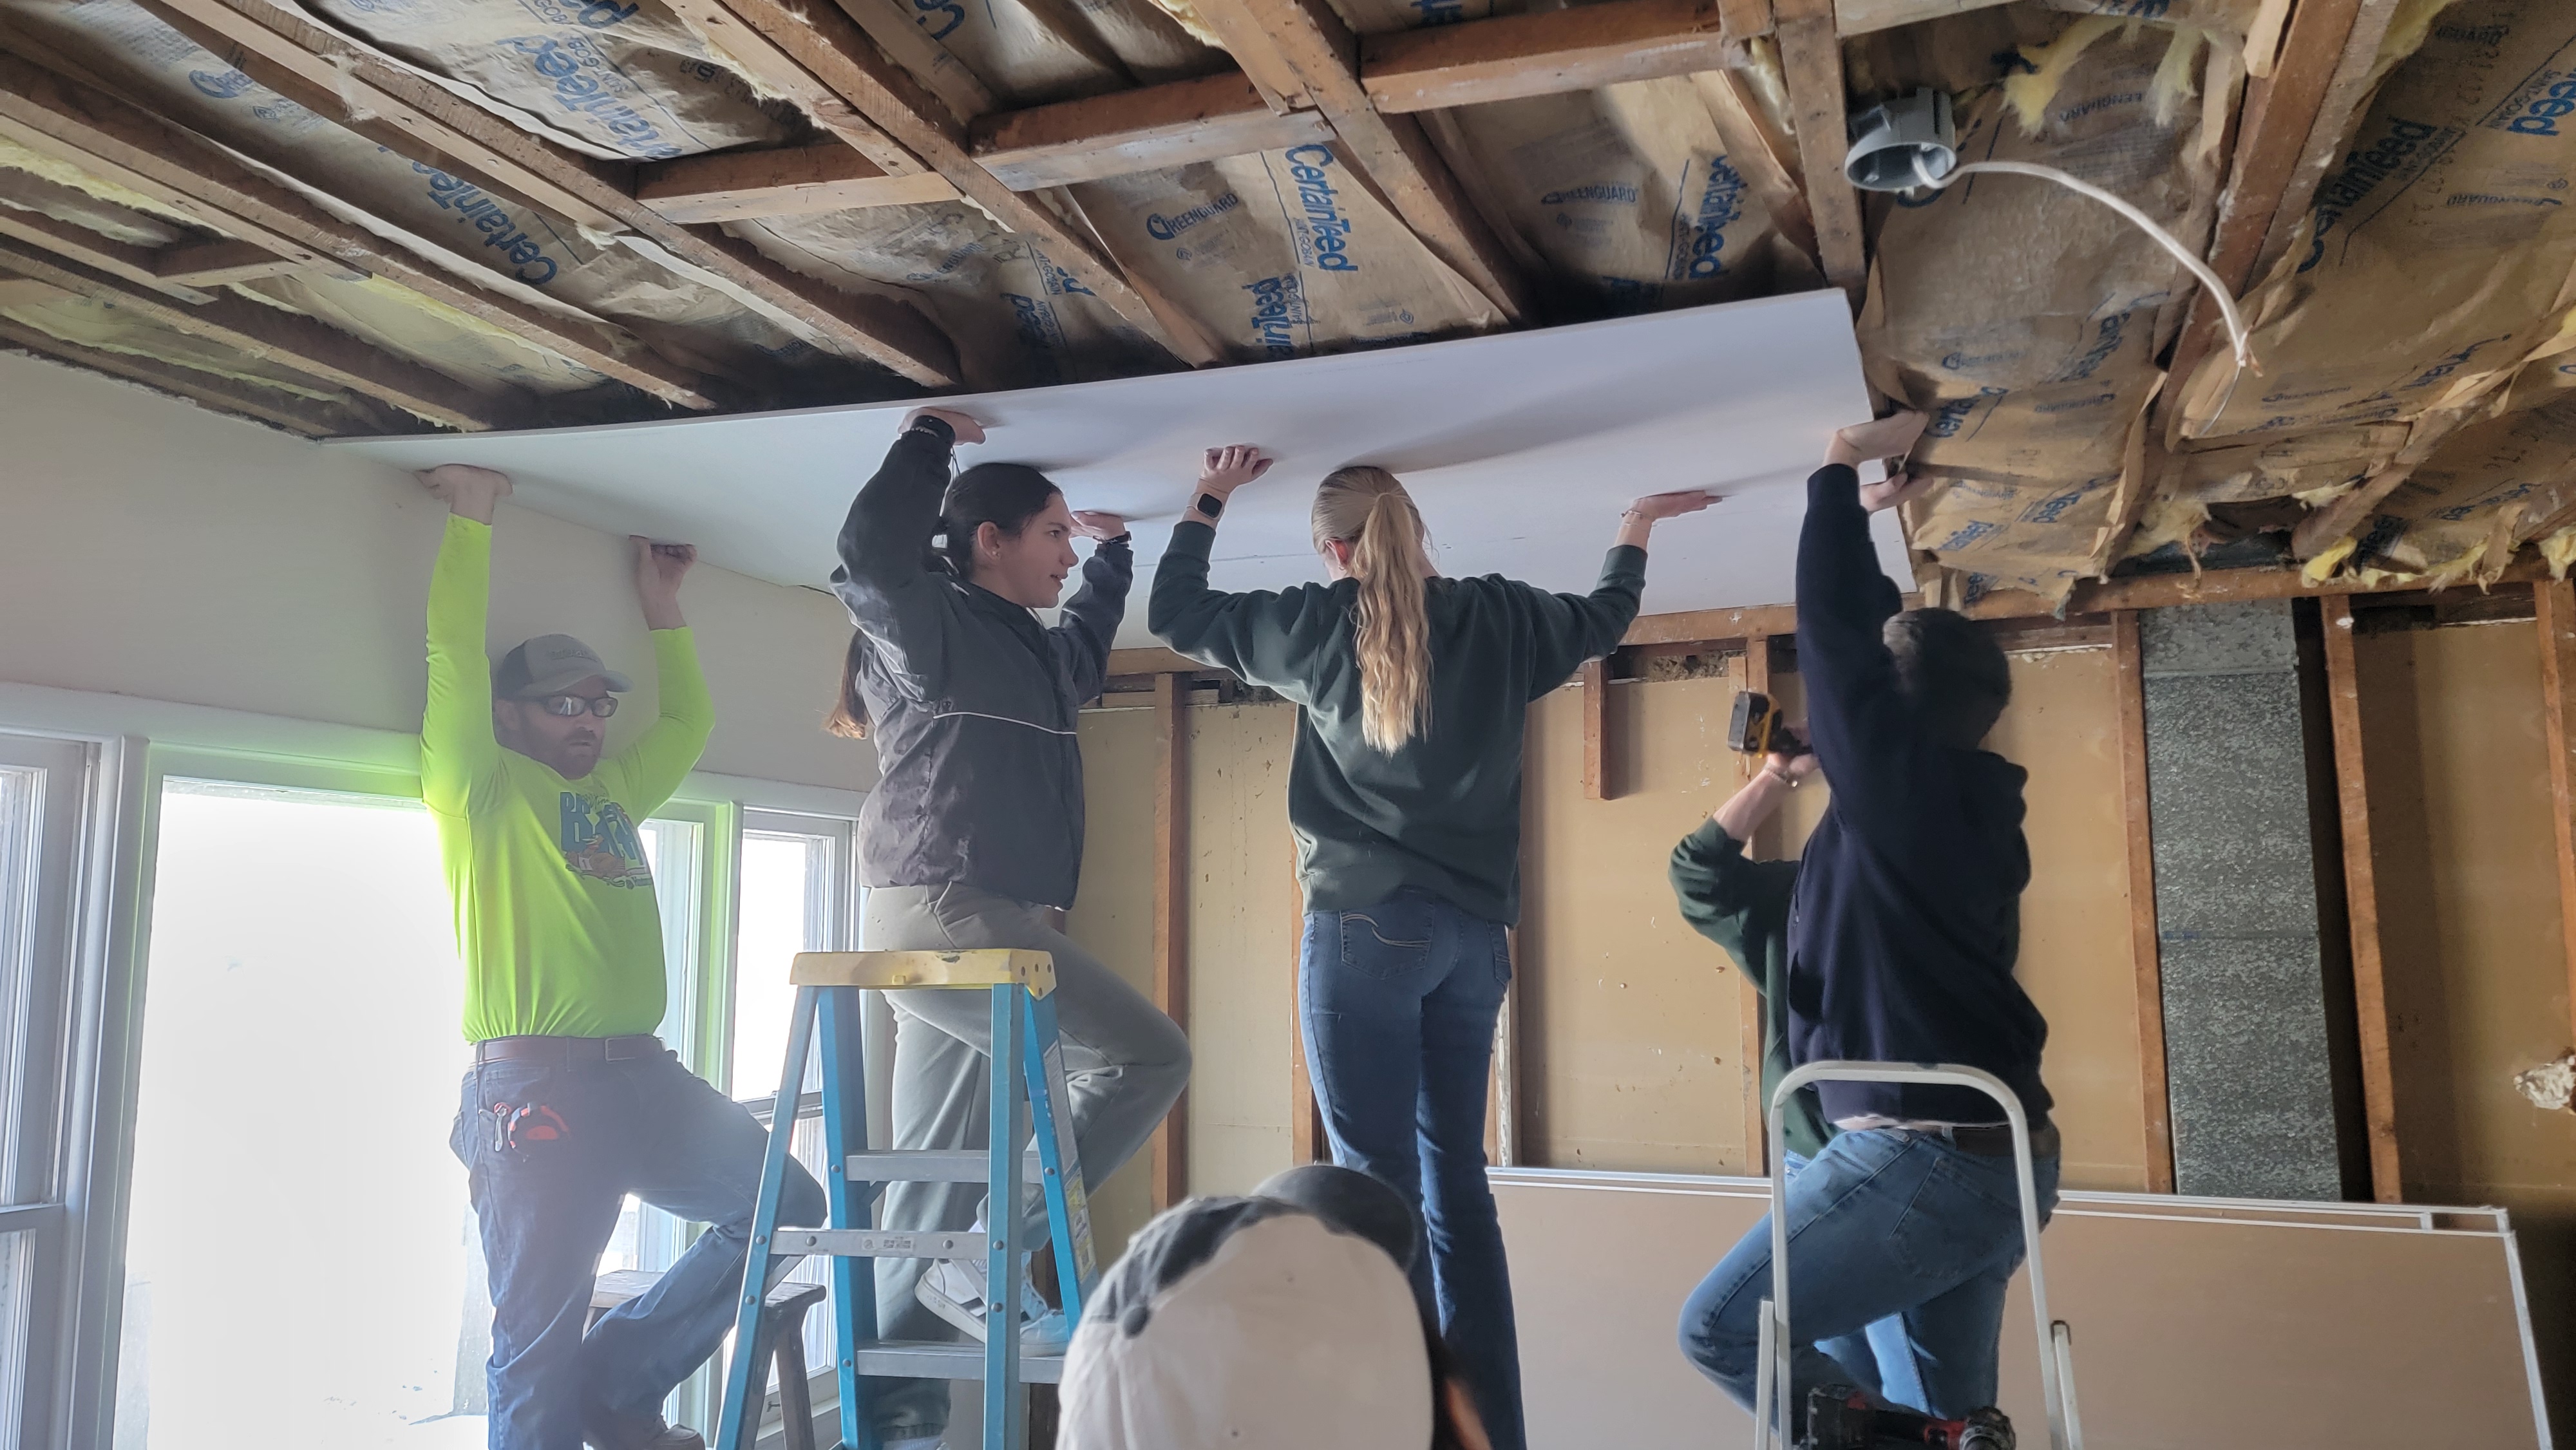
This past Saturday, we had a “Drywall Party” at the house. What a fun day we planned! The plan was to install drywall on the ceiling of the family room (as much as we could for now anyway), and on the ceiling and wall of the living room. We invited a bunch of young strong backs and arms over to help out. We had fun doing it, even though things didn’t quite go as planned.
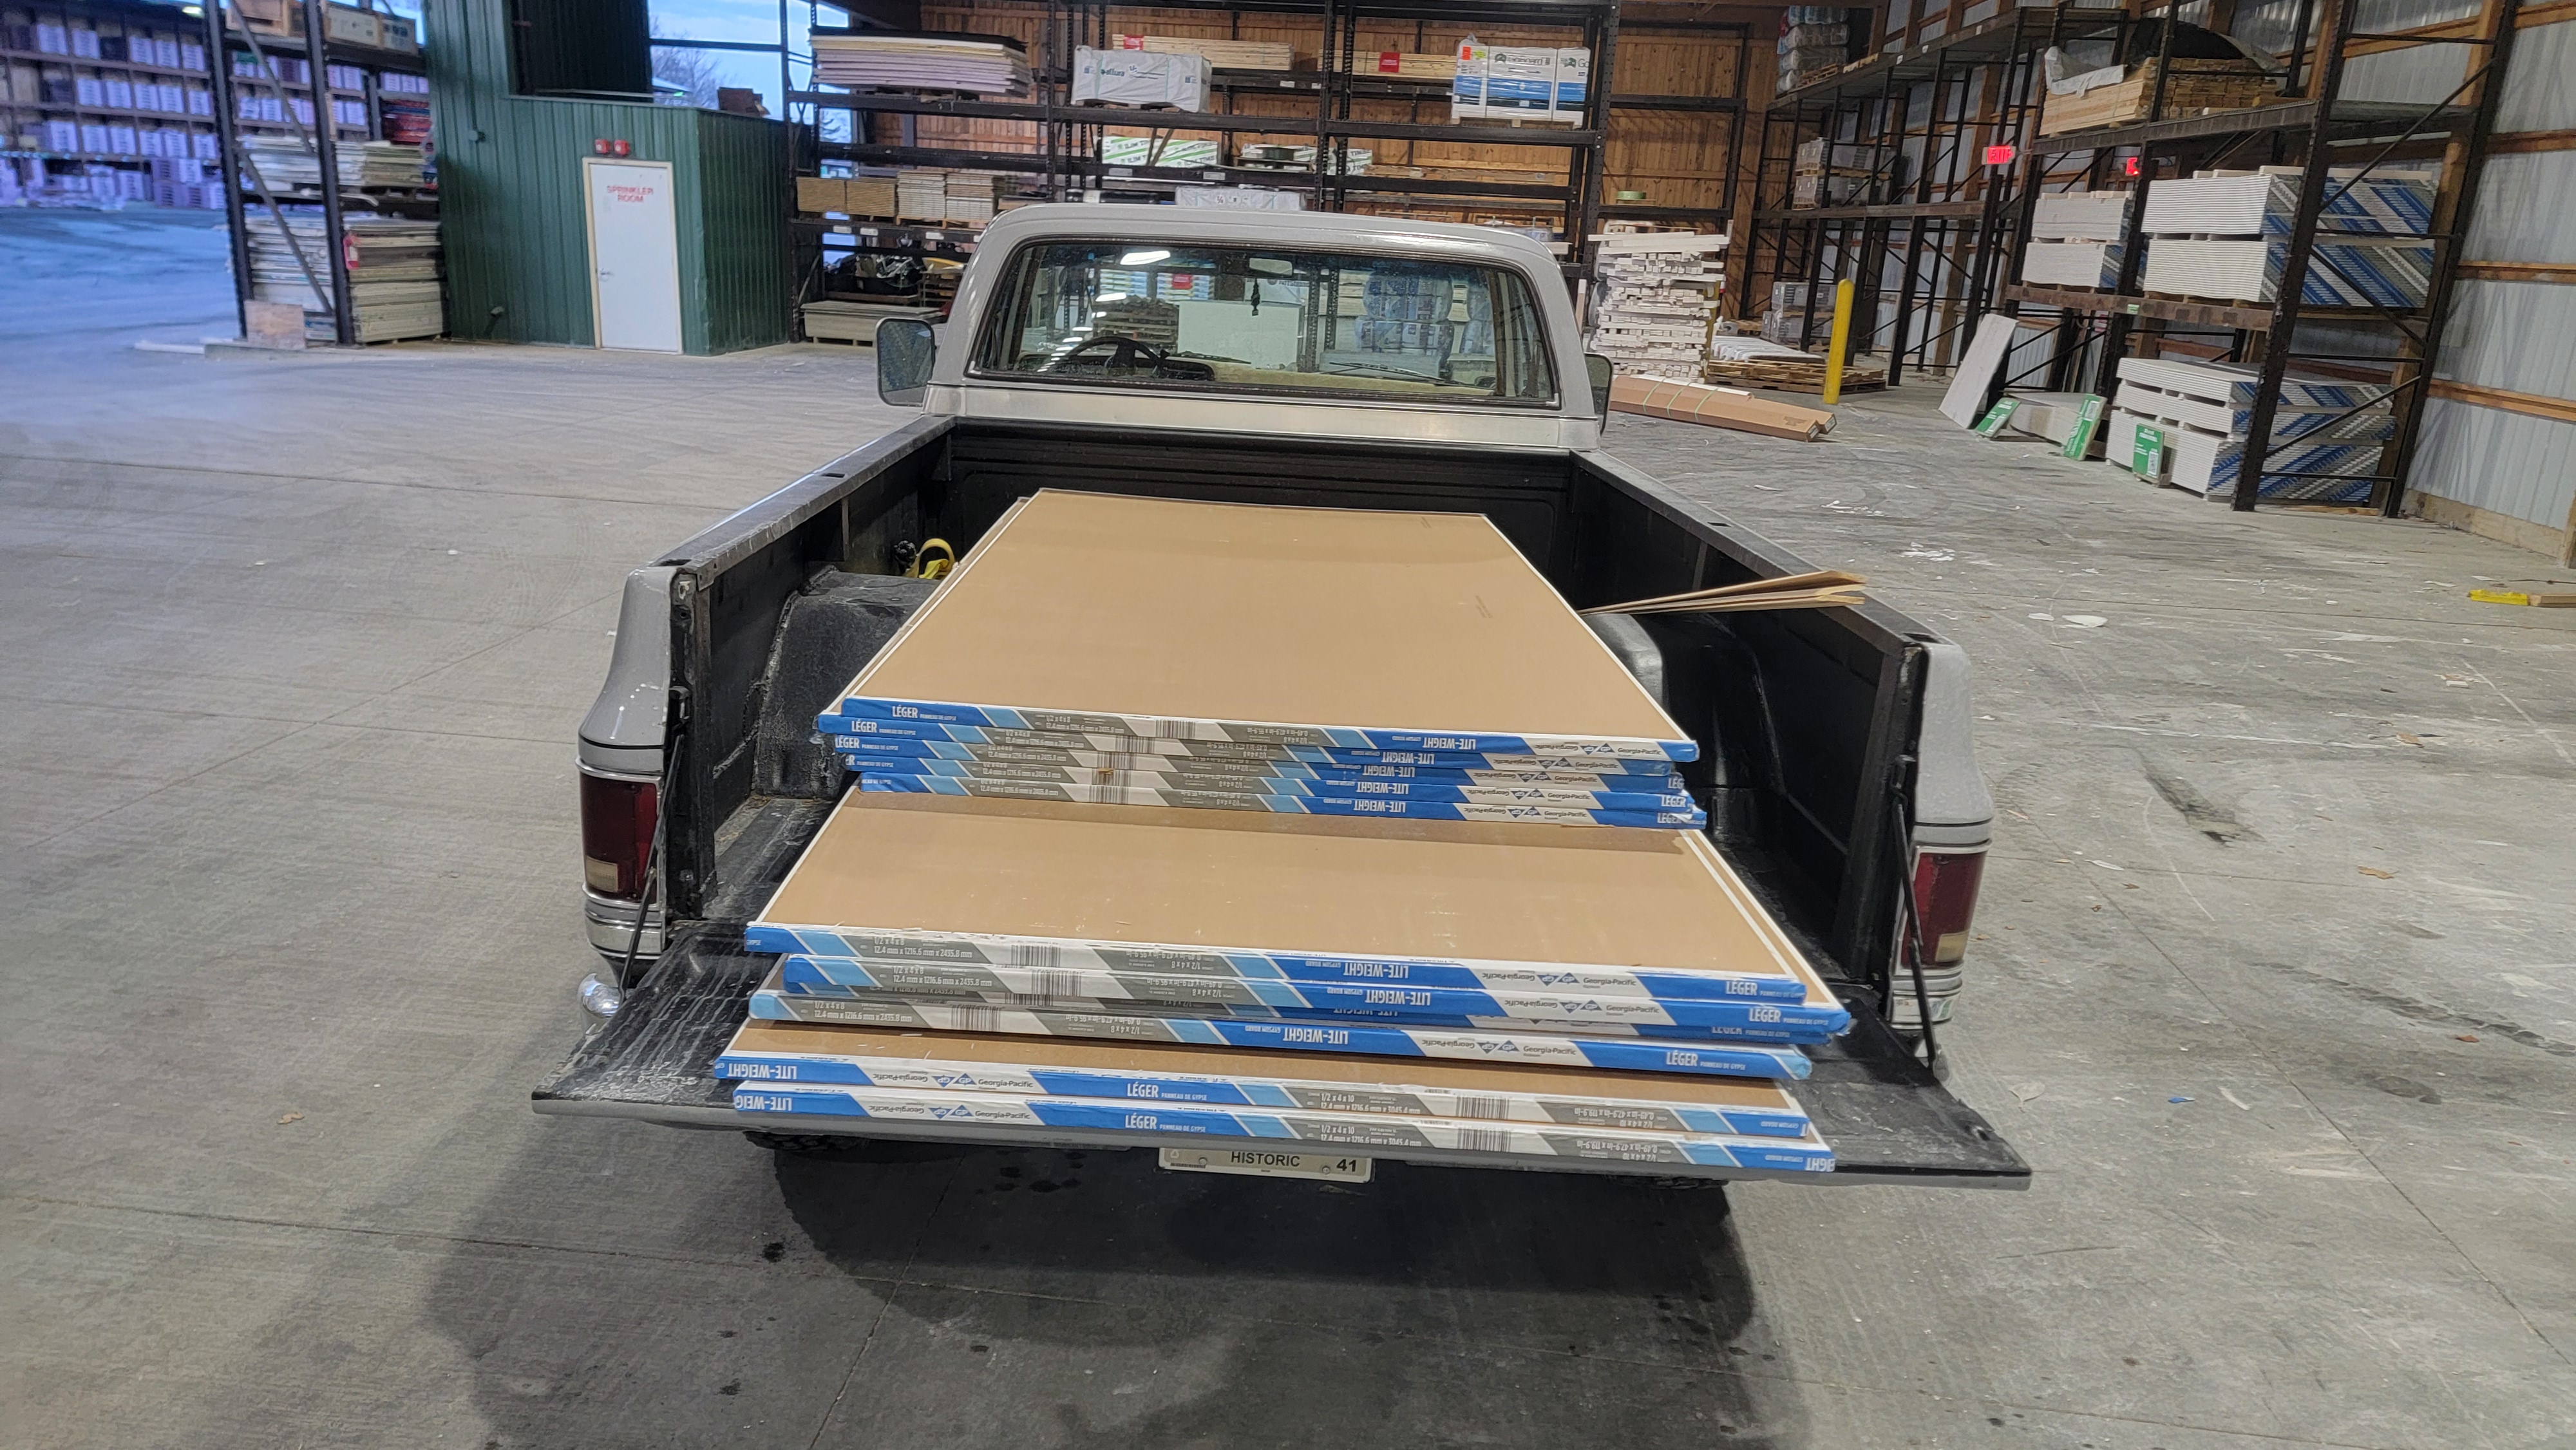
Eli and I went Thursday night to pick up the drywall. 4 sheets of 4×10 for the wall and 20 sheets of 4×8 for the ceilings. Putting his new truck to use definitely helped.
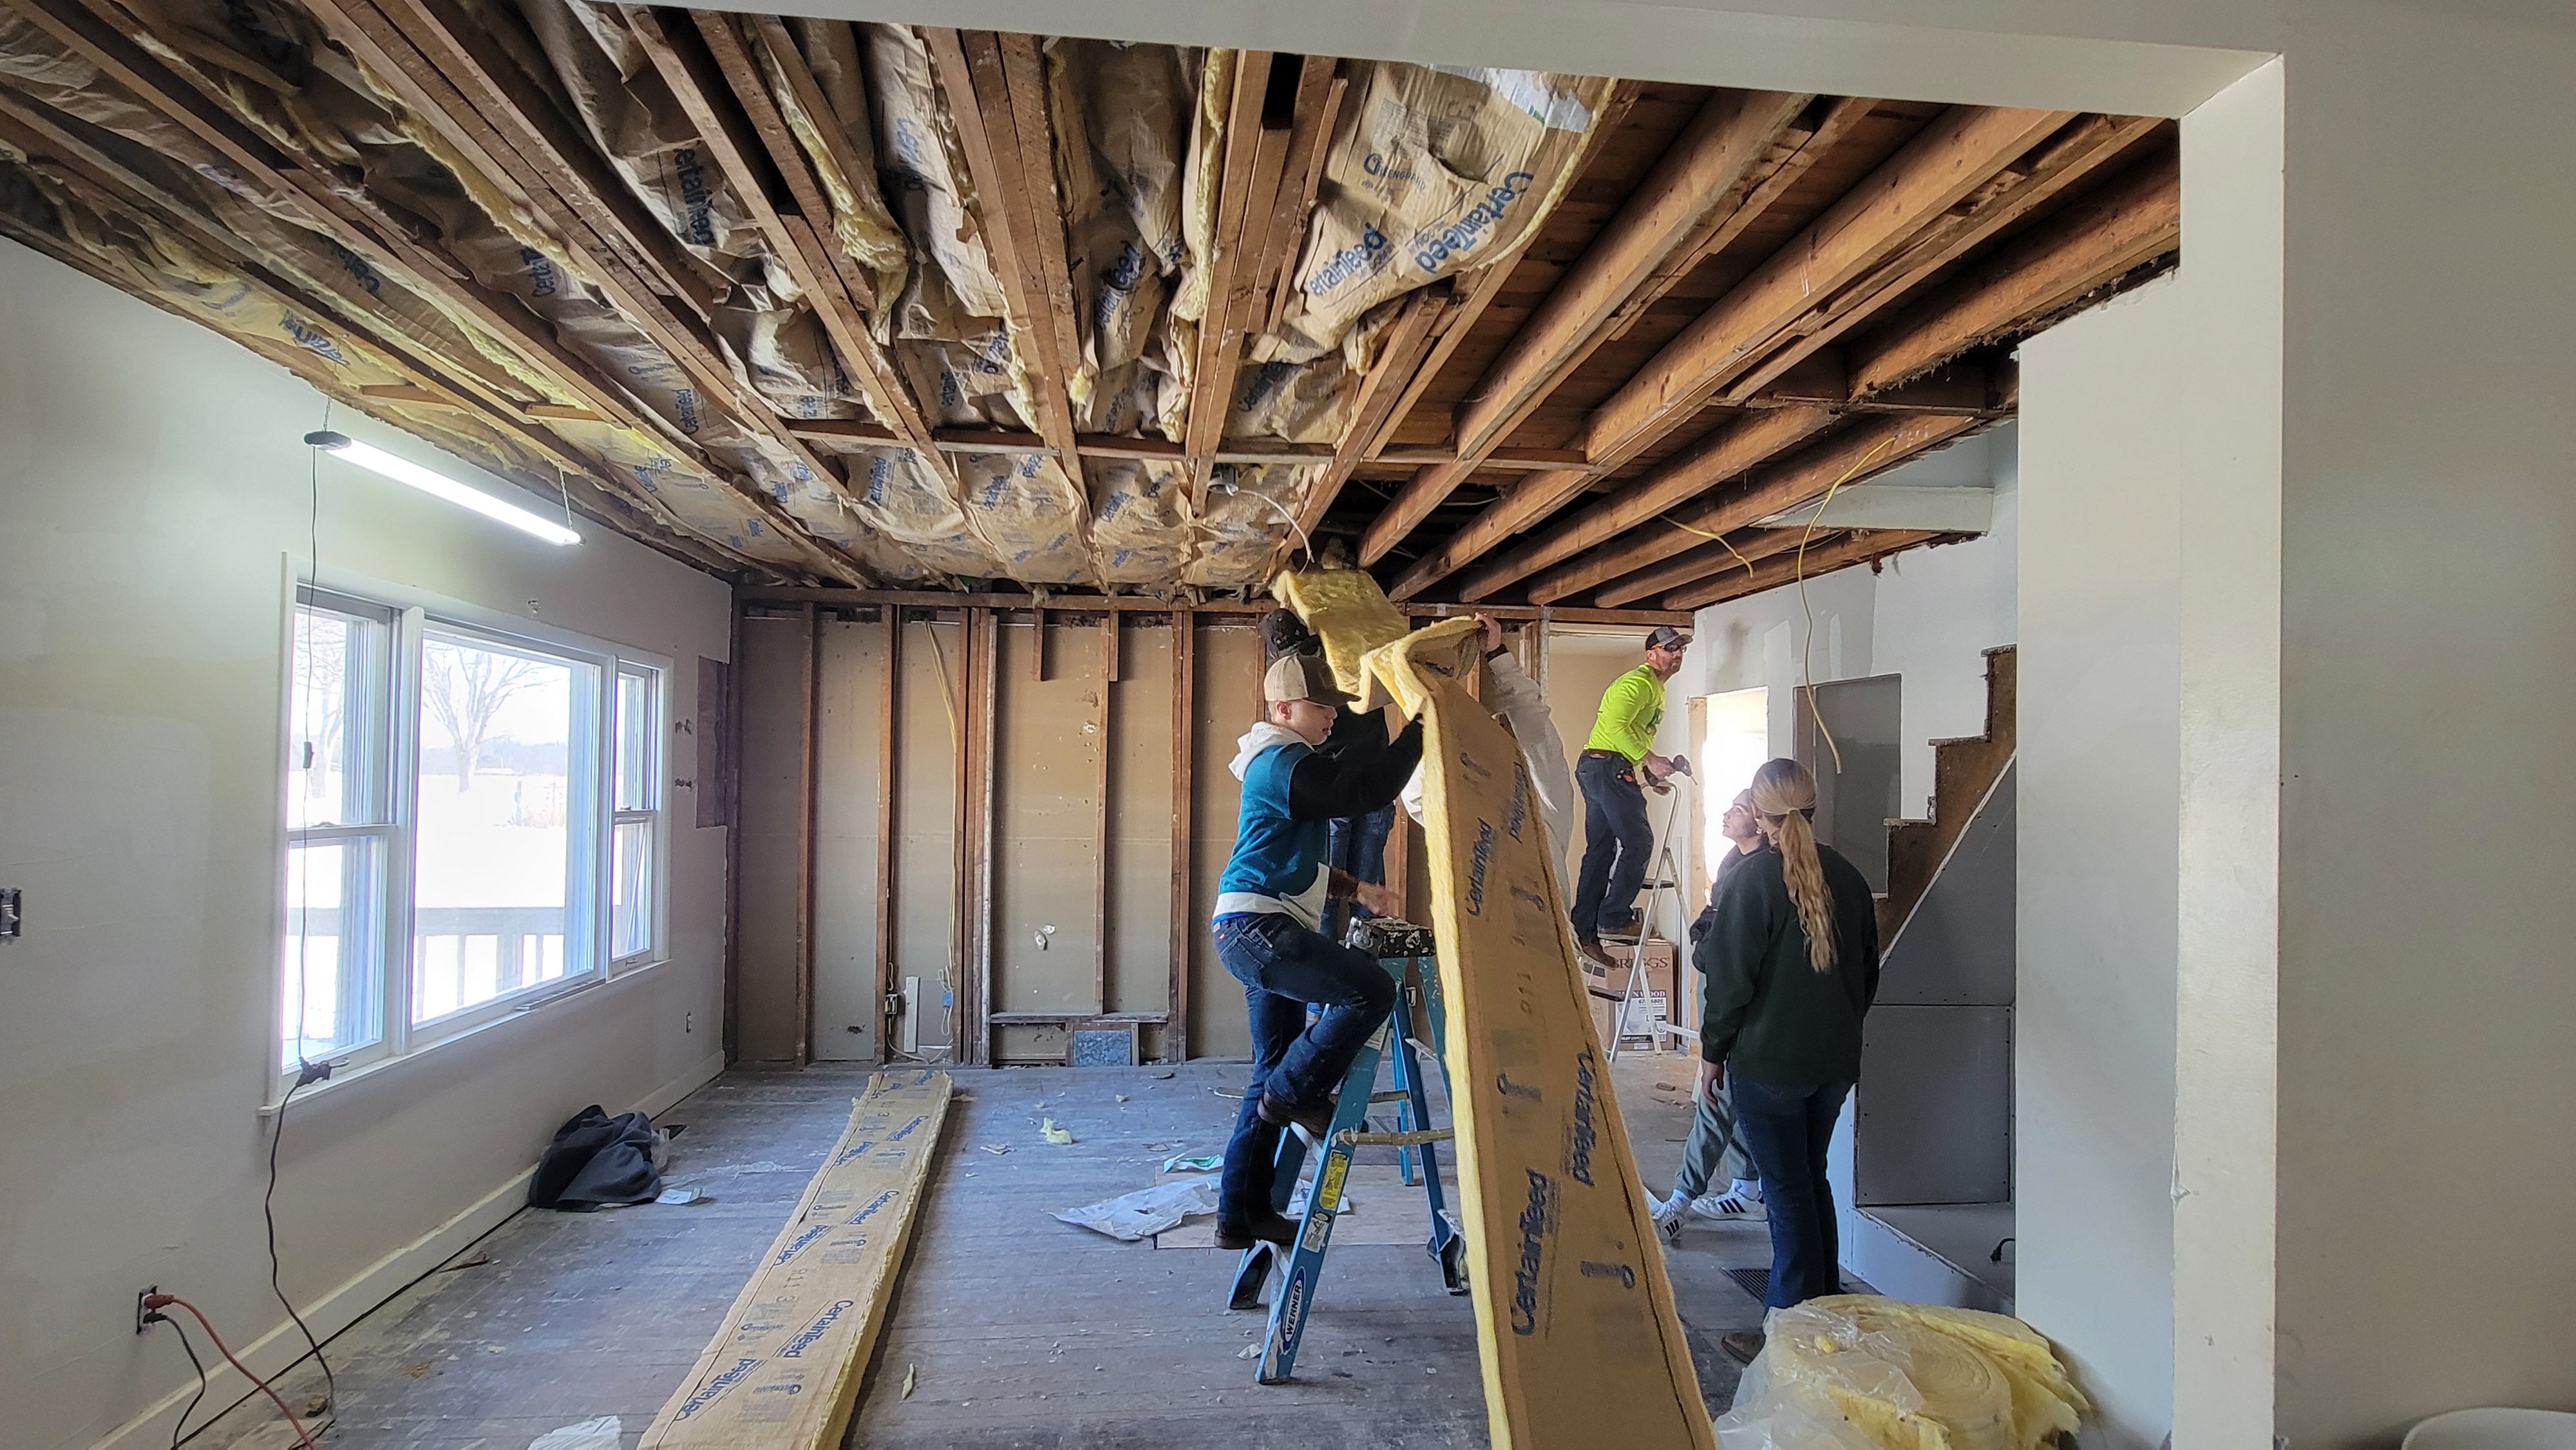
Just a sidebar here. This past week has been waking up with near-zero weather and not getting much warmer than that throughout the day. We got some snow on one day which has stuck around and made things slick. But the cold is making things a little more difficult to work in. That morning I went to Hadwell Hardware in Trafalgar to pick up some 2×4’s and the insulation to be put up between the ceiling joists. The guy helping me out didn’t act like he was too happy about going outside. Nice guy though.

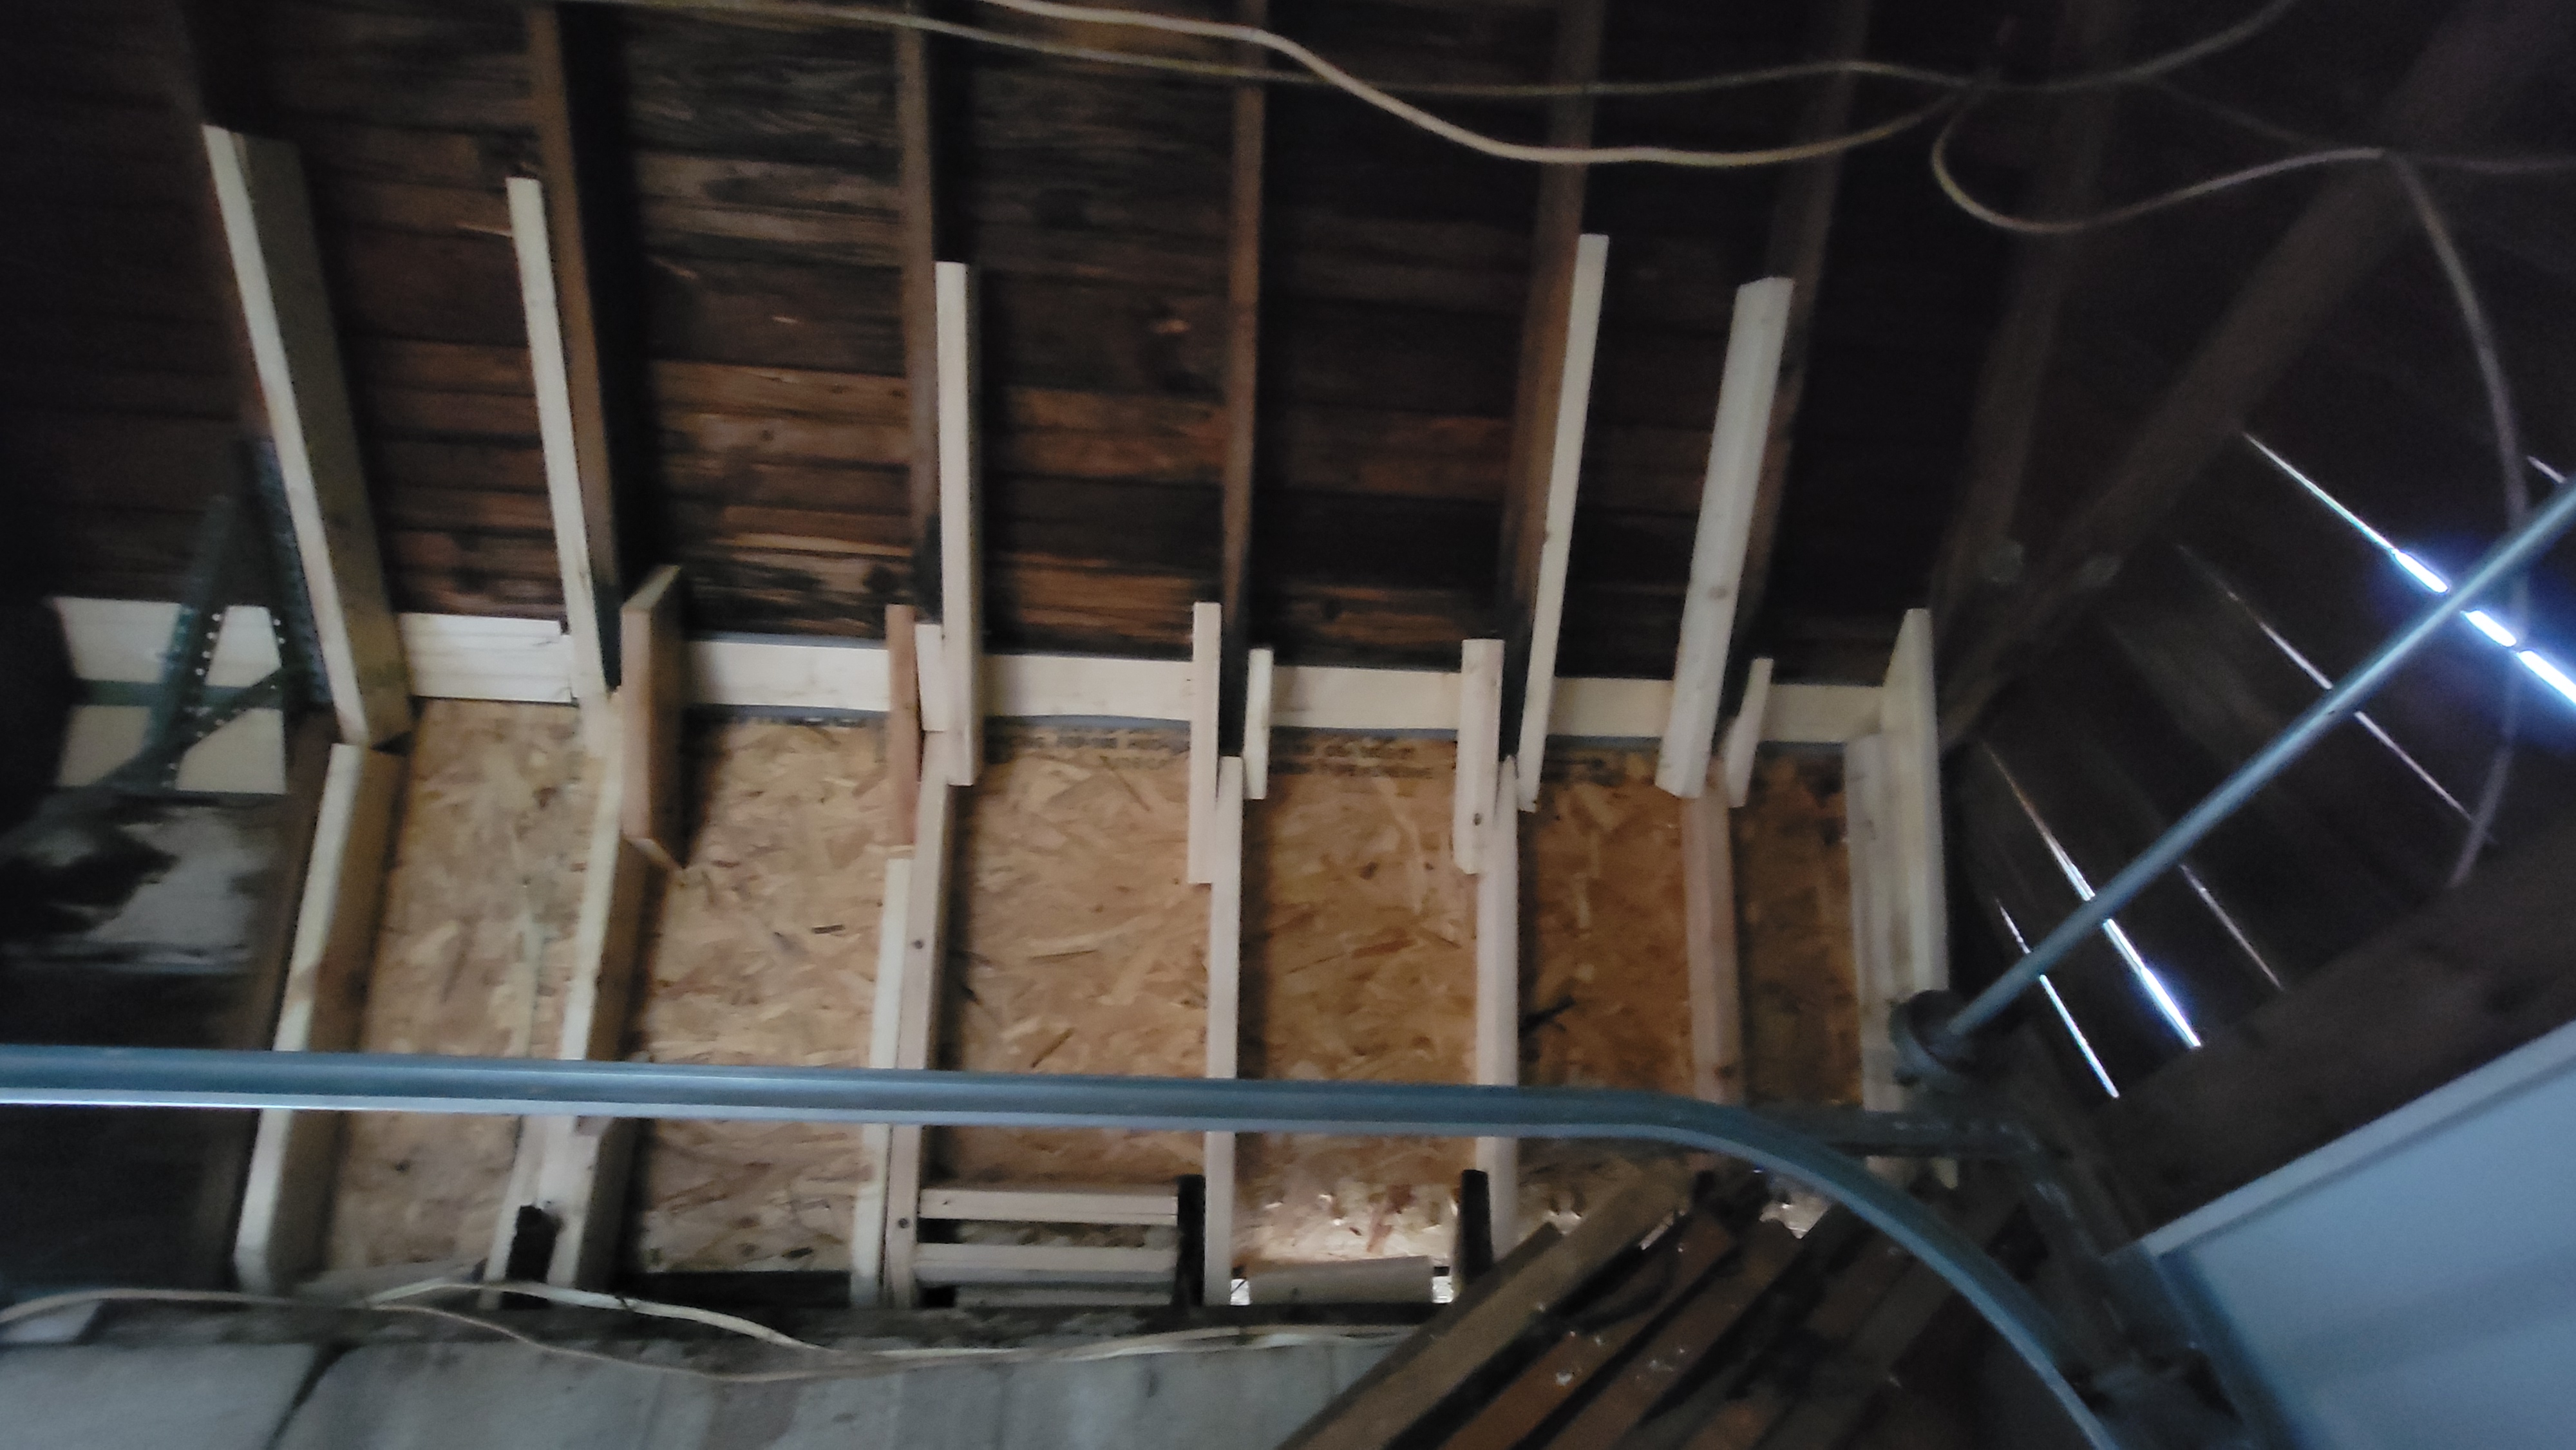
The family room drywall install went fairly straight forward. We had some drywall hanging experience, enough to get nine sheets up. I also had to construct a header to extend part of the wall where lower ceiling joists had previously been installed, so that’s what I concentrated on. The drywall went up on nice new recently-installed ceiling joists which were nice and level. Even then, it took most of the morning and into the afternoon to get those sheets up, along with the insulation.
The living room was a different story. It ended up being more of a learning experience for us than an actual productive part of the day. Turns out that wall studs and ceiling joists tend to sag and bend and settle in over a few decades. Neither the joists or the studs were straight any longer, nor were they warping at the same rates. So we learned that we have some more prep to do before installing the drywall in that room. We ended up wrapping up for the day at about 7:30pm. It was a very tiring day. But it’s so much fun to watch the house come together. And also good to know that there are so many people willing to help us out.