A day late and a dollar short.
Yep, I’m a day late in getting my weekly post out, but turns out we’re several dollars short. But that’s par for the course for the McCauley Family! Lots of exciting activity this past week as we start to wrap up this renovation and get closer to living in our (hopefully) last home.
The crew’s work on the back wall came to a halt as they are waiting for windows to arrive. Again, super-friendly crew, very helpful and very professional. Overall, the experience with our crews has been positive and rewarding. It’s looking really good!
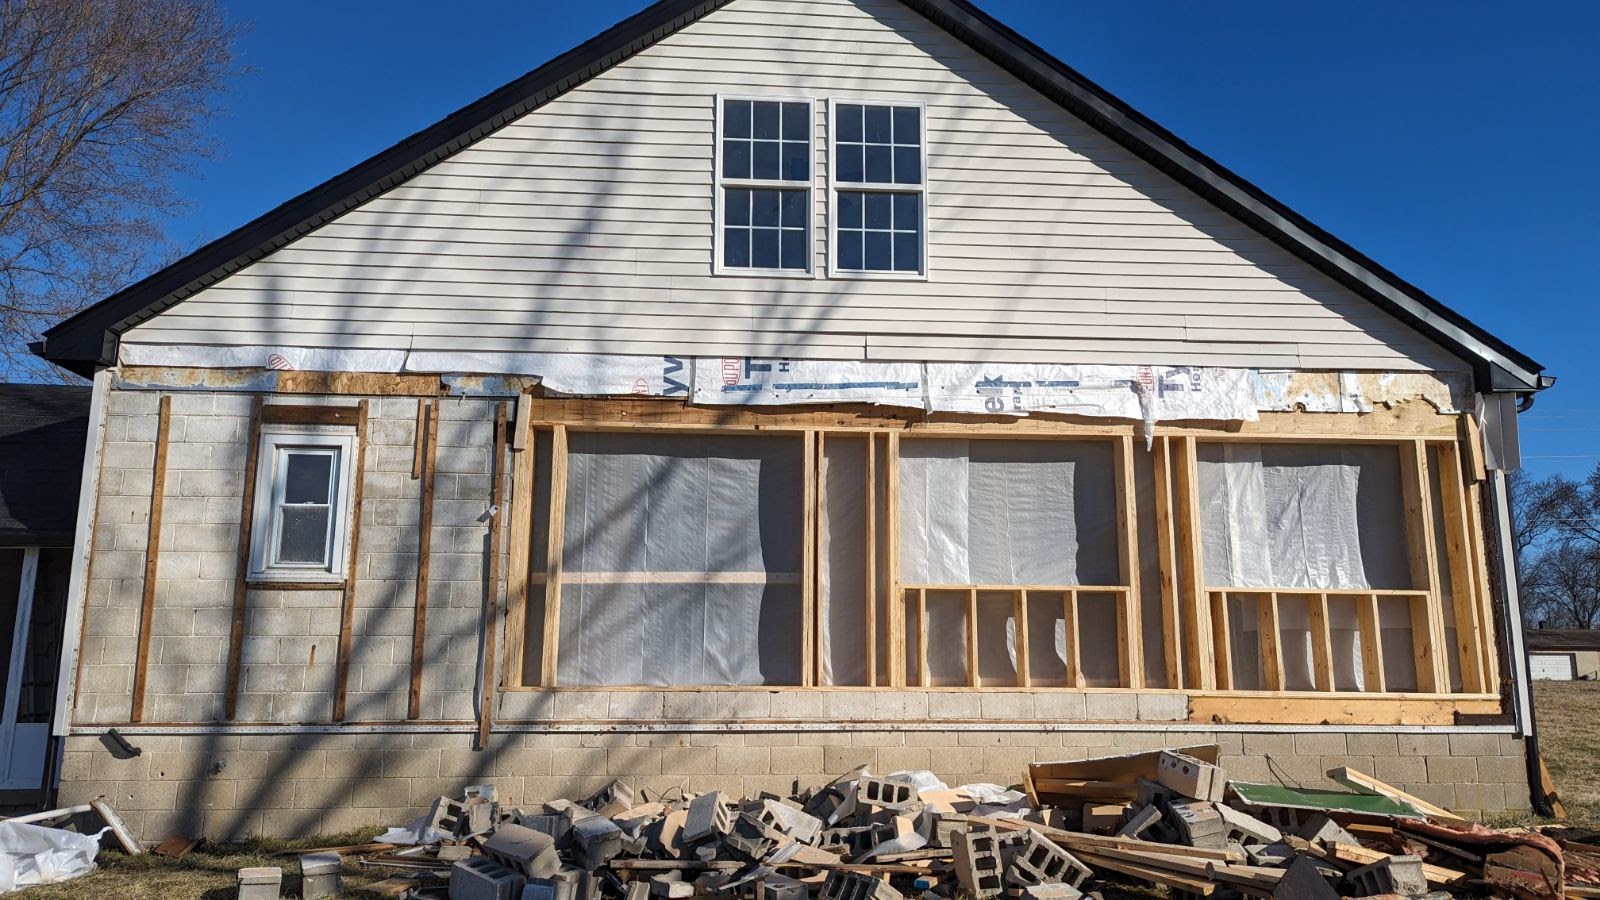


Working with an older house like this means working with horizontal surfaces which are no longer horizontal, walls which are possibly not vertical, and corners which have the potential of no longer being square. Add, in the efforts to preserve the historical integrity of the house, as best as we can, by using salvaged/antique fixtures, it’s complicated things.
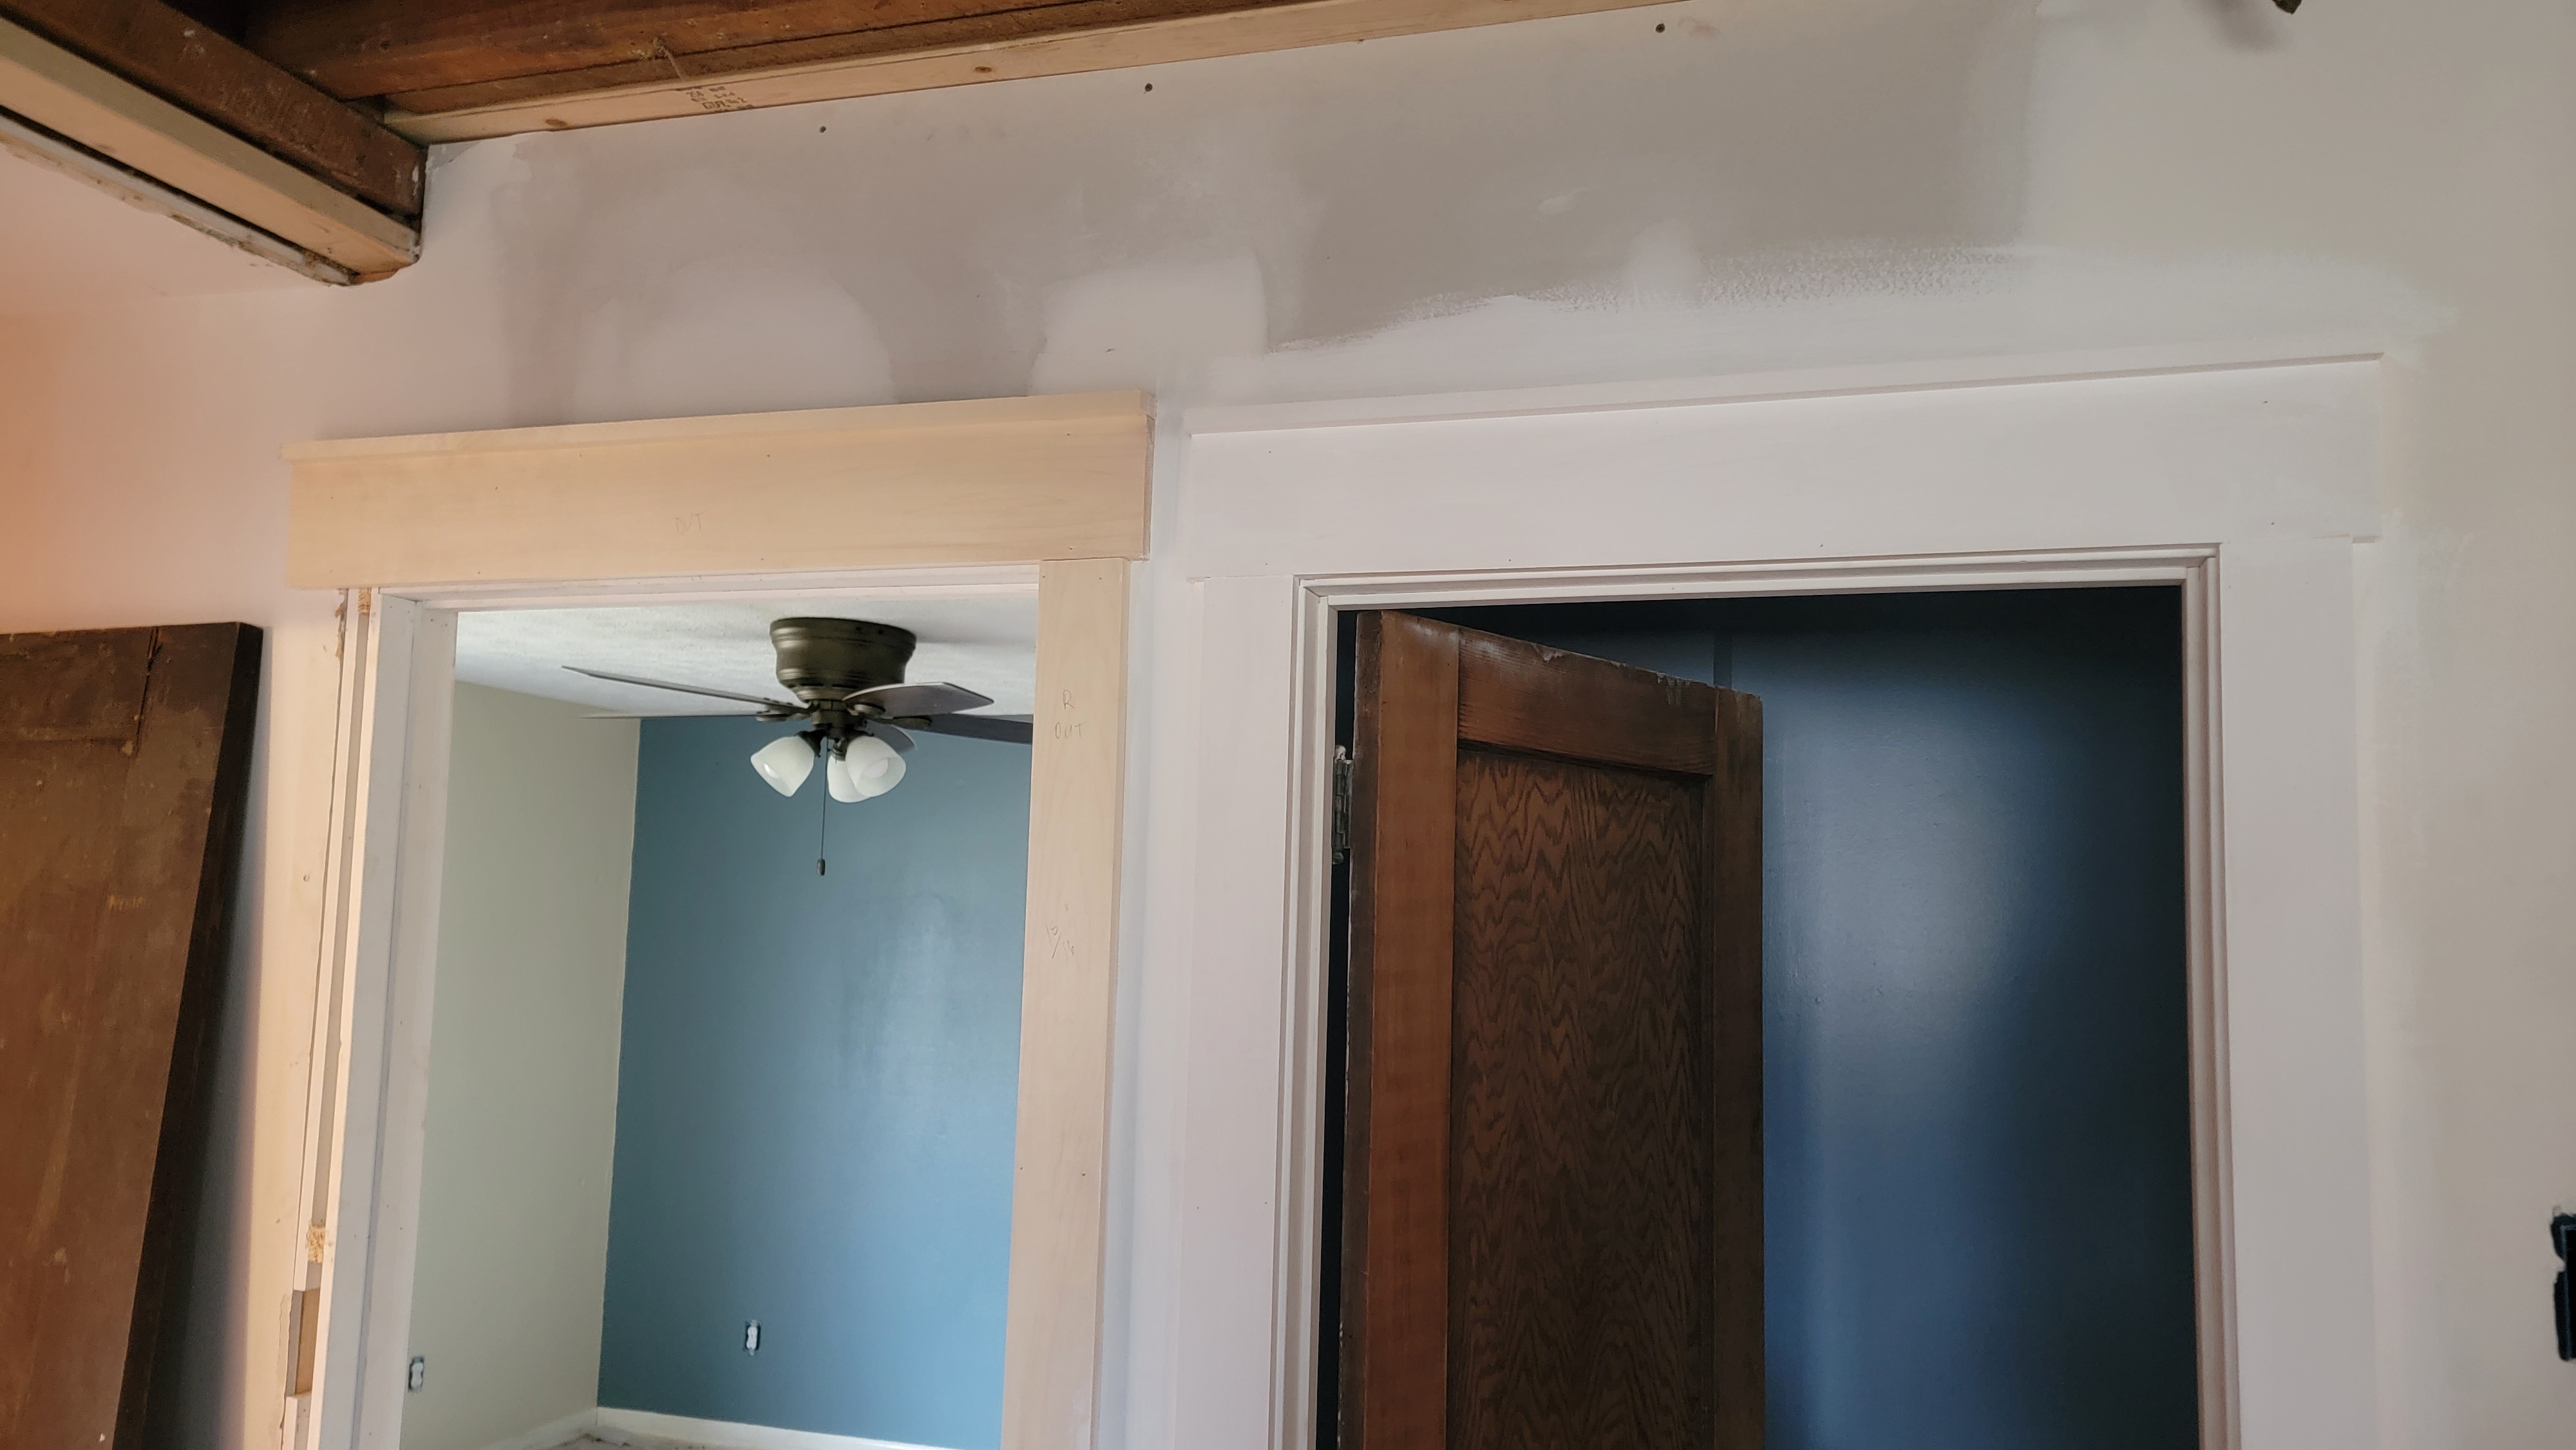
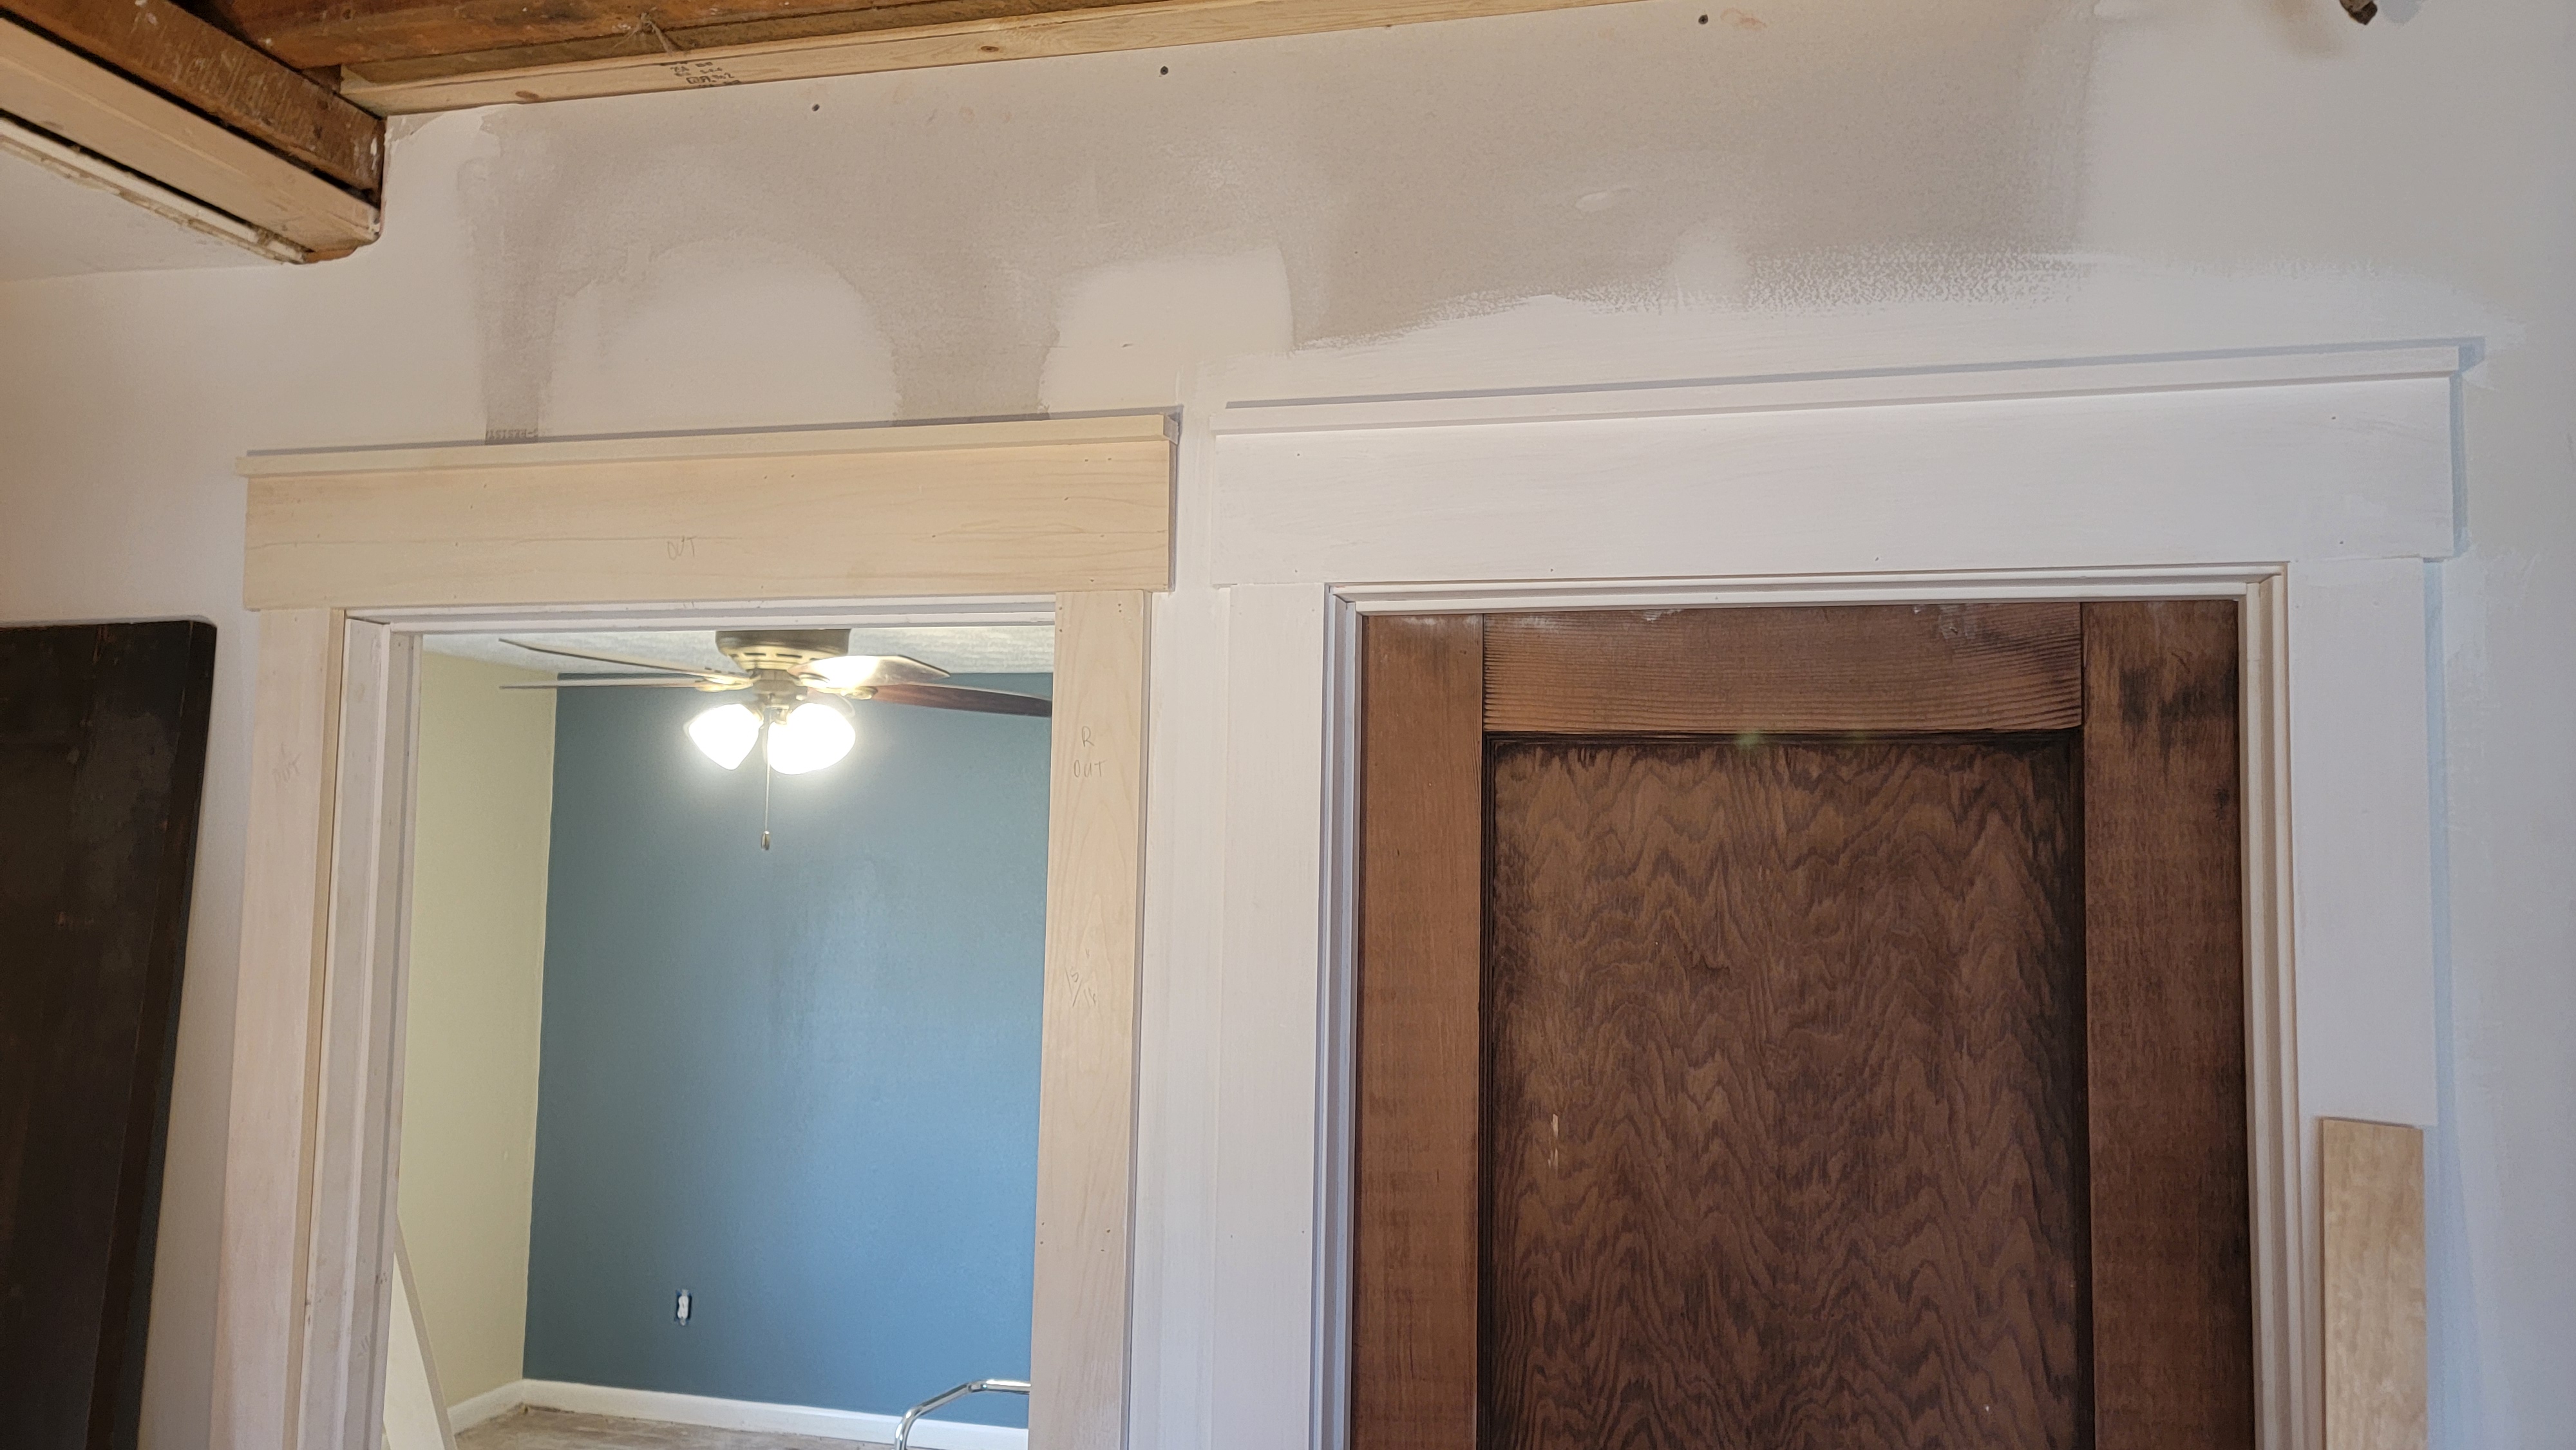
As discussed in a previous post, Sonya found some salvaged doors online that we wanted to use in the house somehow. We chose the two best doors to be hung in our bedroom and the 1st floor bathroom since they would be the most visible. So (without any real instructions from us), the crew installed them as-is. Which was fine. But, mostly (we think) because of the floors not being entirely level, the bedroom door on the left was about an entire inch higher than the bathroom door on the right. We were kinda baffled as to why they were installed this way, but we weren’t going to make a stink about it.
It was time for me to learn how to hang a door anyway. So, to my surprise, I was able to take down the bedroom door, take off the trim, take out the jamb, saw about15/16″ off of the bottom of the door (which is probably the reason why they didn’t want to mess with the two doors being the same height) and from the bottom of the door jamb, and reinstall everything. I was a nervous wreck while doing this! I thought for sure something was going to go wrong here. But in the end, it turned out pretty good. The bedroom door is just a hair lower than the bathroom door now, but not enough to really be too visible. Much better than before anyway.
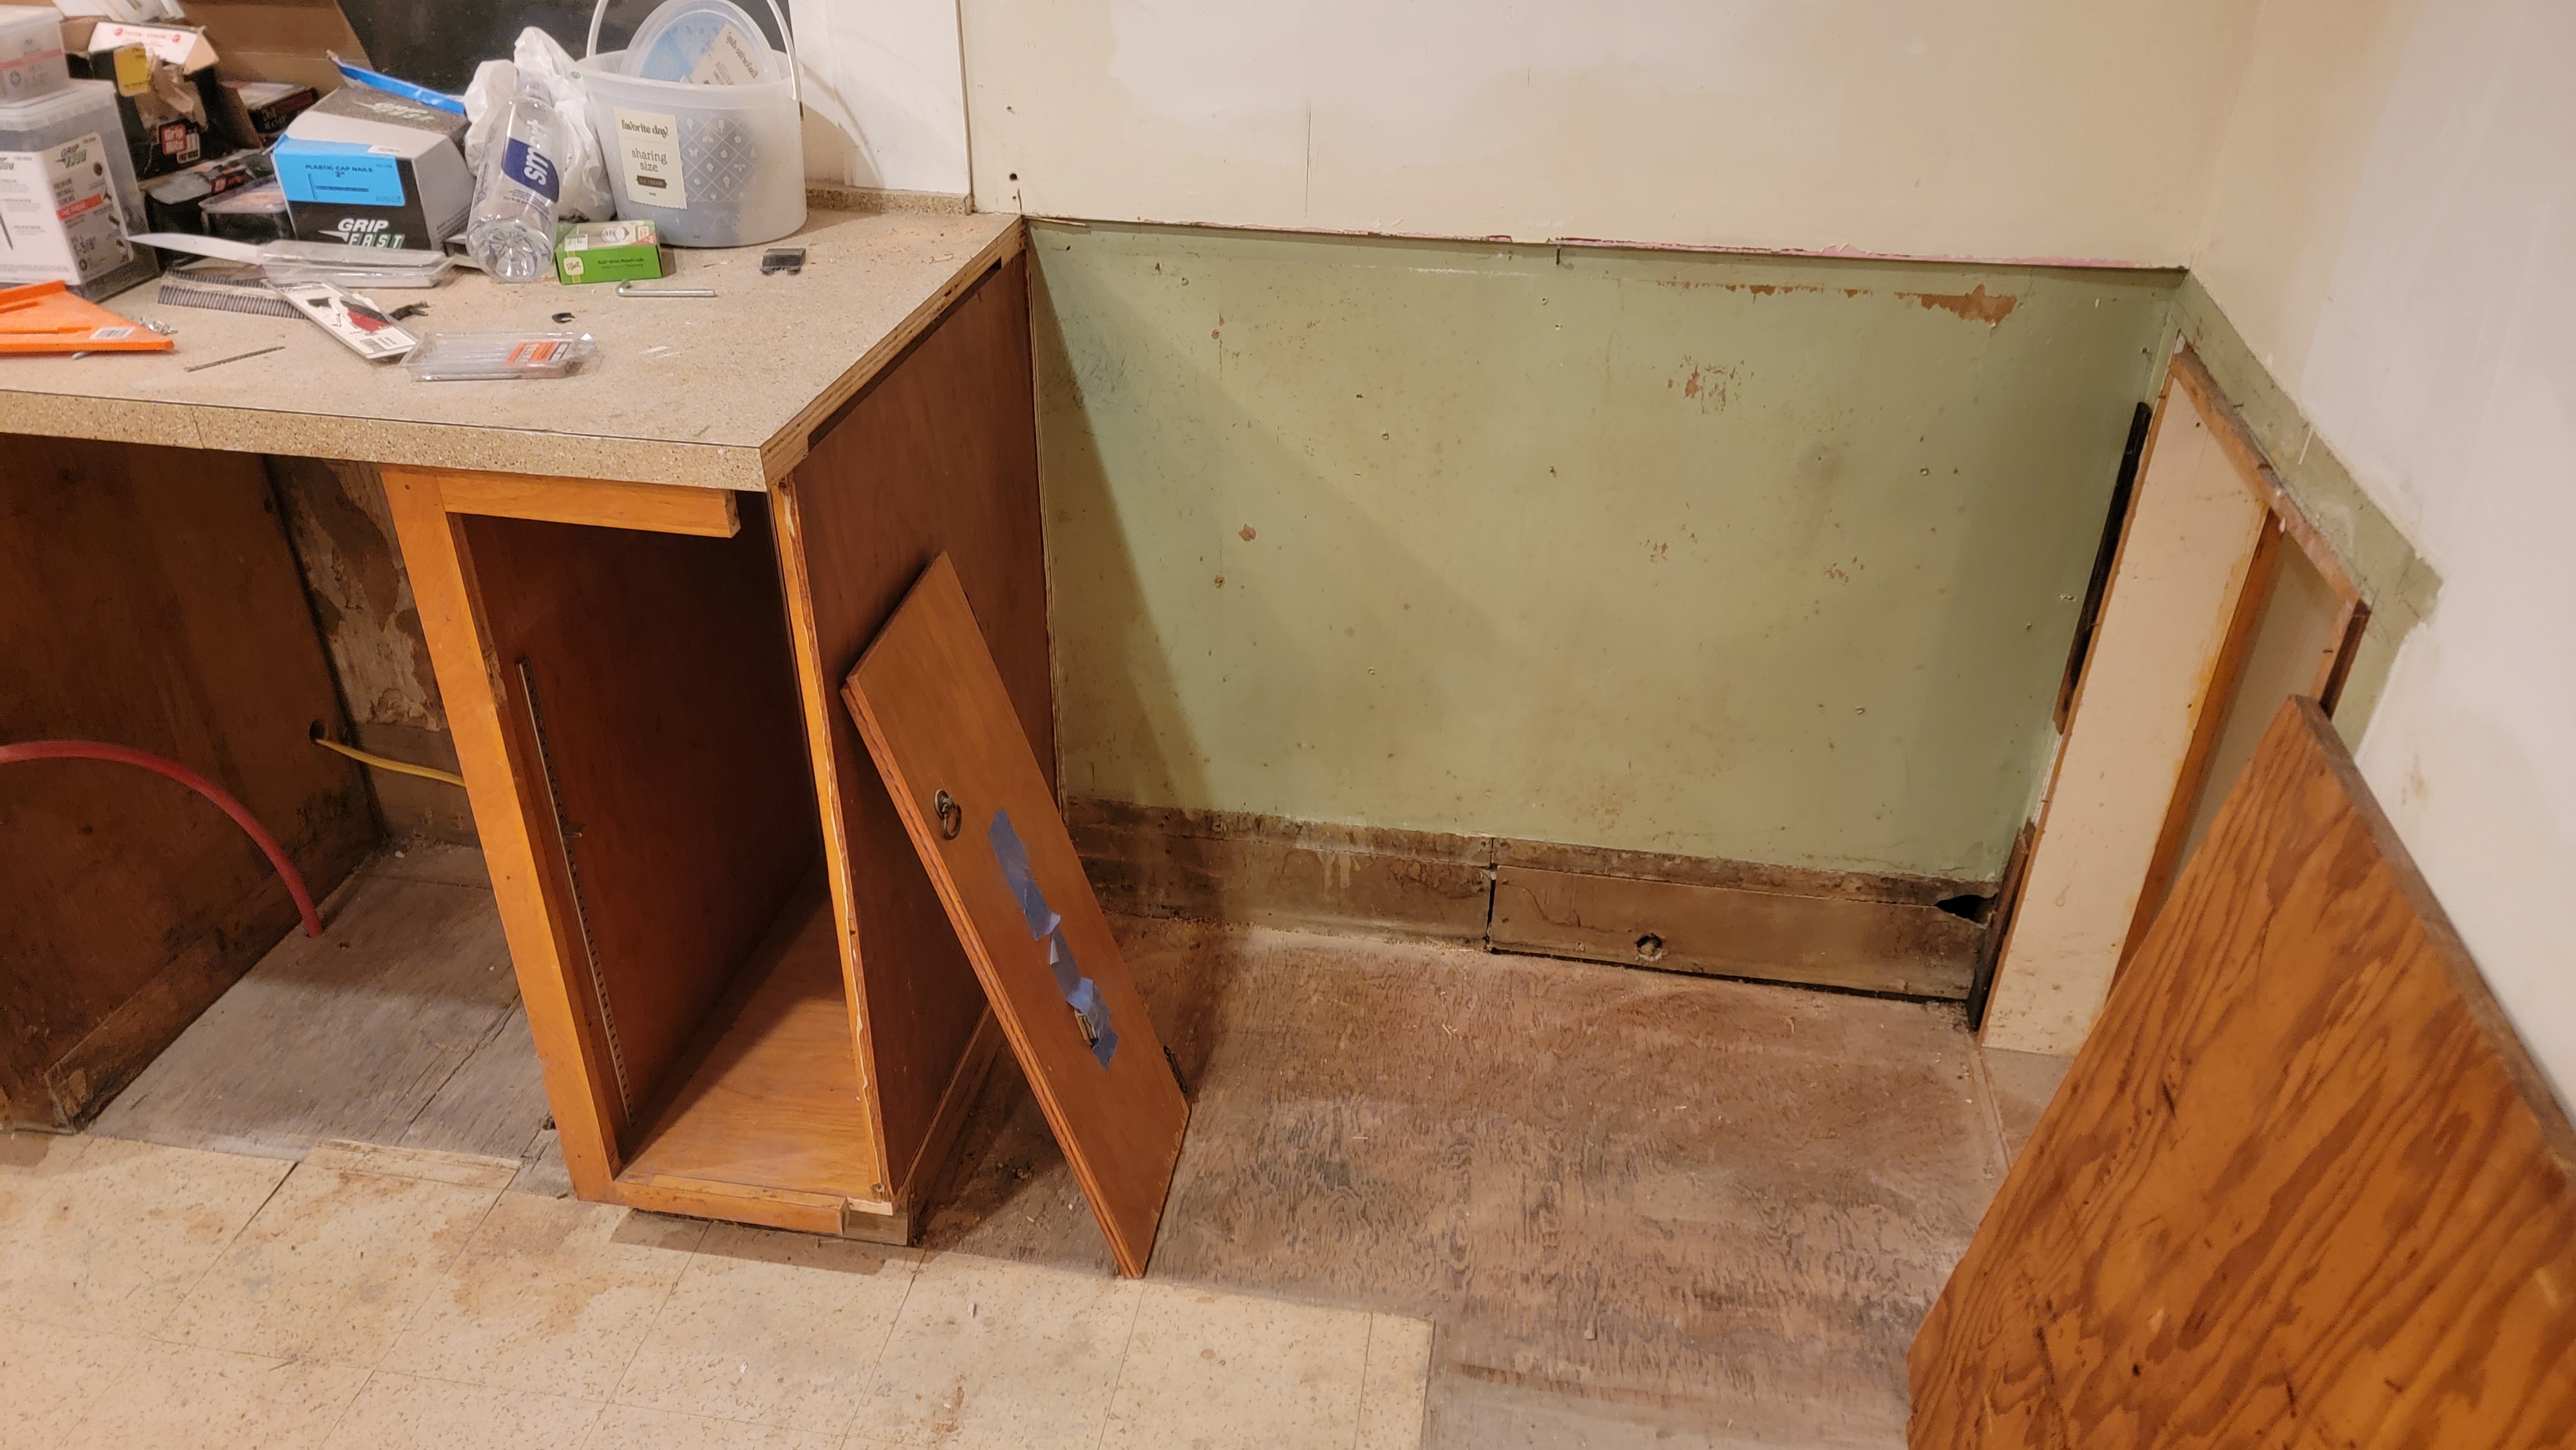
Throughout the week, we just accomplished a number of little jobs that needed to be done. Tuesday night, I prepped the area where the refrigerator is going to go. The countertop needed to be cut and the cabinet needed to be altered. Sonya had the idea that the end cabinet next to the refrigerator could be used for larger pans and sheets. I repurposed a cabinet door and cabinet end that had been taken out, fabricated some trim, installed everything, and it looked… okay? Good enough? We’ll go with “good enough for now”. It’ll look better once its painted.
Thursday night, Seth and I worked on the drain system under the kitchen in the basement. The old system was a hoot – PVC which was angled incorrectly, going into cast-iron pipe under the washer in the laundry room, back into PVC under the slop sink in the laundry room. Easy fix, just a bit too much to be a one-man job. Seth was a big help and I was able to teach him how to glue PVC, which is always a handy skill.
We’re still running water lines. I ran a water line to the dishwasher and to the refrigerator for the ice maker. I still have yet to run water to the two spigots and to the washer and slop sink in the laundry room. In time.
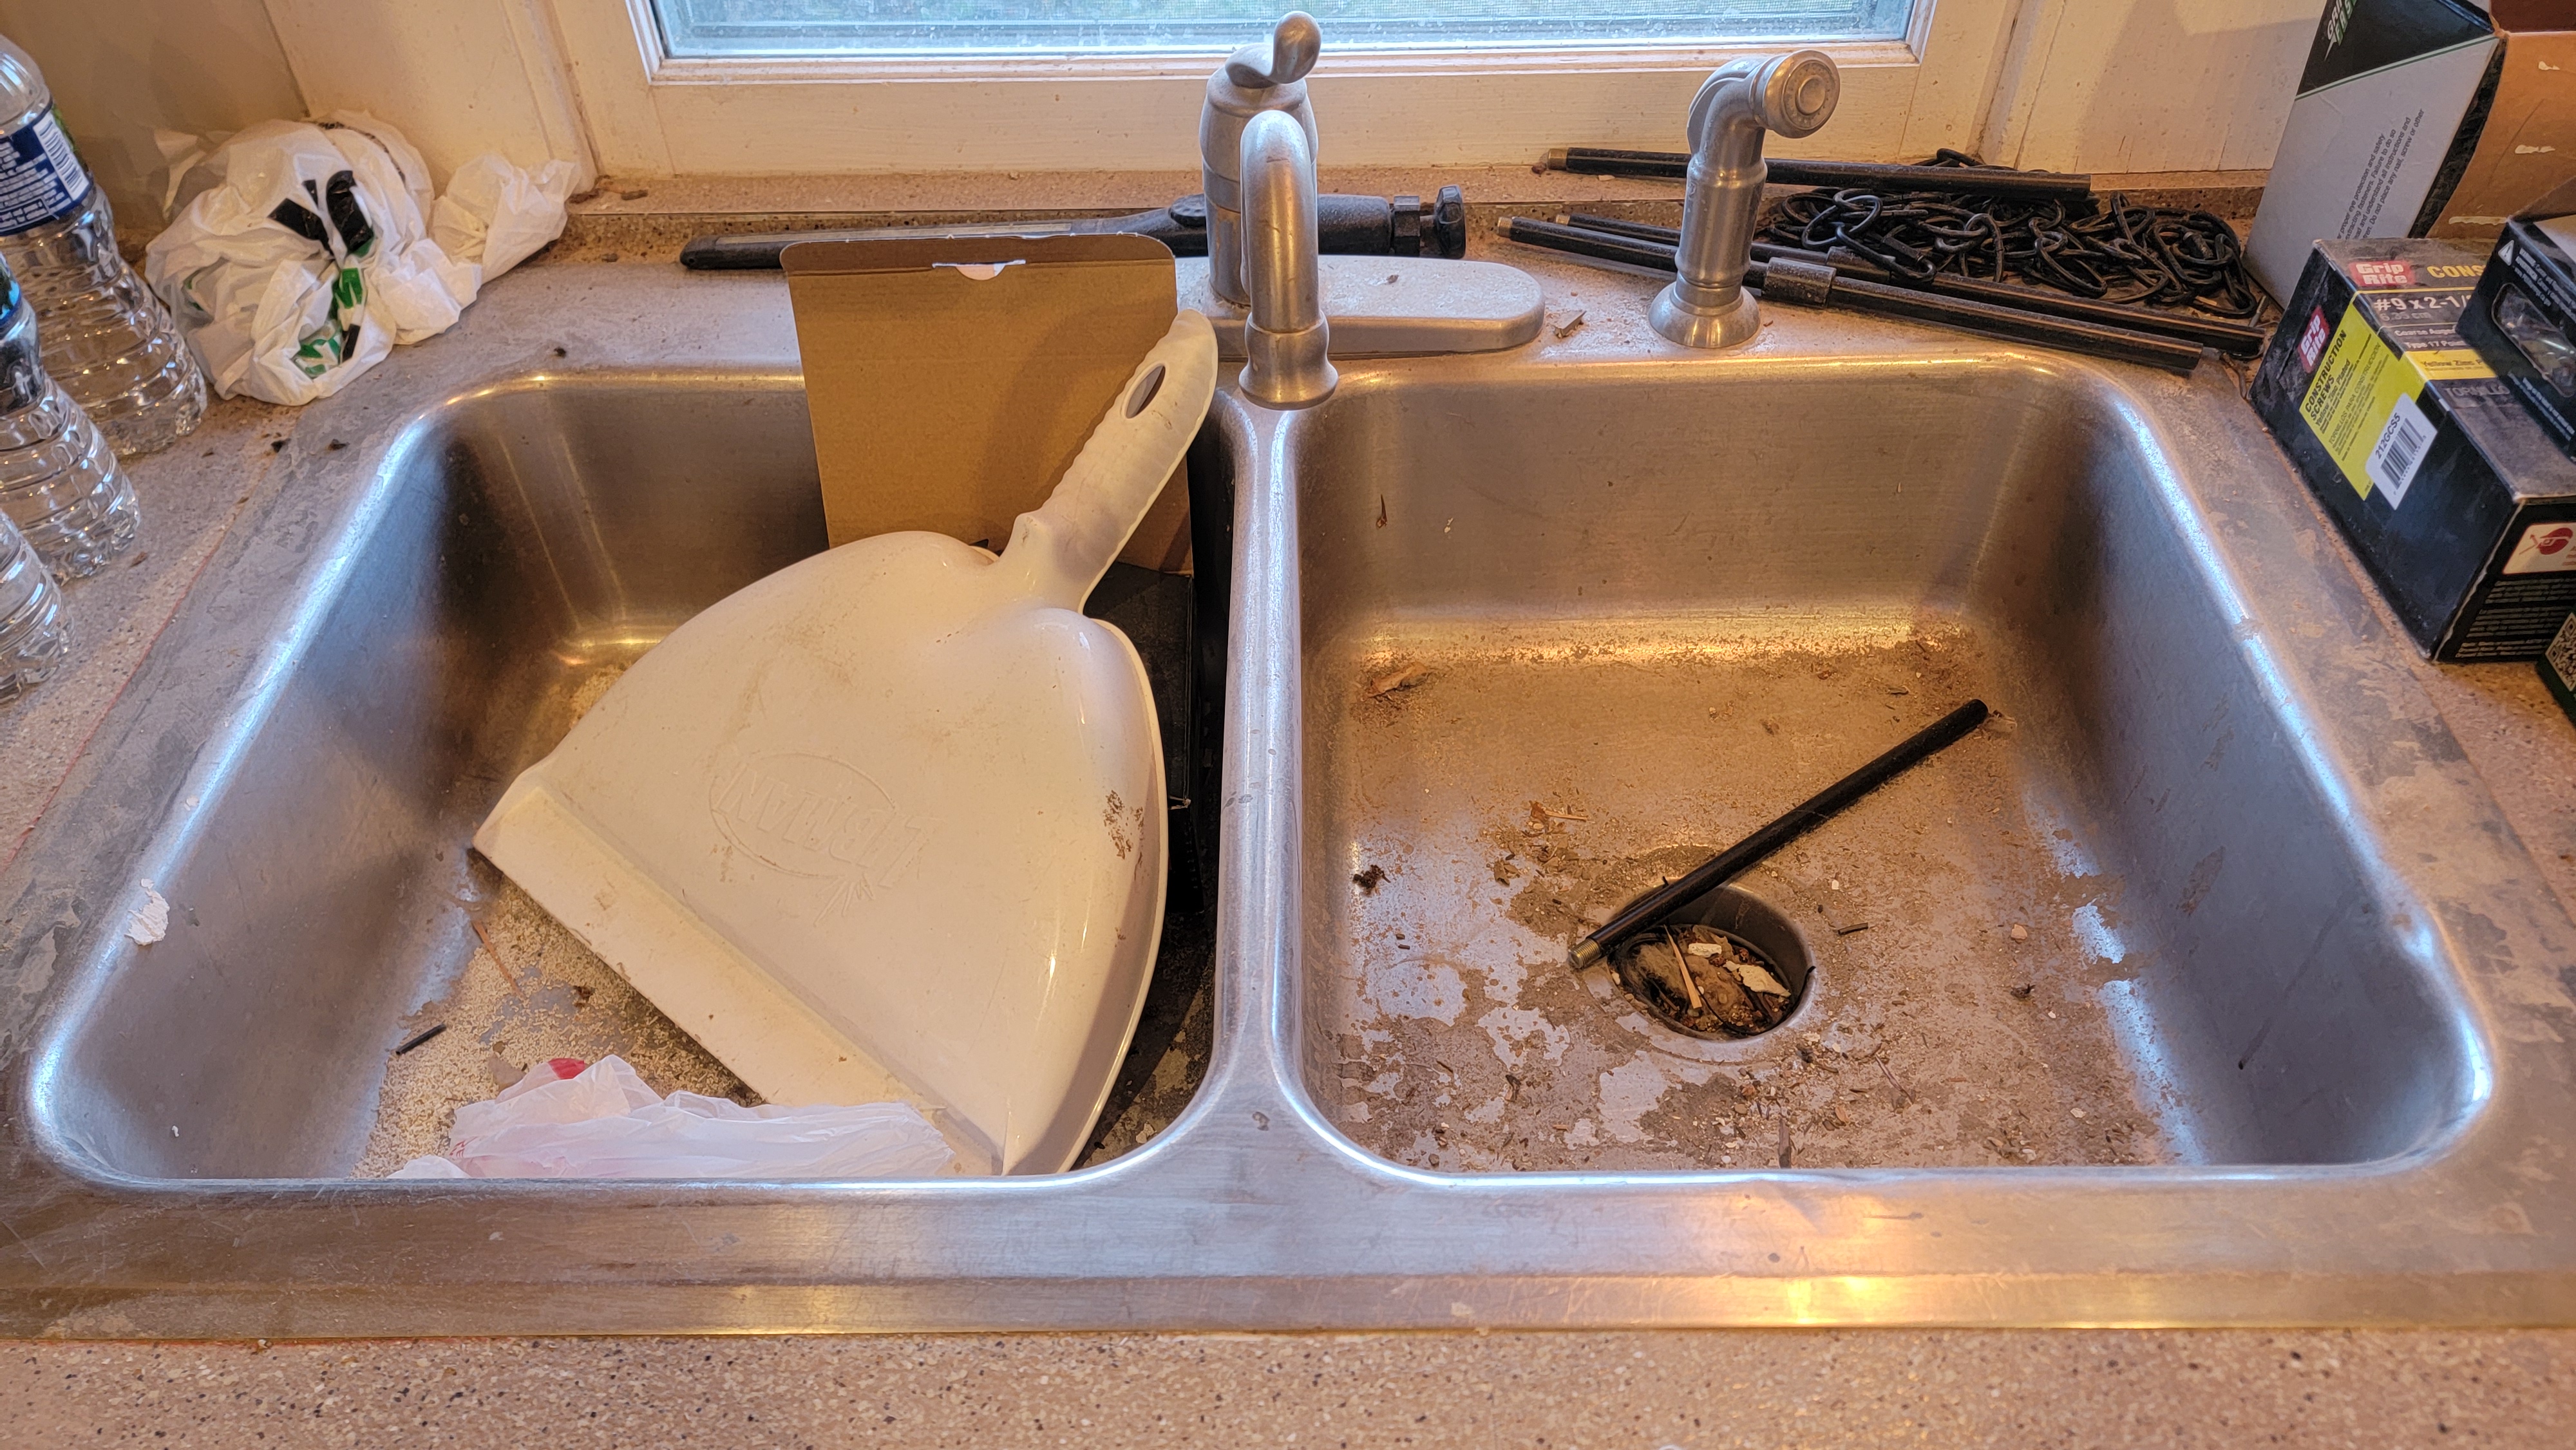
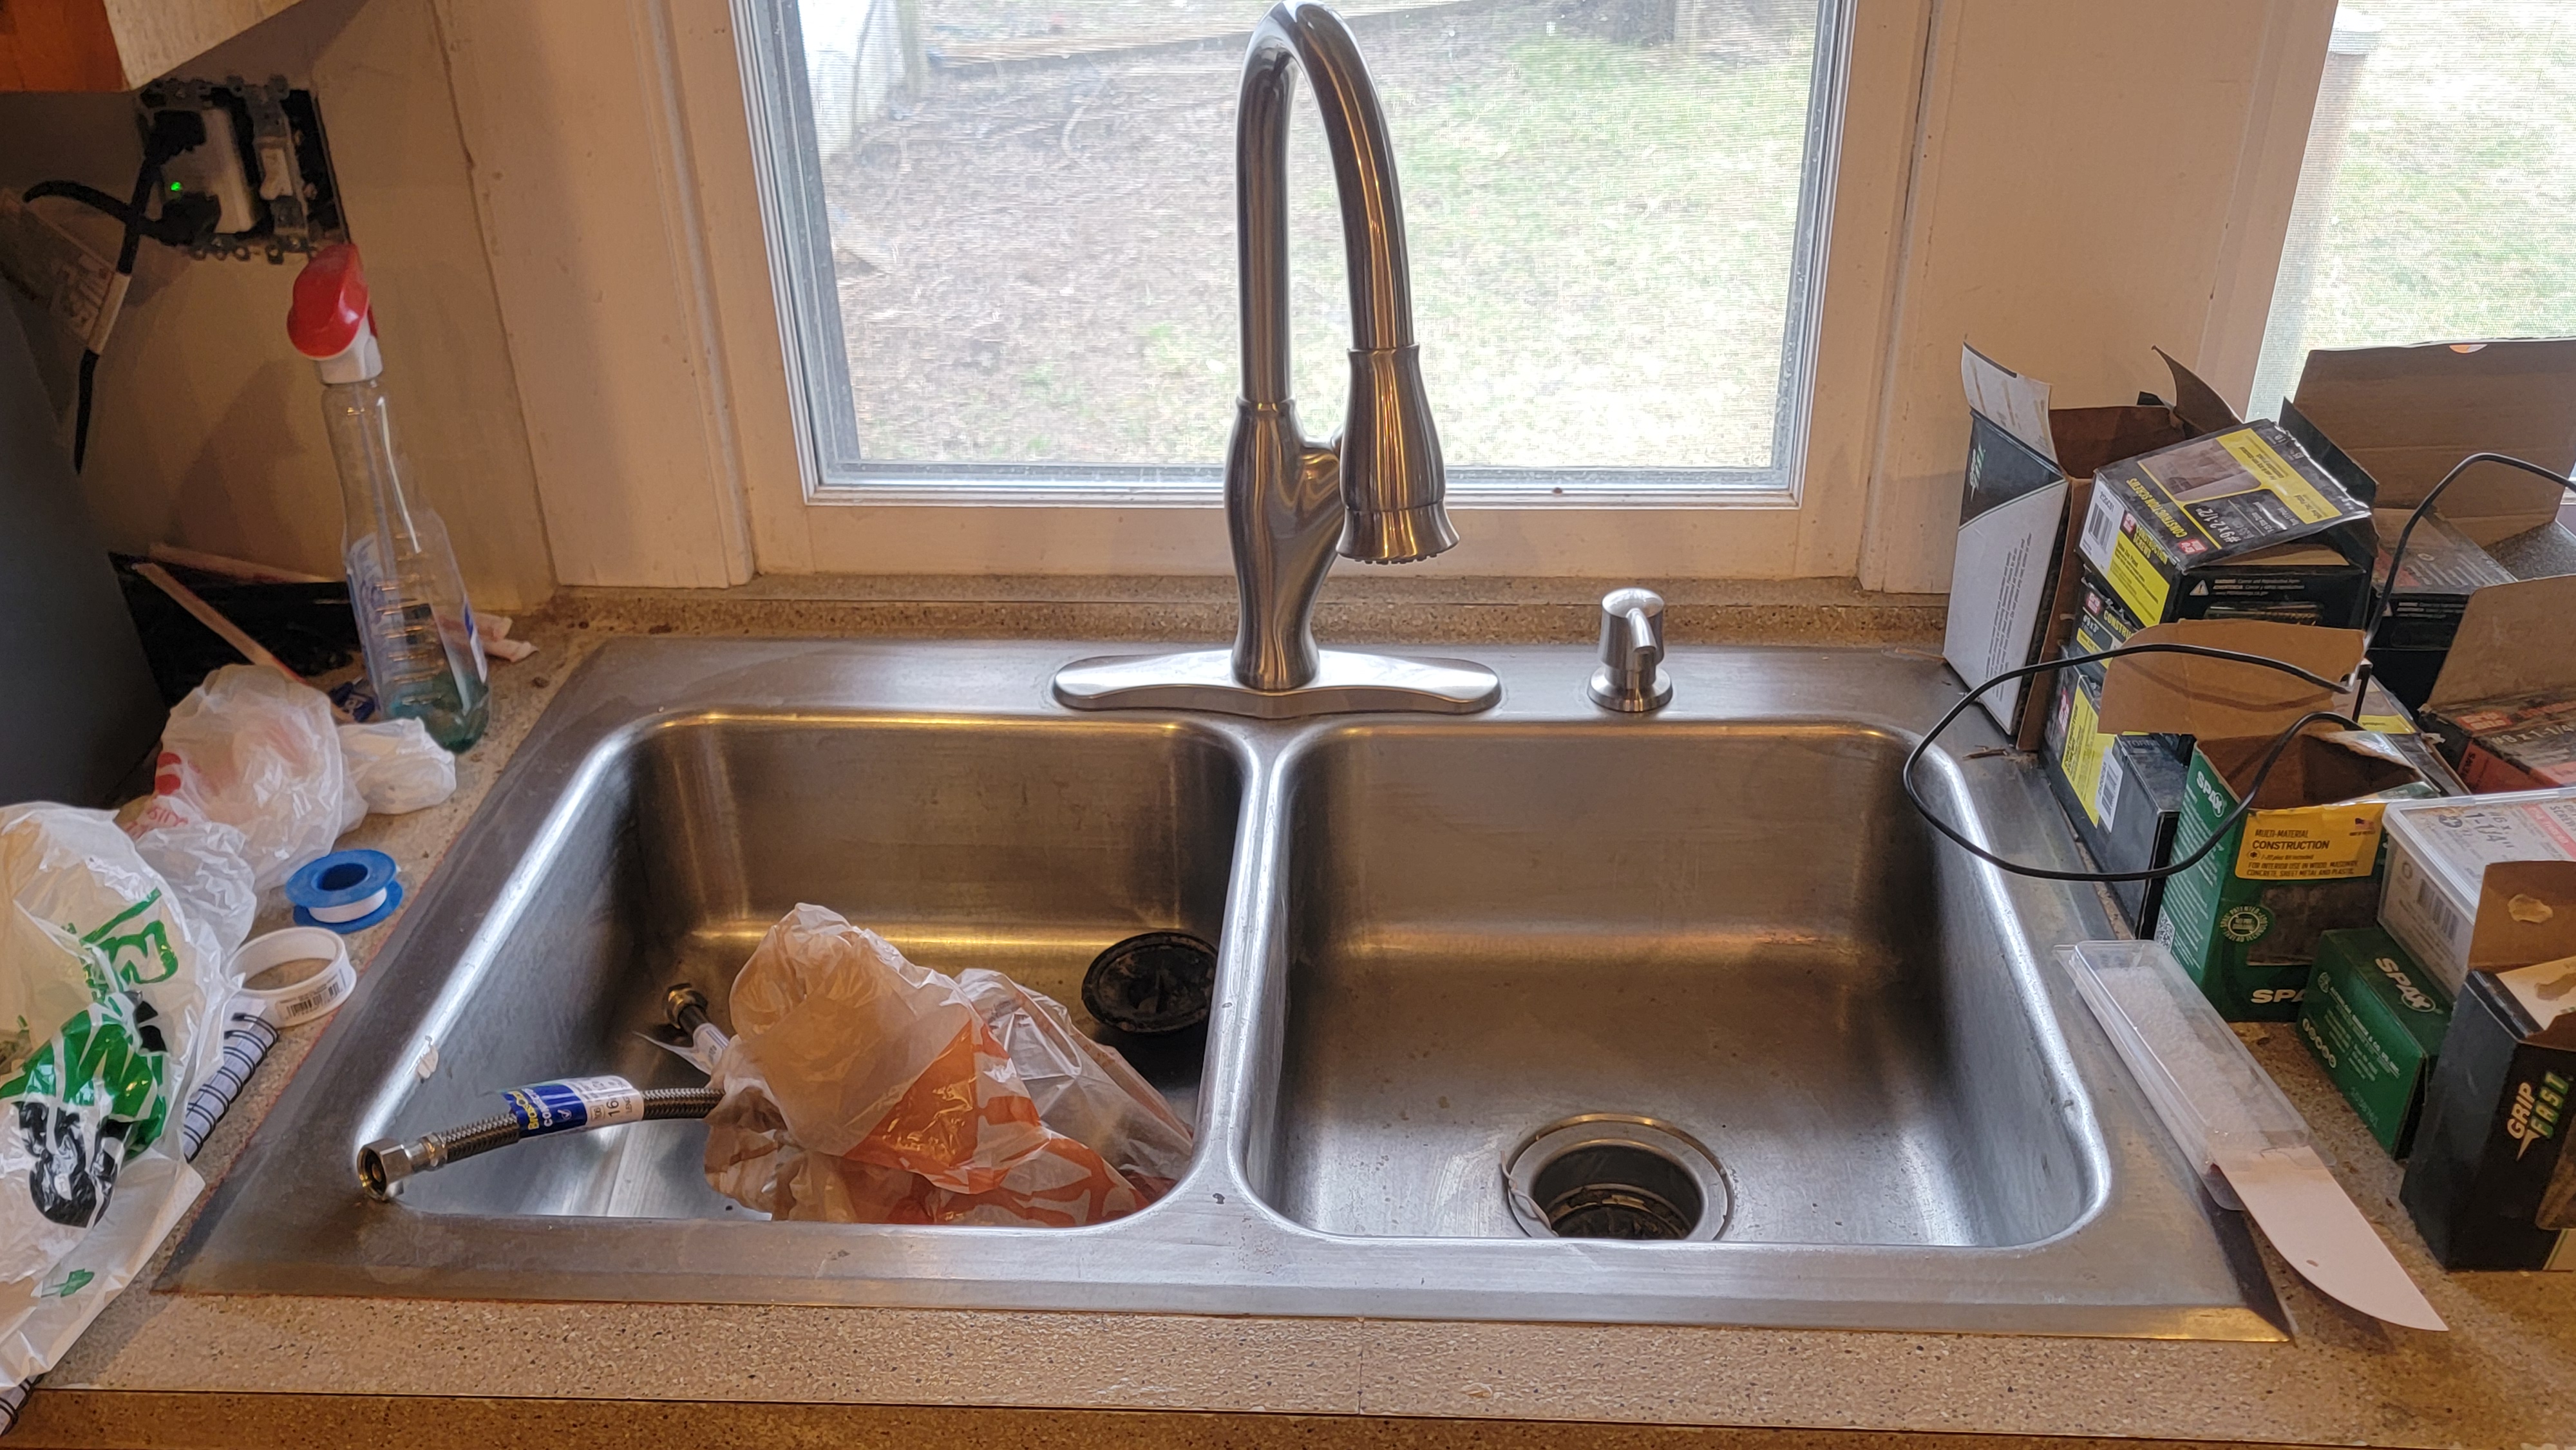
Also, for now, we’ve decided to repurpose the kitchen sink. For now (we’ll see how long that lasts). It’s in okay shape and we’re starting to run on fumes, so we’ll do something different later on. With my benevolent heart, I did let Sonya splurge on a new faucet for the sink. So, I installed that last week as well.
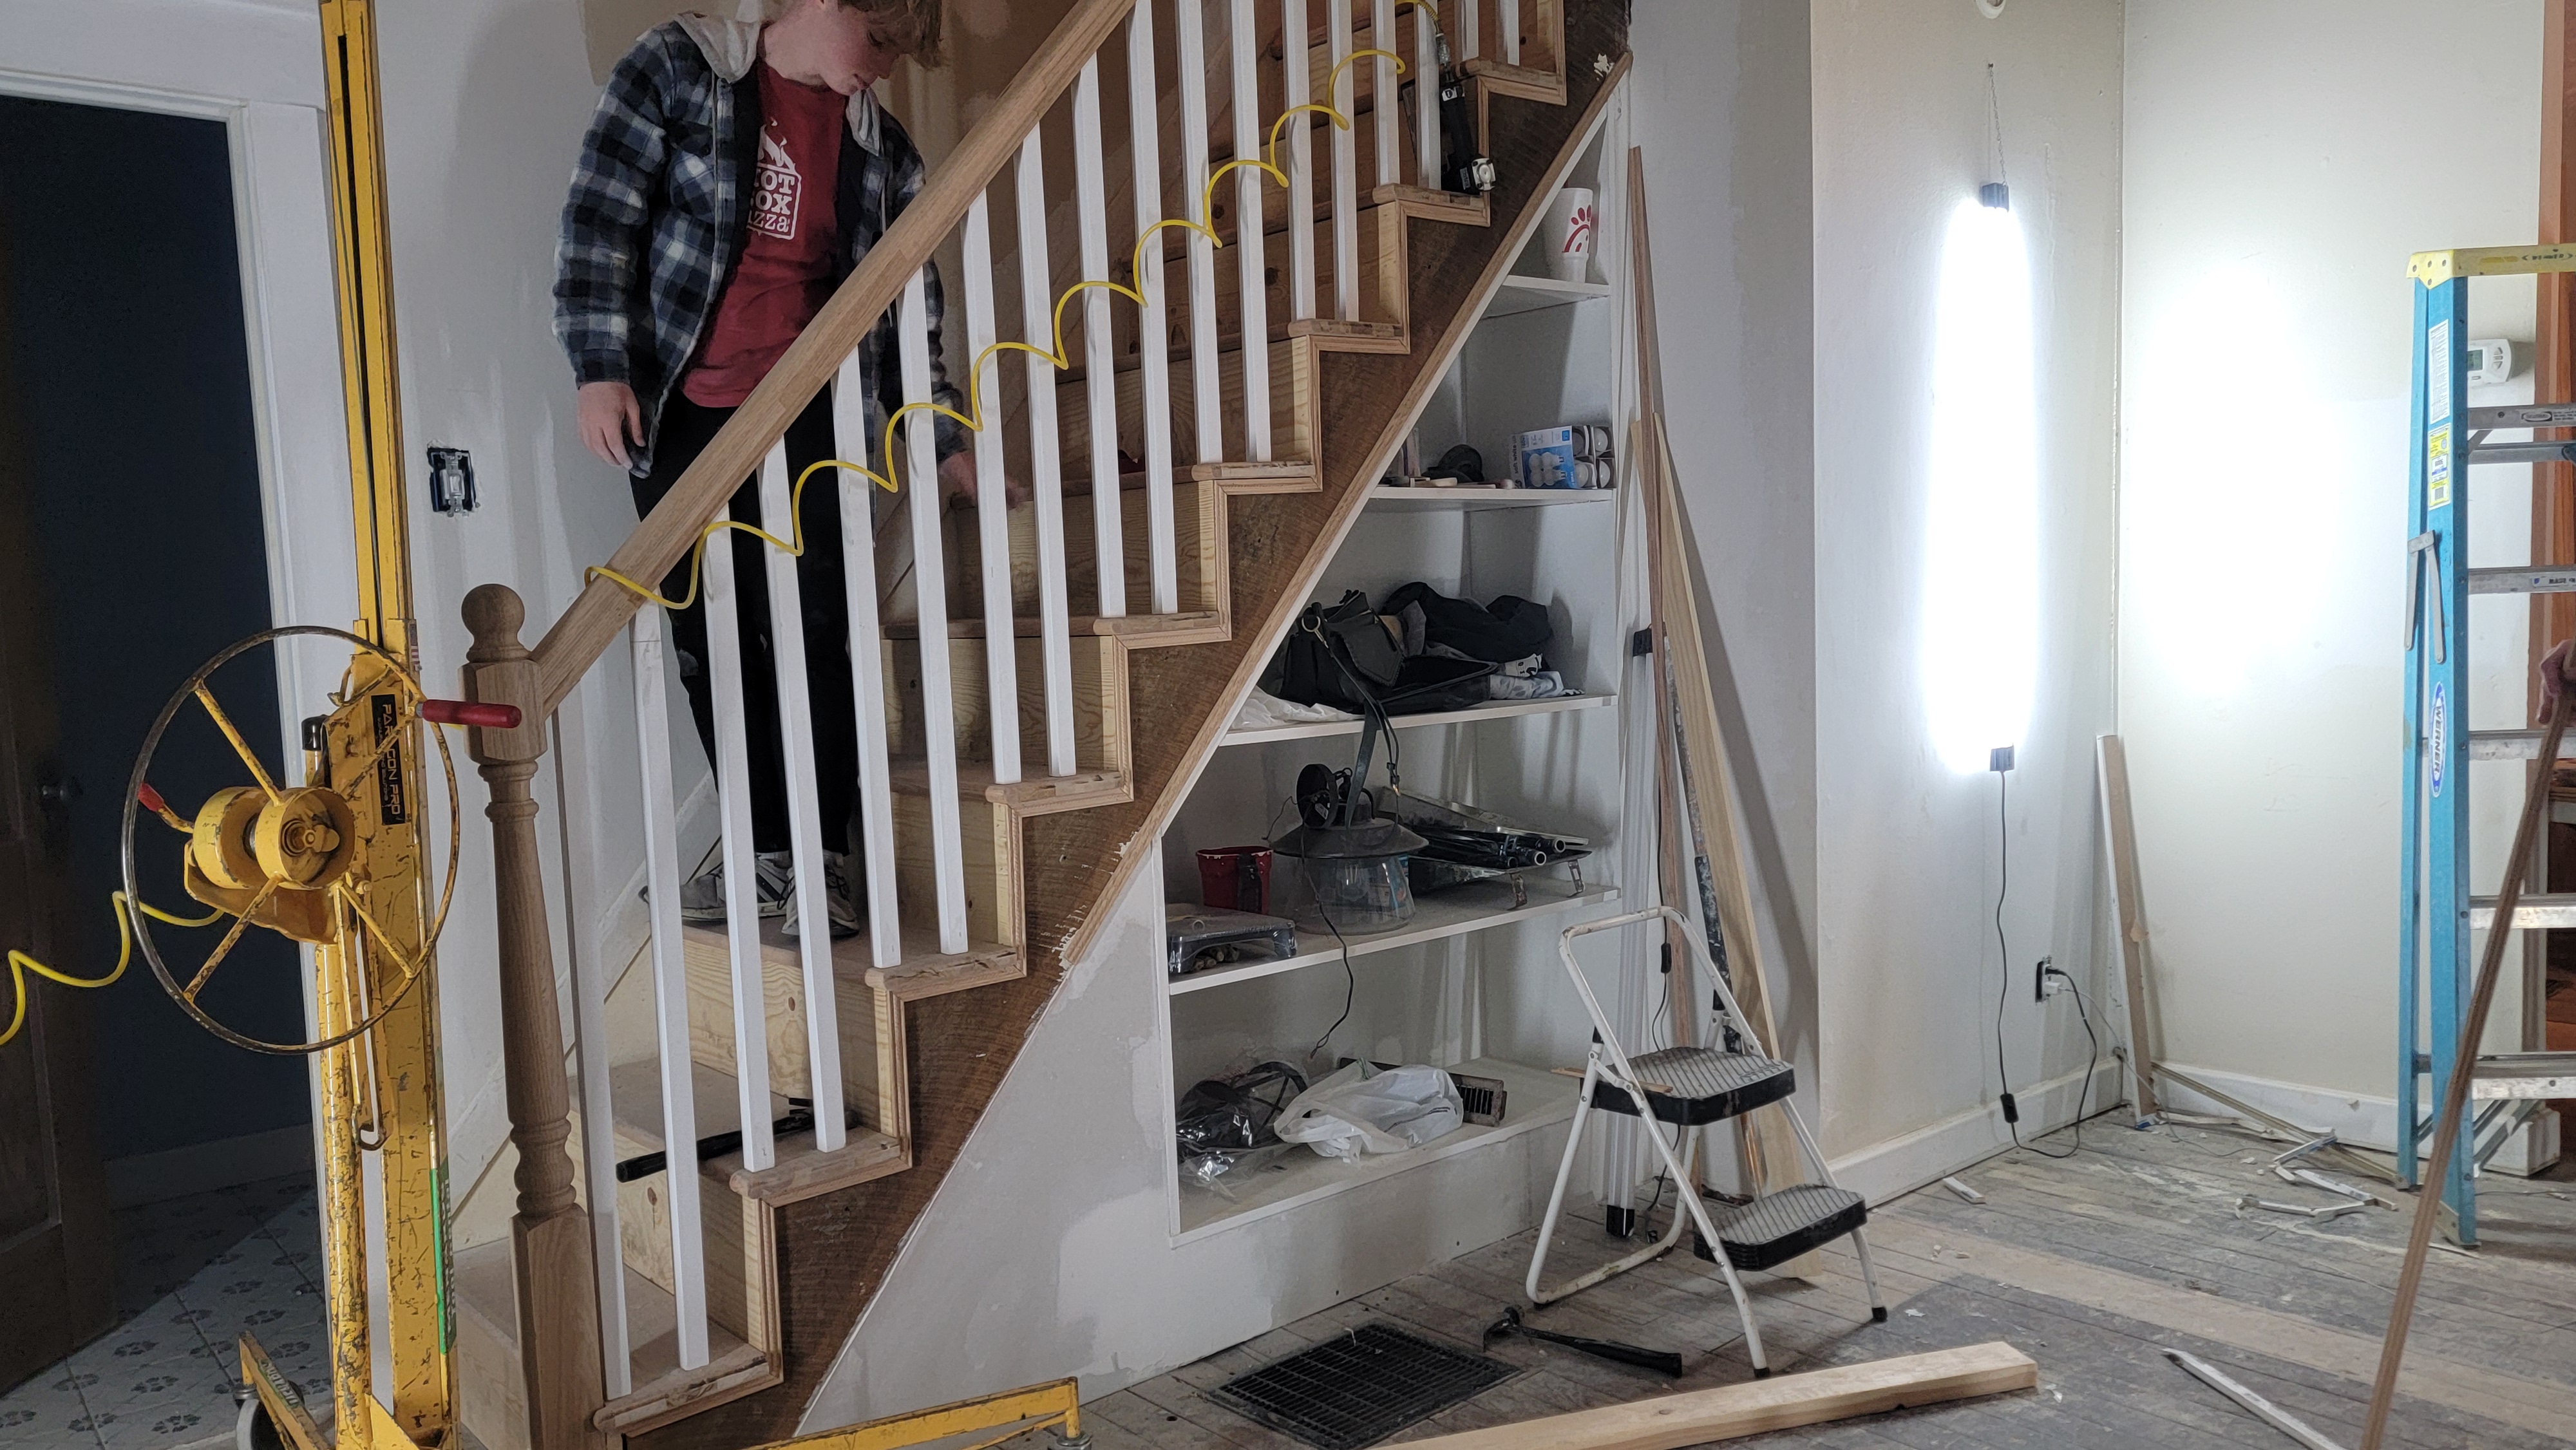
Saturday night, while we hung drywall, Eli worked on installed trim work at the stairs. Turned out really well! And he was able to put that Greenwood High School Geometry to good use!


Which brings us to drywall.
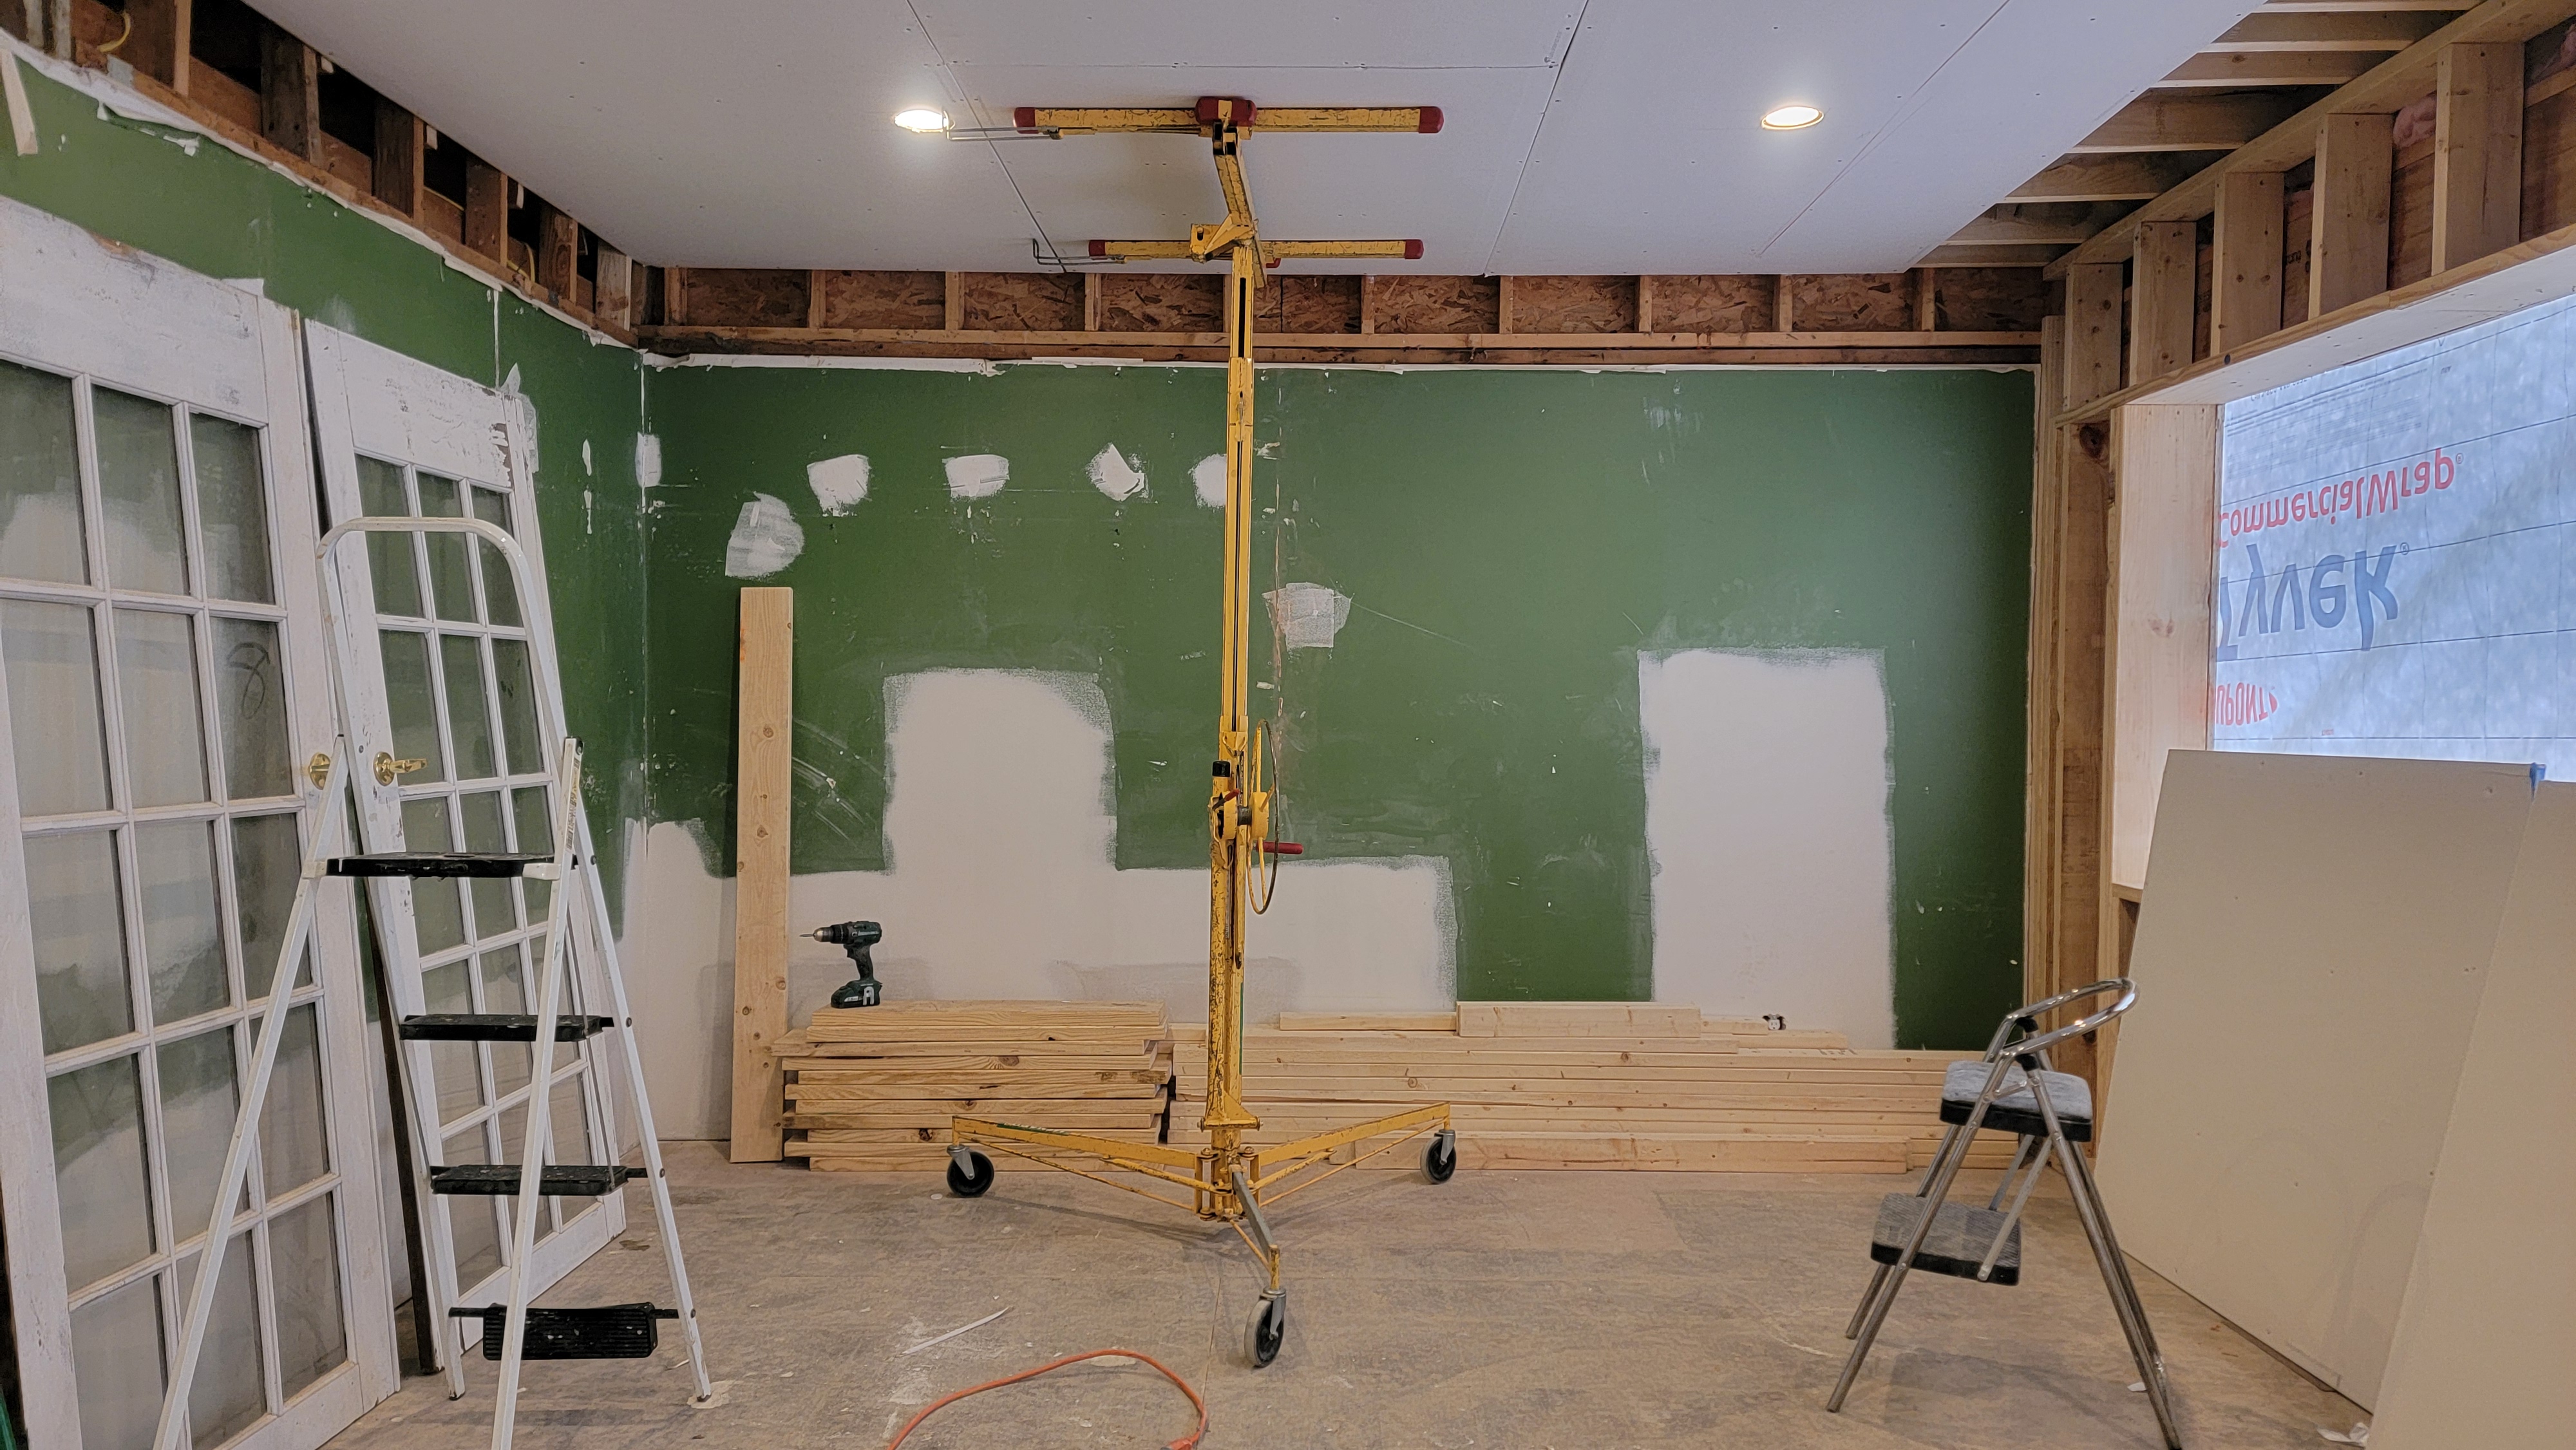
A few weeks ago, we had a drywall party. In effect, we were in need of help to lift the drywall to the ceiling while someone screwed the panels to the ceiling. We had a lot of people who came over willing to help out. It was, overall, a fun day. We ended up getting most of the ceiling in the family room done and about half of the ceiling in the living room done.
We were about to continue on finishing those rooms when I had a conversation with our GC about finishing the drywall. This part we considered doing ourselves (translation: I considered what it would take to do it ourselves before getting shut down by the rest of the family), but in the end, how well the drywall was finished would be so visible, we concluded that it wouldn’t be the best thing to learn how to finish the drywall on such visible walls.
So we approached our GC about what it would cost to finish the drywall by someone on his crew. We had some back and forth negotiations and he agreed to have it finished if we supplied the materials and got close to finishing the drywall.
But…
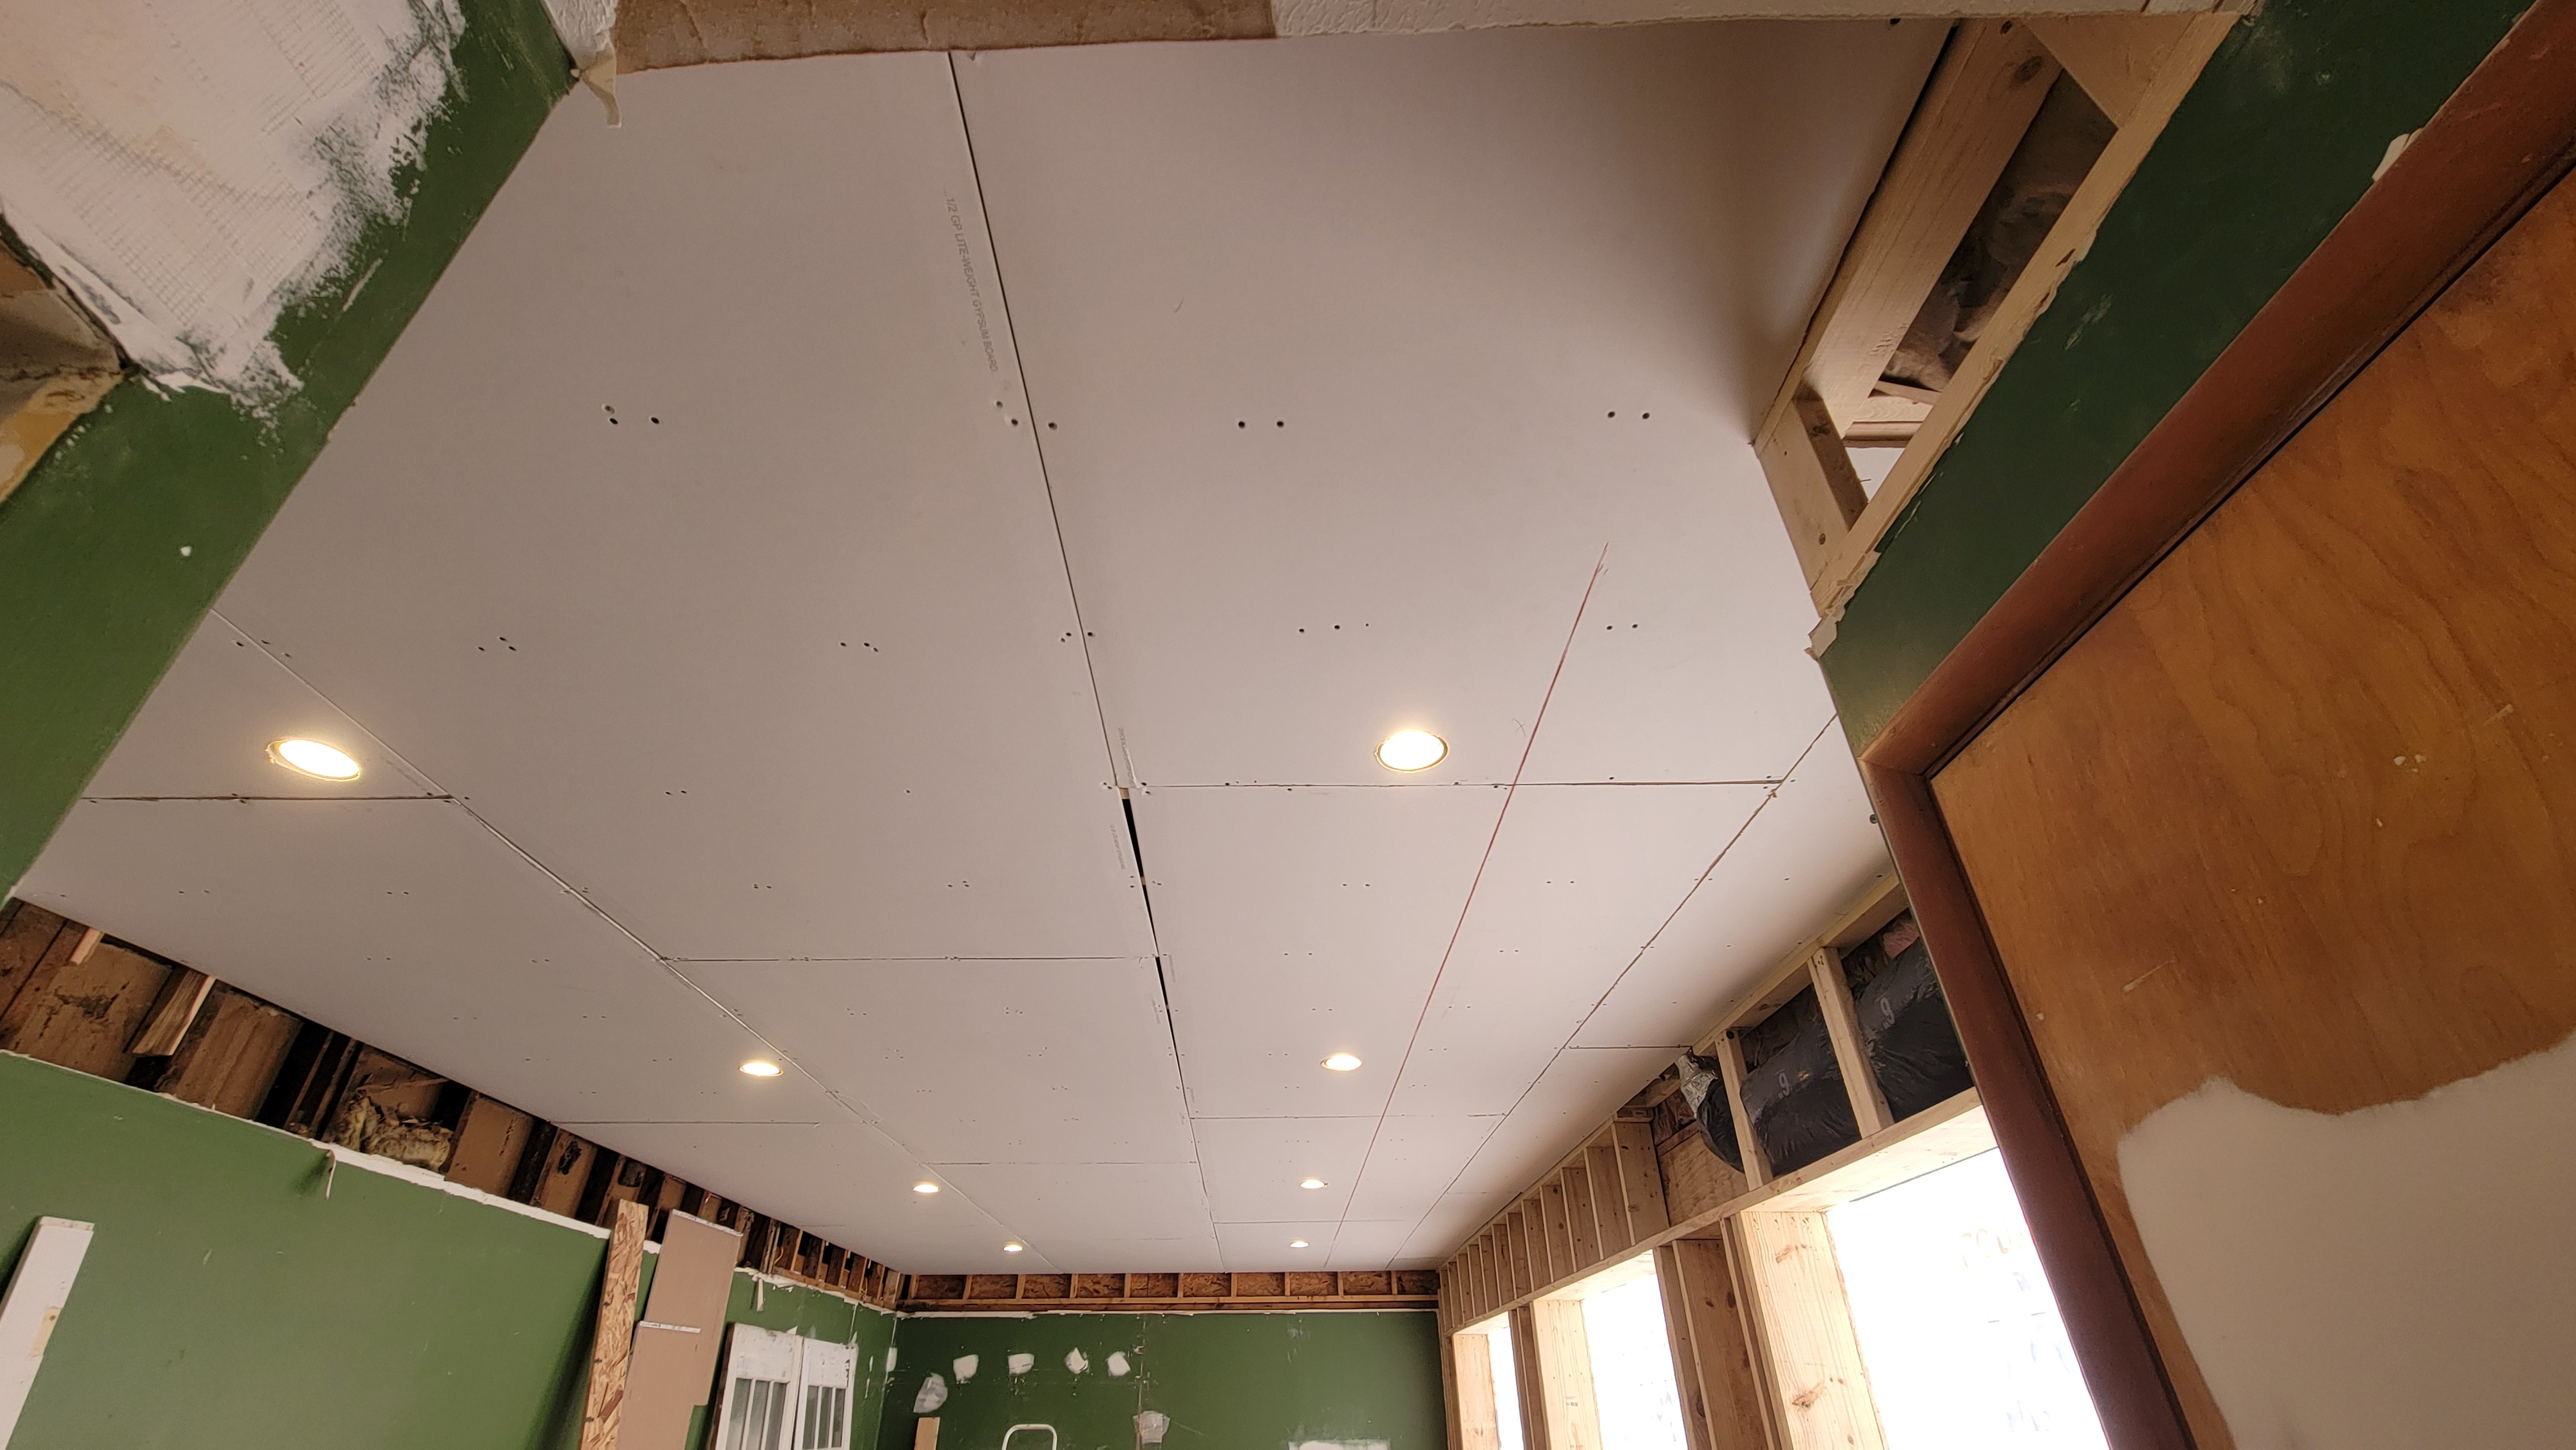
He told me that the way the drywall was hung, as it was, his guy would not finish it. There were a couple of things that needed to change. First, the drywall on the ceiling was not hung correctly. They were in a “grid” pattern and not staggered. Second, there weren’t enough screws installed. The screws needed to be doubled up. So that’s what Sonya and I did on Saturday.
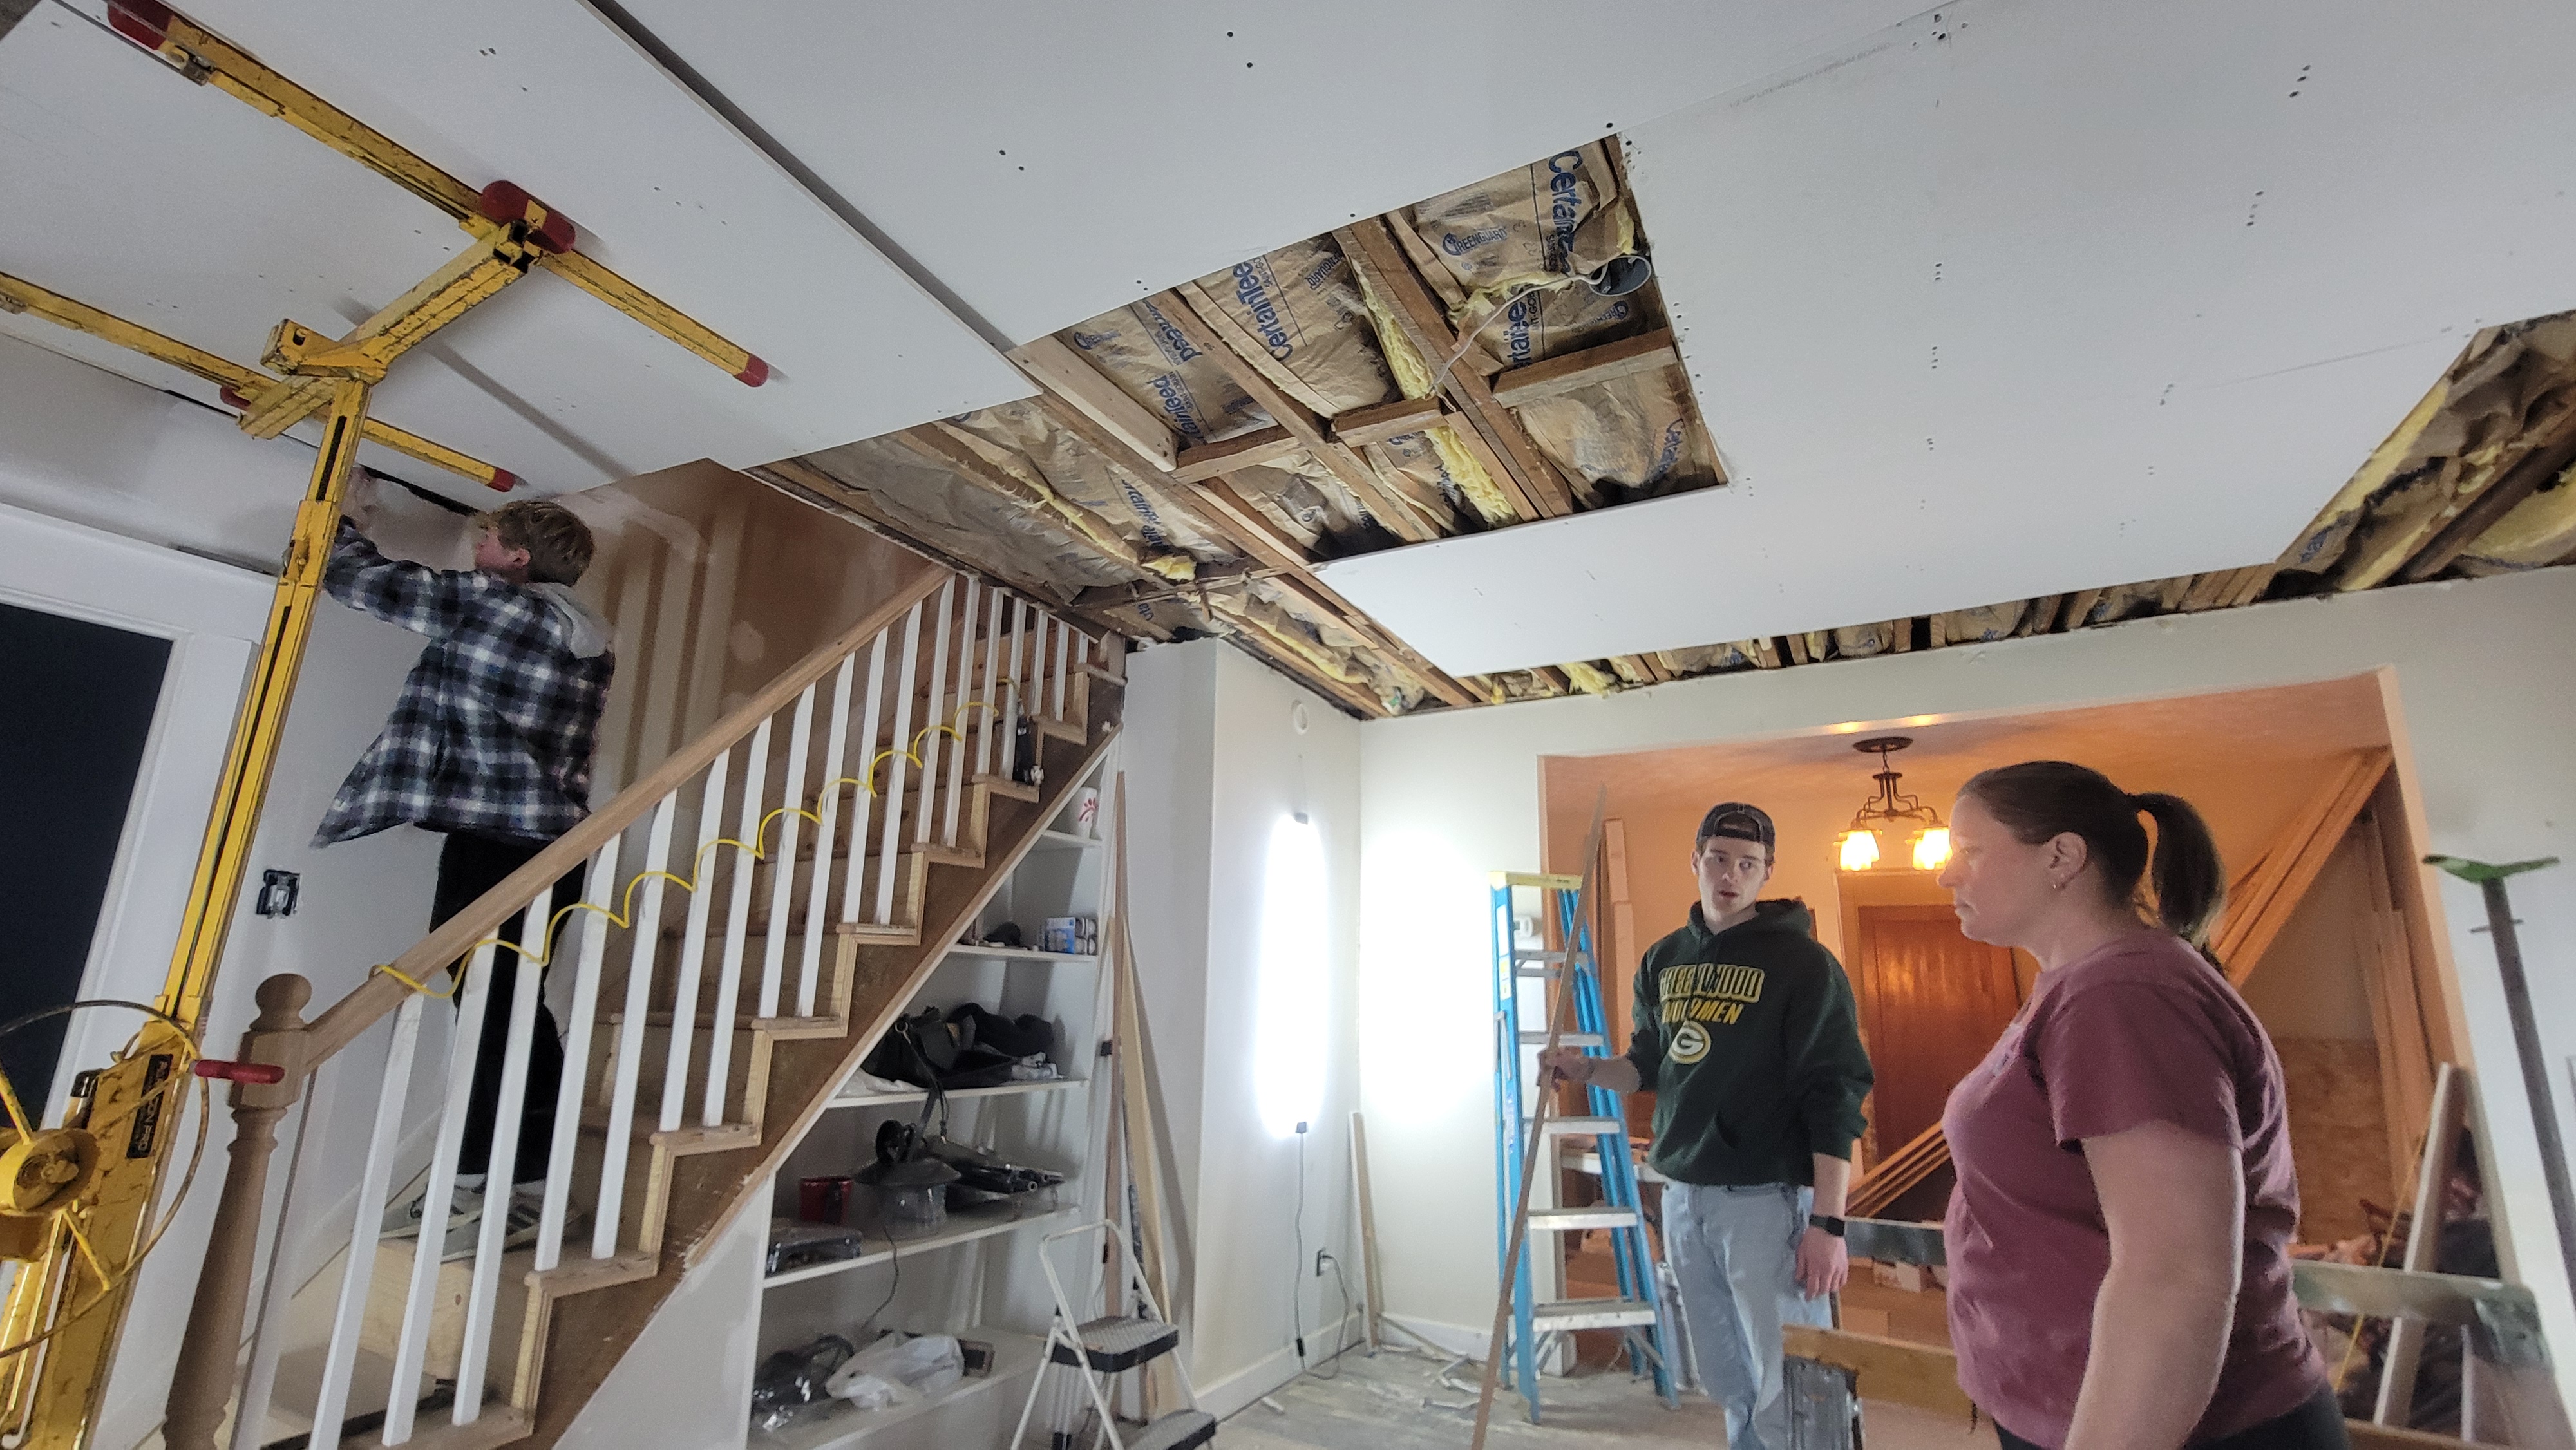
With the help of a rented drywall lift from Menards (which I had just recently discovered existed from investigating “how to hang drywall on the ceiling” on YouTube – something I should have done to begin with), Sonya and I fought with the strength of 10 full-grown men.

That lift was a game-changer! We started the work at around 11am or so and finished up around 9pm. We got a row of panels in the family room moved, the ceiling finished, two panels in the living room moved, and the ceiling about 85% done. Eli was able to pick up and drop off some more drywall, and was able to help out until we finished, along with Seth after getting off of work. It was a productive day for sure.